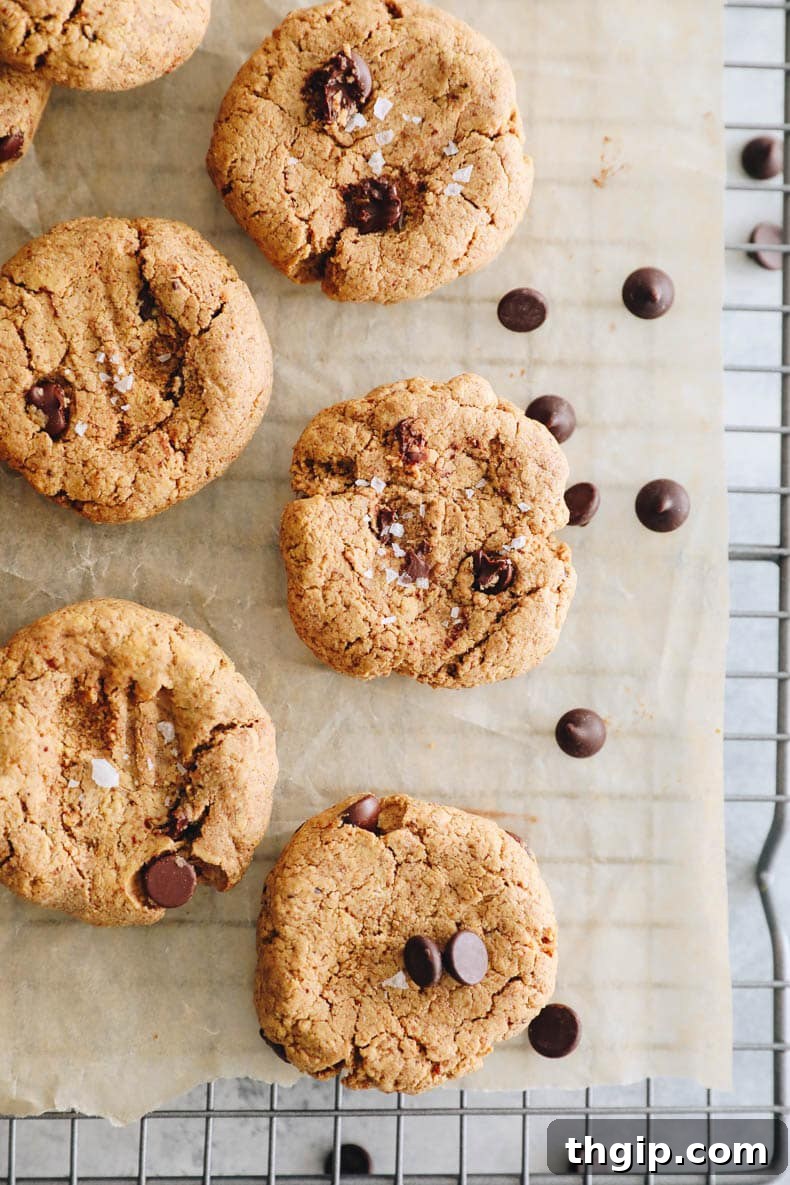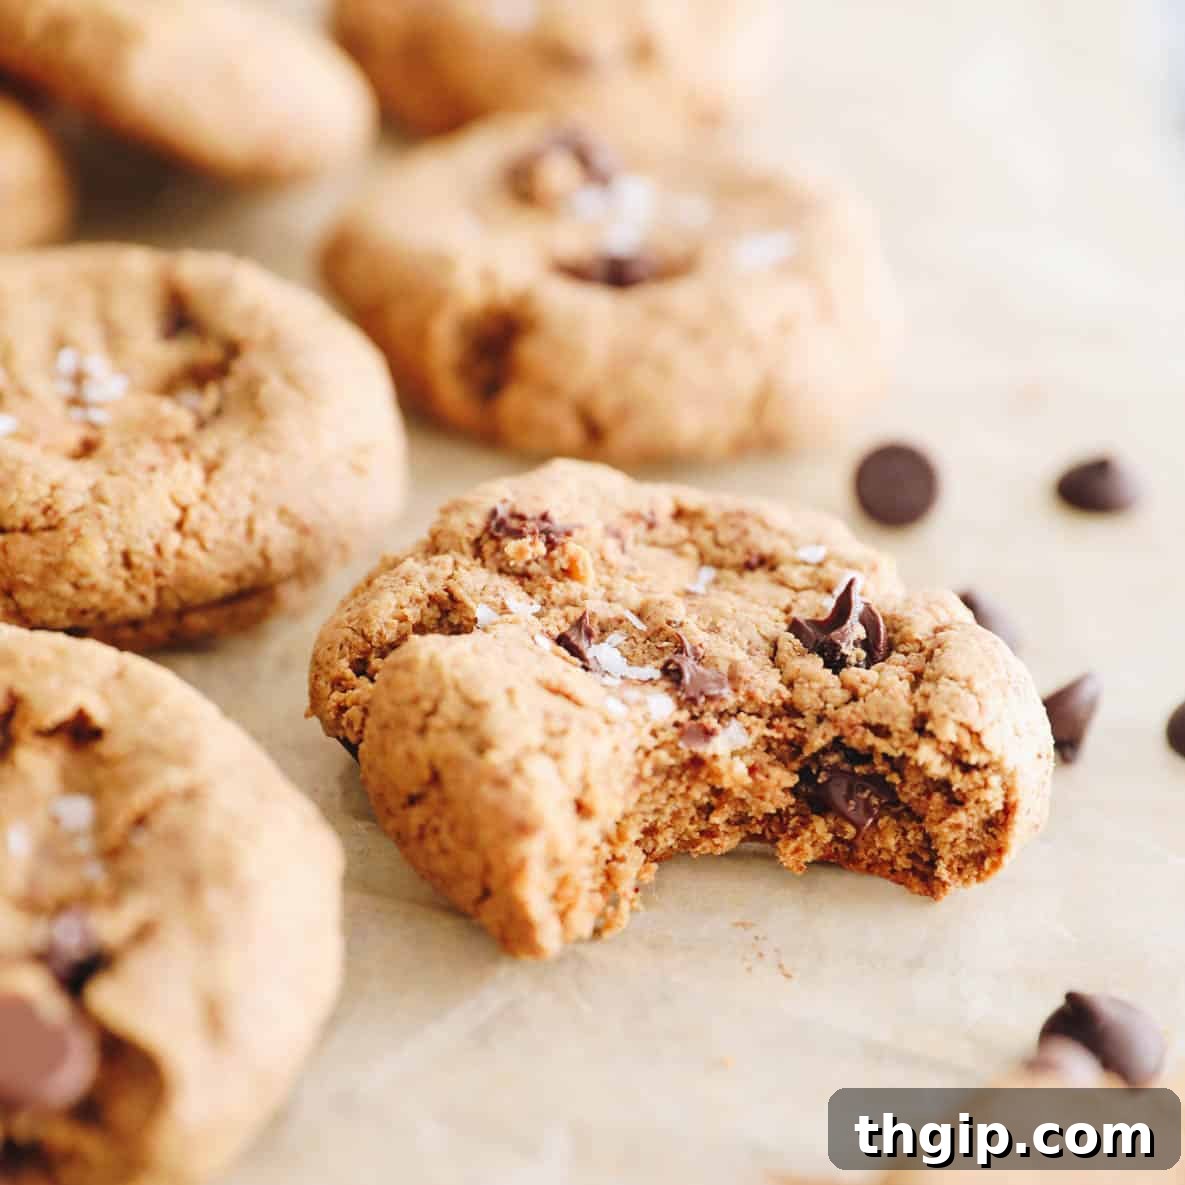
Are you searching for a dessert recipe that not only satisfies your sweet tooth but also delivers a substantial protein boost? Look no further! These irresistible **high-protein chocolate chip cookies** are designed to be both flavor-packed and nutritious. With a perfectly soft and delightfully chewy texture, each cookie provides over 8 grams of protein, making it an ideal choice for a healthy snack, a post-workout treat, or a guilt-free dessert. Get ready for these protein-packed delights to become a quick family favorite!
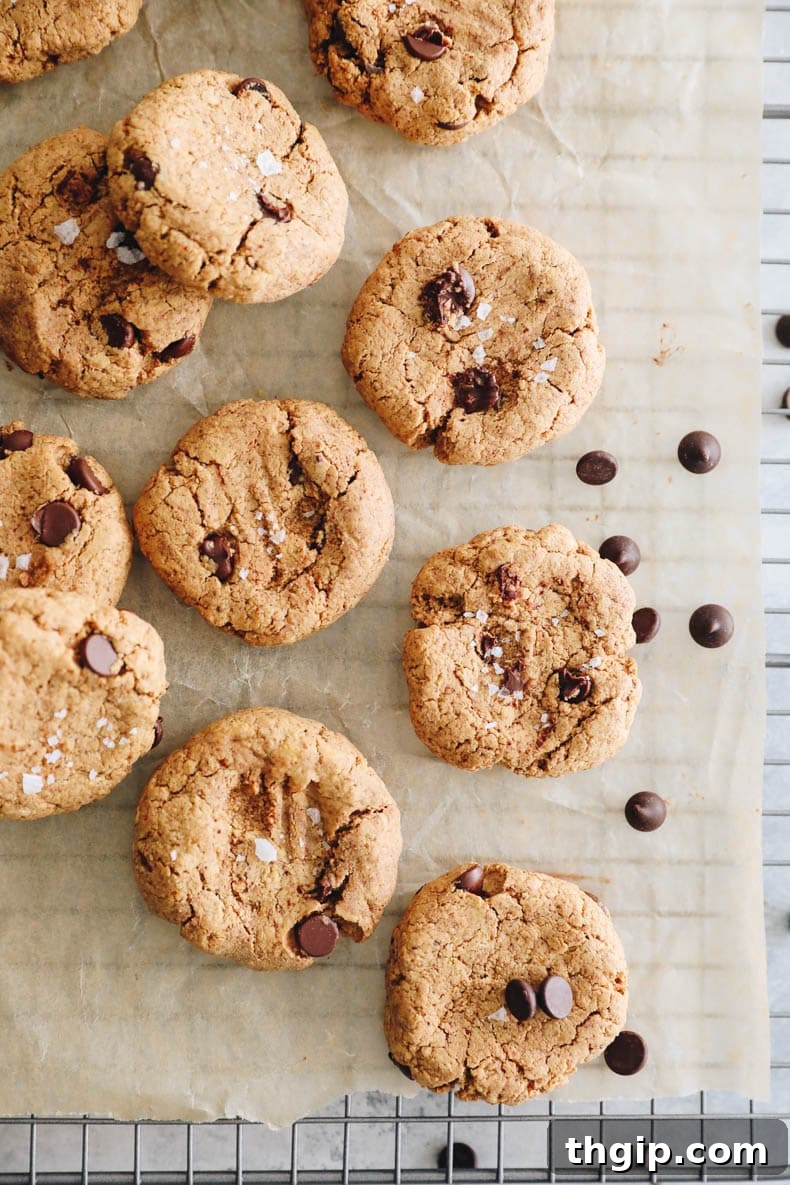
Table of Contents
- Why These Protein Cookies Are a Must-Try
- Essential Ingredients for Your Protein Cookies
- Choosing the Best Protein Powder for Baking
- Step-by-Step Guide: How to Make Protein Cookies
- Creative Variations and Mix-Ins for Your Cookies
- Understanding the Protein Content Per Cookie
- Storage Tips for Fresh and Frozen Protein Cookies
- More Delicious Cookie Recipes to Explore
- Protein Cookies Recipe
Why These Protein Cookies Are a Must-Try
Beyond their incredible taste and universal appeal (even my picky toddler gives them a big thumbs up!), these protein cookies offer a multitude of benefits that make them a standout addition to your healthy baking repertoire. They are a true game-changer for anyone looking to enjoy a sweet treat without compromising their nutritional goals.
- Excellent Source of Protein: Each cookie is packed with approximately 8.6 grams of protein, making them an effective way to increase your daily protein intake. This helps support muscle recovery, keeps you feeling fuller for longer, and aids in maintaining stable energy levels throughout your day.
- Minimal, Simple Ingredients: You’ll be amazed that such a delicious and wholesome cookie can be made with just five core ingredients that you likely already have in your pantry. This simplicity means less grocery shopping and more time enjoying your homemade treats.
- One-Bowl Wonder for Easy Cleanup: Say goodbye to piles of dirty dishes! This recipe is designed for maximum convenience, requiring only one mixing bowl from start to finish. This streamlined process makes baking a joy, not a chore.
- Effortlessly Customizable: Whether you prefer a different nut butter, want to experiment with various chocolate types, or wish to incorporate spices, these cookies are incredibly versatile. We’ll share a wealth of delicious variations below to inspire your creativity and keep things exciting.
- Naturally Gluten-Free: Provided your chosen protein powder is gluten-free, this recipe naturally accommodates a gluten-free diet. It’s a fantastic option for those with sensitivities or who simply prefer to avoid gluten in their snacks.
- Kid-Approved and Family-Friendly: Getting kids to eat healthy can be a challenge, but these cookies pass the taste test with flying colors. Their delicious flavor and soft texture make them a hit with children and adults alike, ensuring everyone can enjoy a nutritious treat.
- Perfect for Meal Prep: These cookies are ideal for making ahead of time. Bake a batch on the weekend and have healthy, portion-controlled snacks ready for busy weekdays, post-gym cravings, or school lunchboxes.
I’ve been on a dedicated protein-focused journey recently, particularly exploring the nuances of baking with protein powder. While it certainly requires a bit of experimentation to master, my decade of experience in food blogging has proven invaluable. I’ve successfully crafted a range of protein-rich recipes, from fluffy protein pancakes and satisfying protein waffles to convenient peanut butter protein bars. However, one essential category was conspicuously missing from my collection: protein cookies!
Determined to fill this gap, I set myself the challenge of creating soft, chewy, and genuinely delicious cookies that were also exceptionally high in protein. After a few rounds of testing and tweaking, I’m thrilled to announce that these cookies are not only incredibly tasty but also remarkably good for you. They strike the perfect balance between indulgence and nutrition, proving that healthy eating doesn’t mean sacrificing flavor. I genuinely believe you’ll love them as much as I do, and here’s why you should definitely give them a try!
Essential Ingredients for Your Protein Cookies
Crafting these protein-packed cookies requires just a handful of straightforward ingredients. Each component plays a crucial role in achieving the perfect texture, flavor, and nutritional profile. Here’s a closer look at what you’ll need and some tips for best results:
- Vanilla Protein Powder: This is the star ingredient that delivers the protein punch. A good quality vanilla protein powder will provide a subtle sweetness and flavor base. The type of protein powder you choose can significantly impact the cookie’s texture, so refer to our detailed discussion below for recommendations.
- Almond Butter: Serving as the primary fat and binder, almond butter contributes to the chewy texture and rich flavor. Opt for natural, drippy almond butter where the oil has been well-mixed into the jar. This ensures consistent moisture and easy incorporation into the dough. You can often substitute other nut butters, as discussed in our variations section.
- Large Eggs: Eggs are essential for binding the ingredients together, providing structure, and adding a touch of richness to the cookies. They help create that desirable chewy texture. Please note that this recipe has not been tested with vegan egg substitutes, so results may vary.
- Coconut Sugar: I prefer using coconut sugar as a less refined sweetener with a slightly lower glycemic index compared to traditional sugars. It imparts a subtle caramel-like flavor that complements the other ingredients beautifully. If you don’t have coconut sugar, regular brown sugar makes an excellent substitute, offering a similar depth of flavor and moisture.
- Chocolate Chips: What’s a cookie without chocolate chips? I personally love using mini dark chocolate chips in this recipe for their intense flavor and even distribution. However, feel free to use your favorite variety – milk chocolate, semi-sweet, white chocolate, or even chocolate chunks will work wonderfully.
Choosing the Best Protein Powder for Baking
The type of protein powder you select is arguably the most crucial factor in determining the final texture and success of your protein cookies. Different protein powders behave very differently when baked, affecting moisture, chewiness, and overall flavor. Here’s a breakdown of common types and my recommendations:
Plant-Based Protein Powder: These are generally my top preference for baking. They tend to yield a more authentic cookie texture without the dryness often associated with other types.
- Pea Protein Powder: This is my absolute preferred choice for these cookies. I find it blends seamlessly into the dough, resulting in a wonderfully soft and chewy protein cookie that closely resembles traditional recipes. It doesn’t dry out baked goods as much as some other options. I personally use and recommend Ritual Protein Powder for its quality and flavor profile.
- Brown Rice Protein Powder: While it can sometimes lead to a slightly drier cookie, brown rice protein powder still performs quite well. If using, you might consider slightly increasing the wet ingredients (like a teaspoon more almond butter) to counteract any potential dryness.
Whey Protein Powder: While widely popular for shakes, I generally find whey protein to be a bit more challenging for baking. It has a tendency to dry out baked goods, sometimes resulting in a tougher or more crumbly texture. However, if it’s all you have on hand, it can work in a pinch. Be mindful of potential dryness and consider slightly reducing baking time.
Collagen Protein Powder: This is not my personal preference for this cookie recipe. While collagen is excellent for other health benefits, it doesn’t always provide the desired structure or texture in baked goods like cookies, often resulting in a chewier, almost rubbery consistency. If you do opt for collagen, ensure you choose a vanilla-flavored version, as unflavored collagen will contribute very little taste to your cookies.
Important Note on Scoop Sizes: Keep in mind that protein powder scoop sizes and densities can vary significantly between brands. While the recipe calls for 2/3 cup, this typically equates to roughly two standard scoops (around 30 grams per scoop). It’s always a good idea to measure by weight if your recipe includes gram measurements for the most accurate results, though cup measurements work well for this recipe.
Step-by-Step Guide: How to Make Protein Cookies
Making these delicious protein cookies is incredibly straightforward and quick, even for novice bakers. Follow these simple steps for perfect results every time:
STEP 1: PREP YOUR OVEN AND BAKING SHEET
Begin by preheating your oven to 350 degrees Fahrenheit (175 degrees Celsius). While the oven heats up, line a large baking sheet with parchment paper or a silicone baking mat. This step is crucial to prevent the cookies from sticking and ensures even baking and easy cleanup.
STEP 2: COMBINE THE WET AND DRY INGREDIENTS
In a large mixing bowl, combine all the cookie ingredients EXCEPT for the chocolate chips. This includes your vanilla protein powder, almond butter, eggs, and coconut sugar. Mix thoroughly with a spatula or spoon until all ingredients are well incorporated and form a cohesive dough. The dough should be thick and slightly sticky. Once the base dough is formed, gently fold in the chocolate chips until they are evenly distributed throughout the mixture. Avoid overmixing once the chocolate chips are added.
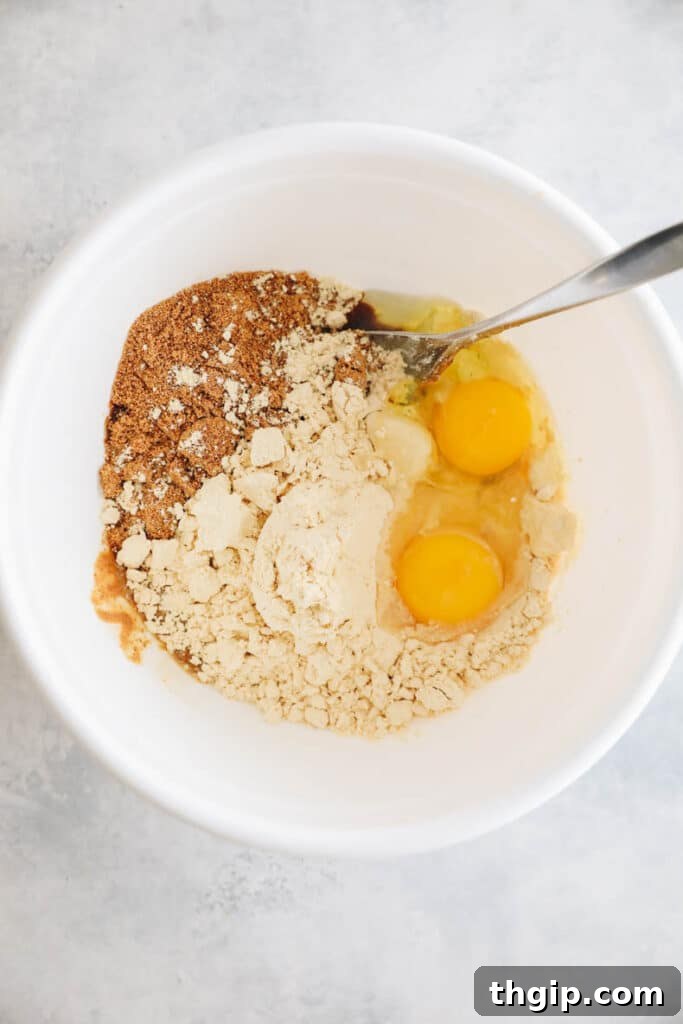
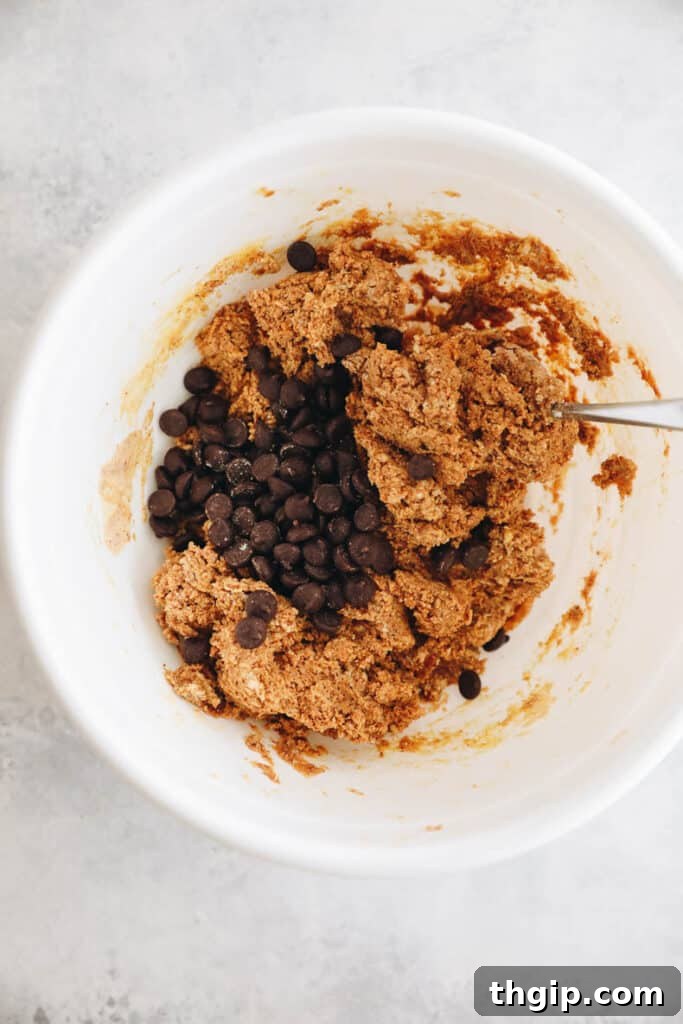
STEP 3: SCOOP AND SHAPE YOUR COOKIES
Using a tablespoon or a small cookie scoop, portion out roughly one tablespoon of cookie dough for each cookie. Place these portions onto your prepared baking sheet, leaving some space between each to allow for slight spreading. These cookies don’t spread significantly, but a little room ensures even baking. Once on the sheet, gently flatten each cookie dough ball slightly with your hands. This helps them bake more evenly and achieve a classic cookie shape. Feel free to press a few extra chocolate chips on top for a more appealing finish.
STEP 4: BAKE TO PERFECTION
Transfer the baking sheet to your preheated oven and bake for 12-14 minutes. Keep an eye on them, as baking times can vary slightly depending on your oven. The cookies are done when they are golden brown around the edges and appear set in the center. They might still seem slightly soft when you first take them out, but they will firm up as they cool.
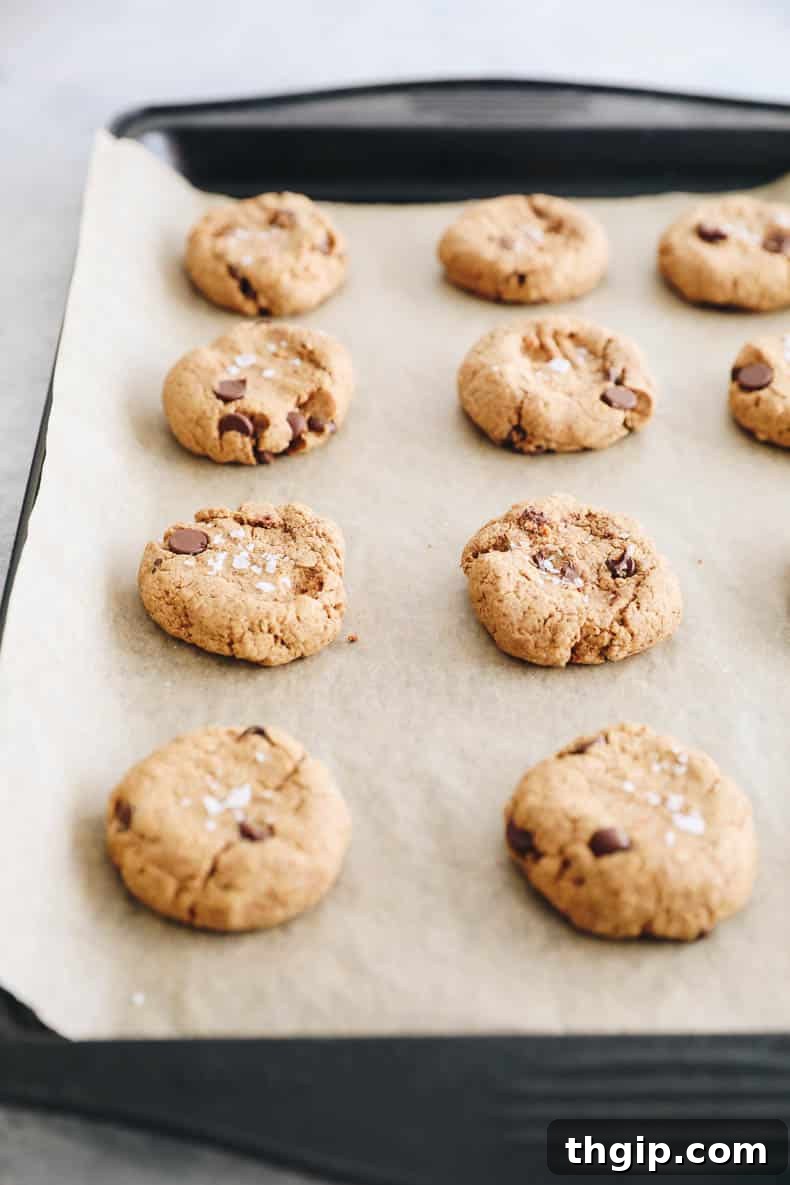
STEP 5: COOLING FOR THE BEST TEXTURE
Once baked, remove the cookies from the oven but leave them on the baking sheet for about 10 minutes. This crucial cooling period on the hot sheet allows them to continue setting and prevents them from breaking when transferred. After 10 minutes, carefully transfer the cookies to a wire rack to cool completely to room temperature. This final cooling step ensures they develop their perfect soft and chewy texture.
Creative Variations + Mix-Ins for Your Cookies
One of the best things about this protein cookie recipe is its incredible versatility. Don’t be afraid to get creative and customize them to your liking! Here are some fantastic ideas to inspire you:
- Experiment with Nut Butters: While almond butter provides a wonderful base, you can easily swap it for other natural nut butters. **Peanut butter** is a classic choice, creating delicious peanut butter chocolate chip protein cookies. **Cashew butter** offers a milder, creamier flavor. For a nut-free option, try a seed butter like **sunflower seed butter (sunbutter)** or even **tahini** for a unique, slightly savory note. Just ensure your chosen nut/seed butter is natural and well-mixed.
- Add Nuts or Dried Fruits: Replace some or all of the chocolate chips with your favorite nuts for added crunch and healthy fats. **Chopped walnuts, pecans, or almonds** are excellent choices. For a twist on classic oatmeal raisin cookies, try adding **raisins** or other dried fruits like **cranberries or chopped apricots**.
- Double the Chocolate Fun: If you’re a serious chocolate lover, switch out the vanilla protein powder for a **chocolate-flavored protein powder**. This will create rich, decadent double chocolate protein cookies that are truly indulgent. You can even add an extra tablespoon of cocoa powder for an intensified chocolate experience.
- Sprinkle Some Joy (Funfetti Style!): For a playful and festive treat, substitute about 1/2 cup of your favorite **sprinkles** for the chocolate chips. This instantly transforms them into funfetti protein cookies, perfect for celebrations or just brightening up your day.
- Warm Them Up with Spices: Elevate the flavor profile by adding 1/2 to 1 teaspoon of your favorite ground spices to the dough. **Cinnamon** adds warmth and depth, while **pumpkin pie spice** or **apple pie spice** can bring seasonal flair. A pinch of nutmeg or cardamom could also be interesting additions.
- Boost the Fiber and Texture: Stir in a few tablespoons of **oats** (rolled or quick-cooking) for a chewier texture and an added fiber boost. A tablespoon or two of **flax seeds or chia seeds** can also discreetly add omega-3s and fiber without altering the taste significantly.
- Add Citrus Zest: For a bright, refreshing flavor, incorporate the zest of one lemon or orange into the dough. This pairs wonderfully with white chocolate chips or dried cranberries.
Understanding the Protein Content Per Cookie
The exact protein content in each cookie will primarily depend on the specific brand and type of protein powder you use. Protein concentrations can vary significantly, so always check the nutritional label of your chosen powder.
In my case, using Ritual Pea Protein Powder, each cookie provides a substantial 8.6 grams of protein. This calculation is based on the total protein in the 2/3 cup (approximately two 30-gram scoops) of protein powder used in the recipe, divided by the total yield of 12 cookies. To calculate the protein per cookie for your specific protein powder, simply find the total protein content in 2/3 cup of your powder and divide it by 12 (the number of cookies this recipe yields).
Remember that factors like egg size and nut butter brand can also slightly influence the final nutritional breakdown, but protein powder is the dominant variable.
Storage Tips for Fresh and Frozen Protein Cookies
Proper storage is key to maintaining the freshness and delicious texture of your protein cookies. Whether you plan to enjoy them within a few days or save them for later, here’s how to keep them at their best:
At Room Temperature: Your freshly baked protein cookies will stay wonderfully soft and chewy for up to 3 days when stored in an airtight container. Make sure they have cooled completely to room temperature before storing to prevent condensation, which can make them soggy.
Freezing for Longer Shelf Life: These cookies freeze beautifully, making them an excellent option for meal prepping or having a quick, healthy snack on hand. To freeze, arrange the cooled cookies in a single layer on a baking sheet and flash freeze for about an hour until solid. This prevents them from sticking together. Once frozen, transfer them to an airtight freezer-safe container or a heavy-duty ziplock bag. For extra protection against freezer burn, you can separate layers of cookies with small pieces of parchment paper. They will keep well in the freezer for up to 3 months.
Thawing Frozen Cookies: To enjoy a frozen cookie, simply remove it from the freezer and allow it to thaw at room temperature for several hours. For a warm, freshly baked experience, you can also gently reheat a thawed cookie in the microwave for 10-15 seconds or in a toaster oven for a few minutes until warm and soft.
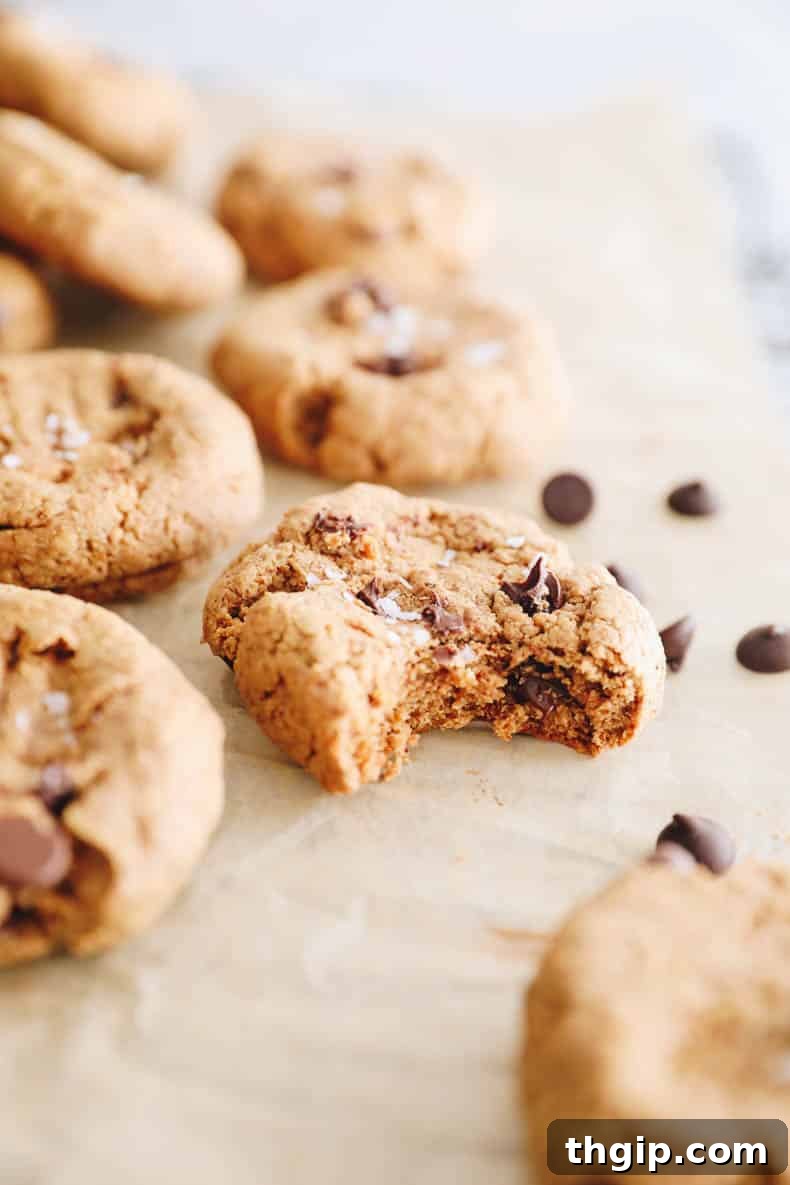
More Delicious Cookie Recipes to Explore
If you loved these protein cookies, you might also enjoy exploring some of my other favorite cookie recipes. There’s a perfect cookie for every craving and dietary need:
- Almond Flour Cookies
- Gluten-Free Chocolate Chip Cookies
- Peppermint Chocolate Cookies
- 3-Ingredient Peanut Butter Cookies
- Grain-Free Double Chocolate Cookies
- Almond Butter Hemp Seed Cookies
Print Recipe
Protein Cookies

Looking for a flavor-filled dessert recipe that also packs a protein punch? This Protein Cookie recipe does not disappoint! A soft and chewy texture with over 8 grams of protein in each, this cookie treat will quickly become a family favorite.
- Author: Davida Lederle
- Prep Time: 10 minutes
- Cook Time: 15 minutes
- Total Time: 25 minutes
- Yield: 12 cookies
- Category: Dessert, Snack
- Method: Bake
- Cuisine: American, Healthy
- Diet: Gluten Free, High Protein
Ingredients
- 1 cup almond butter (natural, drippy)
- 1/2 cup coconut sugar (or brown sugar)
- 2/3 cup vanilla protein powder (pea protein recommended, see notes above)
- 2 large eggs
- 1/3 cup chocolate chips (mini dark chocolate chips preferred)
Instructions
- Preheat oven to 350 degrees F (175 C).
- Line a baking sheet with parchment paper or a silicone mat.
- In a large mixing bowl, combine almond butter, coconut sugar, vanilla protein powder, and large eggs. Mix until well combined and a uniform dough forms.
- Gently fold in the chocolate chips until evenly distributed throughout the dough.
- Using a tablespoon or a cookie scoop, portion out roughly one tablespoon of cookie dough per cookie. Place onto the lined baking sheet, leaving some space between each.
- Lightly flatten each cookie dough ball with your hands to create a disc shape.
- Bake for 12-14 minutes, or until the edges are golden brown and the centers are set.
- Allow cookies to cool on the baking sheet for 10 minutes before carefully transferring them to a wire rack to cool completely.
- Store in an airtight container at room temperature for up to 3 days, or freeze for longer storage (see storage instructions above).