
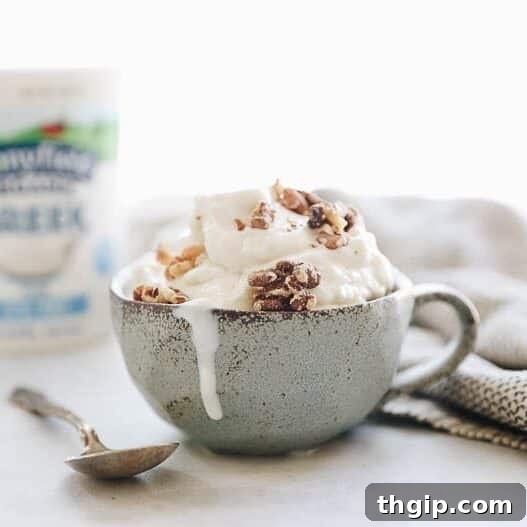
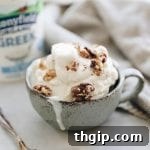
Have you ever wondered how to make frozen yogurt that rivals your favorite froyo shops? It’s easier and more rewarding than you think! With just 3 basic ingredients, you’ll be whipping up luscious, creamy homemade frozen yogurt every day, swapping out those expensive store-bought tubs for a healthier, fresher alternative. This classic recipe has been a fan favorite since 2016, recently updated in January 2025 with even more details, tips, and mouth-watering pictures to guide you.
Table of Contents
- The Ultimate Homemade Frozen Yogurt Recipe
- Essential Ingredients for Frozen Yogurt
- Choosing the Best Yogurt for Froyo
- Unleash Your Creativity: Variations and Toppings
- Gear Up: The Right Machine for the Job
- Your Step-by-Step Guide to Making Frozen Yogurt
- How to Store and Re-serve Frozen Yogurt
- More Frozen Sweet Treats:
- Homemade Frozen Yogurt Recipe Card
The Ultimate Homemade Frozen Yogurt Recipe
There are countless reasons why this isn’t just *a* frozen yogurt recipe, but arguably the best you’ll find on the internet for its simplicity, health benefits, and sheer deliciousness. Here’s what sets it apart:
Simplicity at its Best: Just 3 Ingredients. That’s right! Forget long grocery lists or obscure additives. This amazing frozen yogurt requires only three core ingredients. With a touch of natural sweetness from raw honey, you’ll find yourself saying goodbye to expensive store-bought frozen yogurts and even your local froyo chain. It’s a truly effortless path to a delightful dessert.
A Delicious Boost for Your Gut: Beneficial Probiotics. Just like your regular yogurt, this homemade frozen yogurt is an excellent source of beneficial probiotics and active cultures, which are fantastic for maintaining a healthy gut microbiome. Enjoy a dessert that not only tastes incredible but also supports your digestive health. Beyond probiotics, yogurt also delivers a good dose of protein and essential calcium, making it a truly nourishing treat.
Unleash Your Inner Chef: Easily Customizable. This recipe is a blank canvas for your culinary imagination! Want a rich chocolate frozen yogurt? Simply add cocoa powder. Have a bag of chocolate chips waiting to be used? Mix them in! Don’t forget the vibrant flavors and textures that fresh or frozen fruits can add. From nutty blends to zesty citrus, the possibilities are endless. We’ve included a wealth of customization suggestions further down to inspire your next creation.
Foolproof Success: Step-by-Step Instructions. We understand that making new recipes can sometimes feel daunting. That’s why we’ve provided clear, detailed, step-by-step instructions, complete with helpful pictures for each stage. You’ll be guided through every part of the process, ensuring a perfect batch of homemade frozen yogurt every time.
Trusted by Many: 5-Star Reviews. Don’t just take our word for it! This frozen yogurt recipe has garnered numerous 5-star reviews from delighted home cooks who have experienced its ease and delicious outcome firsthand. Join the ranks of satisfied froyo makers today!
Essential Ingredients for Frozen Yogurt
Crafting homemade frozen yogurt is surprisingly simple, thanks to a concise list of core ingredients. Each plays a vital role in achieving that perfect creamy texture and delightful flavor profile.
- Greek Yogurt: This is the star of our recipe. Whether you opt for full-fat or low-fat, Greek yogurt is superior for frozen yogurt due to its thicker consistency. This richness translates directly into a wonderfully creamy frozen dessert, minimizing ice crystal formation. We recommend using plain Greek yogurt as it gives you complete control over the sweetness and flavorings, allowing for endless customization. However, if you’re looking for a shortcut, a good quality vanilla or fruit-flavored Greek yogurt can also work, just be mindful of added sugars.
- Raw Honey: Our natural sweetener of choice, raw honey not only adds a lovely depth of flavor but also contributes to the smooth texture of the frozen yogurt. Its natural sugars help keep the mixture from freezing solid, resulting in a scoopable consistency. Many readers ask about substitutes: while we haven’t personally tested maple syrup or agave nectar in this specific recipe, they are popular natural sweeteners. If you try them, please share your results in the comments below! Remember that their sweetness levels and moisture content might vary slightly.
- Vanilla Extract: A crucial flavor enhancer, vanilla extract elevates the overall taste of your frozen yogurt, adding a warm, aromatic note that complements the tang of the yogurt and the sweetness of the honey. Don’t skip this ingredient, even if you plan to add other flavors, as it provides a foundational richness. High-quality pure vanilla extract will make a noticeable difference.
These three ingredients form the perfect base, ready for any optional additions you might desire!
Choosing the Best Yogurt for Frozen Yogurt?
While almost any yogurt can be used to make a homemade frozen treat, selecting the right type significantly impacts the final taste and texture. For truly exceptional frozen yogurt, the type of yogurt you choose is paramount.
Why Greek Yogurt Reigns Supreme: We highly recommend using Greek yogurt for your homemade frozen yogurt. Its inherently thick and creamy texture, a result of the straining process that removes excess whey, translates directly into a denser, richer, and smoother frozen dessert. This high viscosity minimizes the formation of icy crystals, giving you that desirable soft-serve consistency straight from the machine.
- Full-Fat vs. Low-Fat: Both full-fat and low-fat Greek yogurts work beautifully. Full-fat yogurt will yield a slightly richer, more indulgent frozen yogurt with an even creamier mouthfeel. Low-fat versions are excellent for a lighter option, and still provide a wonderfully creamy result due to the Greek yogurt’s natural thickness. Choose based on your dietary preferences!
- Plain is Best for Customization: For ultimate control over the flavor and sweetness of your frozen yogurt, we strongly advise using plain, unsweetened Greek yogurt. This allows you to add your preferred sweetener (like honey) and flavorings (vanilla, fruit, chocolate) without competing with pre-existing flavors or excessive sugars. However, if you’re in a pinch or prefer a shortcut, a vanilla-flavored Greek yogurt can be a good starting point, just adjust the added honey to taste. Avoid yogurts with artificial sweeteners or thickeners, as they can affect the freezing process and final texture.
By starting with a high-quality Greek yogurt, you’re laying the foundation for a truly superior homemade frozen yogurt experience.
Unleash Your Creativity: Optional Variations and Toppings
One of the greatest joys of making homemade frozen yogurt is the ability to customize it exactly to your liking. The options are truly endless when it comes to mix-ins and toppings, allowing you to create unique flavor and texture combinations every time. Think beyond just fruit – there’s a whole world of delicious possibilities waiting to be explored!
Here are some inspiring yogurt flavors or combo ideas to get you started, along with serving suggestions:
- Peanut Butter + Chocolate: A timeless duo! Add 1/4 cup (or more, if you’re a peanut butter fanatic!) of creamy peanut butter and 1 1/2 tablespoons of unsweetened cocoa powder to your base mixture before churning. Swirl with chocolate fudge or top with mini peanut butter cups for serving.
- PB & J Swirl: For a nostalgic treat, mix in peanut butter to taste with either fresh berries, frozen fruit (thawed slightly), or your favorite fruit jam. Serve with a dollop of extra jam on top.
- Peanut Butter + Banana: A healthy and satisfying combination. Blend in peanut butter to taste along with 1/2 to 1 full ripe banana, sliced or mashed. This adds natural sweetness and a creamy texture. Top with sliced bananas and a drizzle of honey.
- Zesty Citrus Blast: For a refreshing tang, mix in 3 teaspoons of finely grated lime zest, lemon zest, and/or orange zest. This brightens the flavor considerably. Garnish with a fresh citrus segment.
- Chocolate Berry Dream: Combine the richness of chocolate with the sweetness of berries. Add 1/2 cup of fresh or frozen mixed berries (like raspberries or blackberries) and 1 1/2 tablespoons of cocoa powder. Swirl with a berry compote.
- Blueberry Lemon Zest: A classic pairing. Incorporate 1/2 cup of fresh or frozen blueberries and 2 teaspoons of fresh lemon zest. The blueberries provide a burst of flavor and a beautiful color. Top with fresh blueberries.
- Strawberry Banana Bliss: A creamy, fruity delight. Add 1/2 cup of fresh or frozen strawberries (hulled) and 1/2 to 1 full ripe banana, sliced. This blend is wonderfully sweet and smooth. Serve with extra strawberry slices.
- Mint Chocolate Chip Indulgence: For a cool and refreshing treat, mix in 1 teaspoon of peppermint extract and 1 1/2 tablespoons of cocoa powder. Fold in some mini chocolate chips or chopped dark chocolate after churning for that signature crunch.
- Tropical Paradise: Blend in 1/2 cup of mashed mango or pineapple for an exotic twist. A sprinkle of shredded coconut on top completes the experience.
- Coffee Kick: For coffee lovers, dissolve 1-2 teaspoons of instant espresso powder in a tablespoon of hot water, then add to the yogurt mixture. Swirl with chocolate syrup or crushed coffee beans.
Remember, the key is to experiment! Taste your base mixture before churning and adjust sweetness or flavorings as needed. For toppings, think about contrasting textures – crunchy nuts or granola, chewy dried fruit, or smooth sauces.
Gear Up: The Essential Frozen Yogurt Machine?
To achieve that perfectly smooth, soft-serve consistency characteristic of excellent frozen yogurt, an ice cream maker is an absolute necessity for this recipe. While it might seem like an extra appliance, it’s a game-changer for homemade frozen treats and opens up a world of possibilities beyond just froyo.
Why an Ice Cream Maker?
An ice cream maker continuously churns the mixture as it freezes, breaking up ice crystals as they form. This process incorporates air, resulting in a light, creamy, and smooth texture that’s impossible to achieve by simply freezing yogurt in a container. Without churning, your frozen yogurt would turn into a solid block of ice, much like a regular ice cube.
Types of Ice Cream Makers:
- Freezer Bowl Machines: These are the most common and budget-friendly. They feature a double-walled bowl filled with a cooling gel that needs to be pre-frozen for at least 12-24 hours before use. This is the type typically used with stand mixer attachments or standalone models. We absolutely adore our Kitchen-Aid Stand Mixer Attachment, which easily integrates with your existing mixer.
- Compressor Machines: These are self-refrigerating and don’t require pre-freezing a bowl. They are more expensive but offer unparalleled convenience, allowing you to make batch after batch without waiting.
- Salt and Ice Machines: The traditional method, these use rock salt and ice to chill the inner bowl. They can be a bit more labor-intensive but are often great for larger batches.
Our Top Recommendations:
While any ice cream maker will work, here are some highly-rated options that deliver consistent results:
- Ninja Ice Cream Maker: Known for its power and ability to create a variety of frozen treats.
- Cuisinart Ice Cream Maker: A very popular and reliable brand, offering excellent performance for its price point.
- Hamilton Beach Ice Cream Maker: A great entry-level option, perfect for those new to homemade frozen desserts.
Regardless of the machine you choose, ensure its freezer bowl is thoroughly chilled (if applicable) and follow the manufacturer’s instructions for optimal performance. A well-chilled bowl is the secret to quicker freezing and creamier frozen yogurt!
Your Step-by-Step Guide to Making Frozen Yogurt
Creating delicious homemade frozen yogurt is a straightforward process, broken down into a few simple steps. Follow these instructions carefully for the best results!
STEP 1: PREPARE YOUR MIXTURE – COMBINE INGREDIENTS
Begin by gathering all your ingredients. In a large mixing bowl, combine the Greek yogurt, raw honey, and vanilla extract. If you’re adding any optional mix-ins like cocoa powder or puréed fruit (as described in the variations section), now is the time to incorporate them. Whisk everything together thoroughly until the mixture is smooth, well-combined, and the honey is fully dissolved. You can also mix these ingredients directly in your yogurt container if it’s large enough and you plan to transfer it to a machine later.
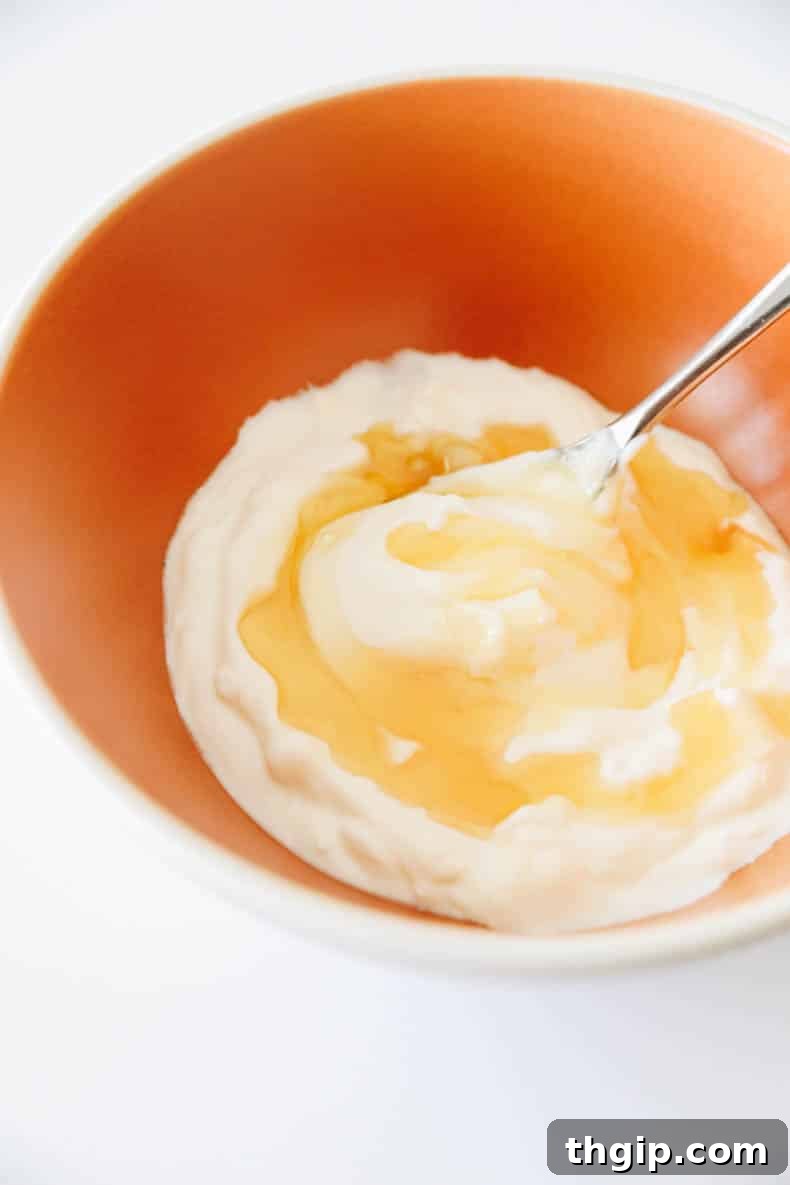
STEP 2: CHURN TO PERFECTION – ADD TO ICE CREAM MAKER
Once your yogurt mixture is prepared, pour it directly into the frozen bowl of your ice cream maker. Make sure your freezer bowl has been pre-chilled according to the manufacturer’s instructions (usually 12-24 hours). Churn the mixture for approximately 35-40 minutes. The exact time may vary slightly depending on your specific ice cream maker and the initial temperature of your ingredients. The goal is to reach a creamy, soft-serve consistency. Be patient during this step; it’s crucial for achieving that smooth, airy texture. The mixture will thicken considerably and resemble soft-serve ice cream when ready.
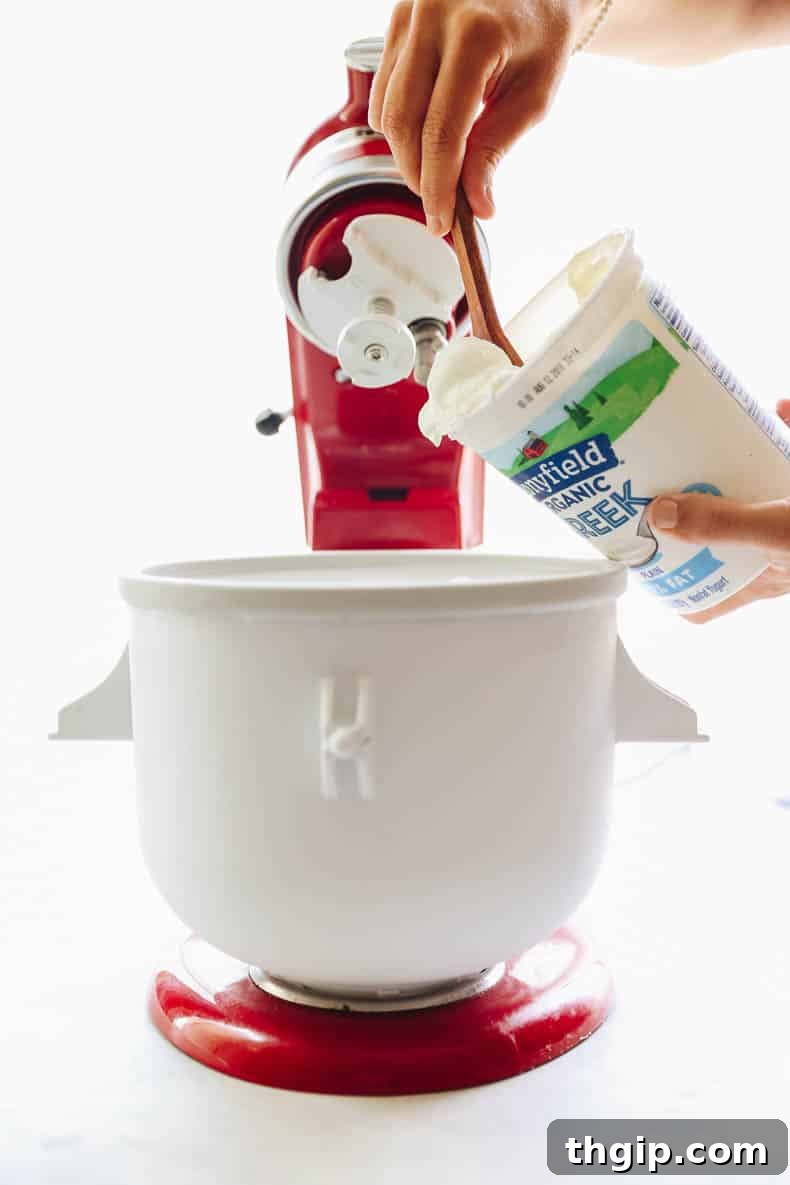
STEP 3: FIRM UP – FREEZE FOR SERVING
After churning, immediately transfer the soft-serve frozen yogurt into an airtight container. Press a piece of parchment paper or plastic wrap directly onto the surface of the frozen yogurt before sealing it with a lid. This helps prevent ice crystals from forming on top. Place the container in your freezer for at least 2 hours to allow the frozen yogurt to firm up to a scoopable, yet still smooth, consistency. If you prefer a firmer texture, you can freeze it for a little longer.
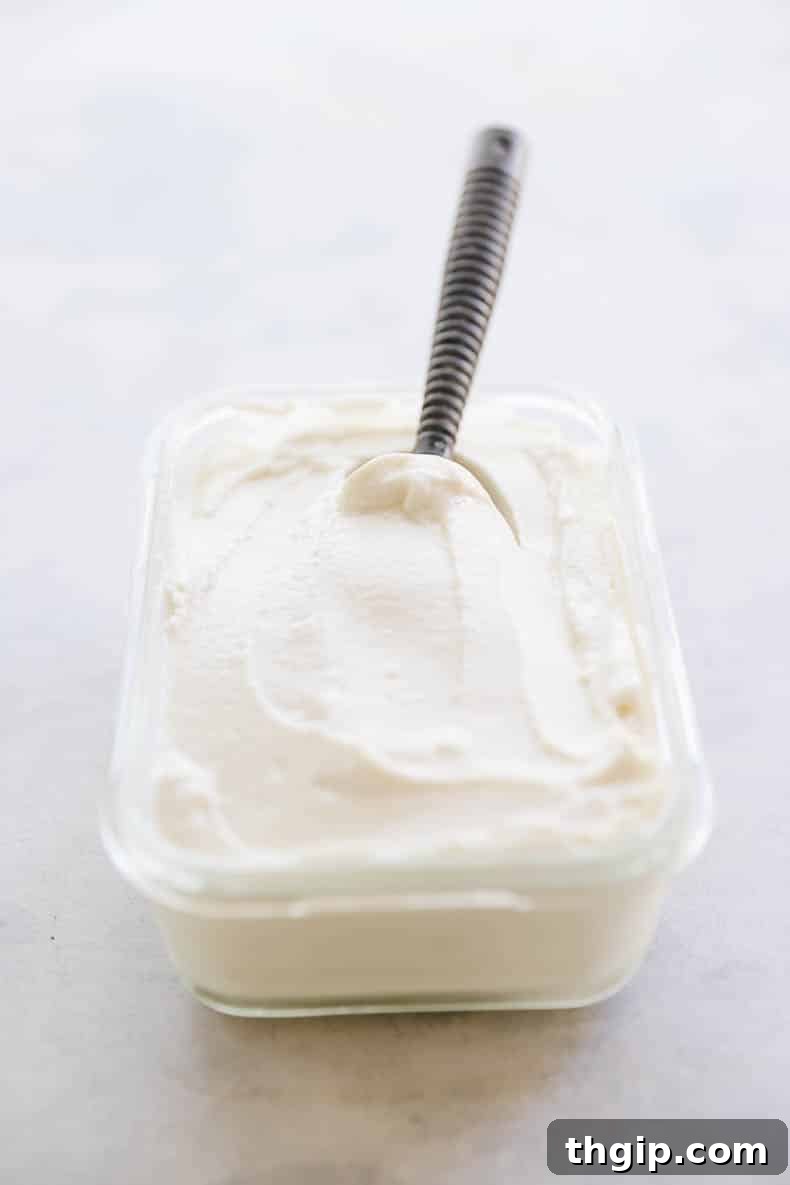
And there you have it – fresh, homemade frozen yogurt ready to be enjoyed!
How to Store and Re-serve Frozen Yogurt
Proper storage is key to enjoying your homemade frozen yogurt for an extended period, though it’s often so delicious it disappears quickly! Understanding how to store and serve it correctly will help maintain its quality.
- Airtight is Essential: Store any leftover frozen yogurt in a high-quality, airtight container in the freezer. This is crucial for preventing freezer burn and minimizing the absorption of odors from other foods in your freezer.
- Freezer Lifespan: Your homemade frozen yogurt will keep well in the freezer for about 1 to 3 months. While it’s safe to eat after this, its texture and flavor are at their best when consumed within the first few weeks.
- Freezing Solid is Normal: It’s important to note that homemade frozen yogurt, without commercial stabilizers and emulsifiers, will freeze solid when stored for longer than a couple of hours. This is completely normal and expected. Don’t worry, it doesn’t mean your batch is ruined!
- Thawing Before Serving: To enjoy your frozen yogurt in its creamy glory after extended freezing, you’ll need to let it thaw slightly before serving. Simply remove the container from the freezer and let it sit at room temperature for typically 5-15 minutes (depending on the container size and room temperature). You’ll know it’s ready when you can easily scoop it with a spoon. A quick stir can also help restore some of its original creaminess.
- Minimizing Ice Crystals: While some ice crystals are natural for homemade froyo, you can minimize them by ensuring your container is truly airtight and by pressing a layer of plastic wrap directly onto the surface of the frozen yogurt before sealing the lid. This creates an extra barrier against air, which is a primary cause of ice crystal formation.
With these storage tips, you can enjoy your delicious homemade frozen yogurt whenever a craving strikes!
More Frozen Sweet Treats:
- Chocolate Peanut Butter Banana Ice Cream
- Creamy Cold Brew Ice Pops
- Vegan Ice Cream Sandwiches
- Chocolate Avocado Ice Cream
Homemade Frozen Yogurt Recipe
4.7 from 10 reviews
Delight in perfectly creamy, healthy, homemade frozen yogurt with this simple 3-ingredient recipe! It’s an effortlessly delicious way to enjoy a guilt-free dessert, customized to your taste.
- Author: Davida Lederle
- Prep Time: 5 minutes
- Cook Time: 40 minutes
- Total Time: 2 hours 45 minutes
- Yield: 4–6 servings
- Category: Dessert
- Method: Freeze
- Diet: Gluten Free
Ingredients
- 1 32-ounce container of plain Greek yogurt (full fat or low fat are fine)1
- 1/3 cup raw honey
- 1 tsp vanilla extract
- Optional: 1/2 cup of fresh or frozen berries, 1 1/2 tbsp cocoa powder (for chocolate-flavored), or add-ins of choice (see list above)
Instructions
- In a large bowl, combine all ingredients or mix directly into your yogurt container. Ensure everything is well-combined and smooth.
- Pour the mixed ingredients into your ice cream maker (we use the KitchenAid ice cream attachment with great success).
- Churn for 35-40 minutes, or until the mixture reaches a creamy, soft-serve consistency. Churning time may vary by machine.
- Transfer the churned frozen yogurt into an airtight container with a lid. Freeze for at least 2 hours to allow it to firm up.
- Remove the frozen yogurt from the freezer about 5-15 minutes before serving to allow it to thaw slightly for easier scooping and optimal texture.
* Note: We prefer to use Greek yogurt as it consistently makes for a creamier, richer frozen yogurt.