
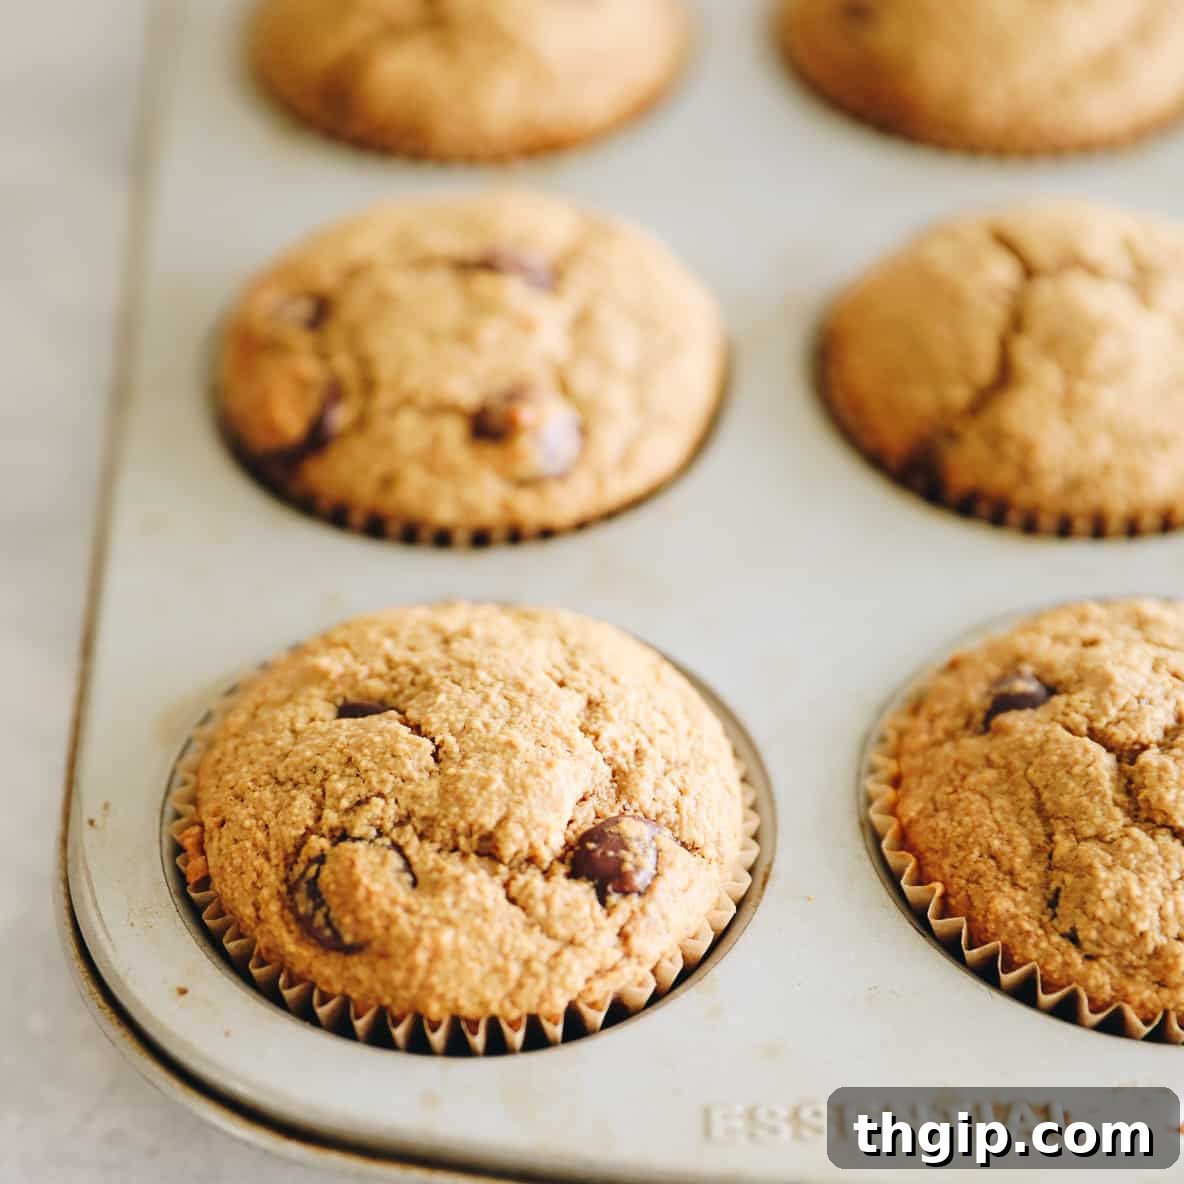
Welcome to the ultimate guide for creating incredibly wholesome and utterly delicious oat flour muffins! If you’ve been searching for a healthier, gluten-free, and customizable alternative to traditional muffins, you’ve hit the jackpot. These delightful treats, made with nutrient-rich whole-grain ground oats, unrefined sugar, and naturally dairy-free ingredients, are designed to be a family favorite. Whether you’re a seasoned baker or just starting, this recipe promises to deliver moist, fluffy, and flavorful muffins every time.
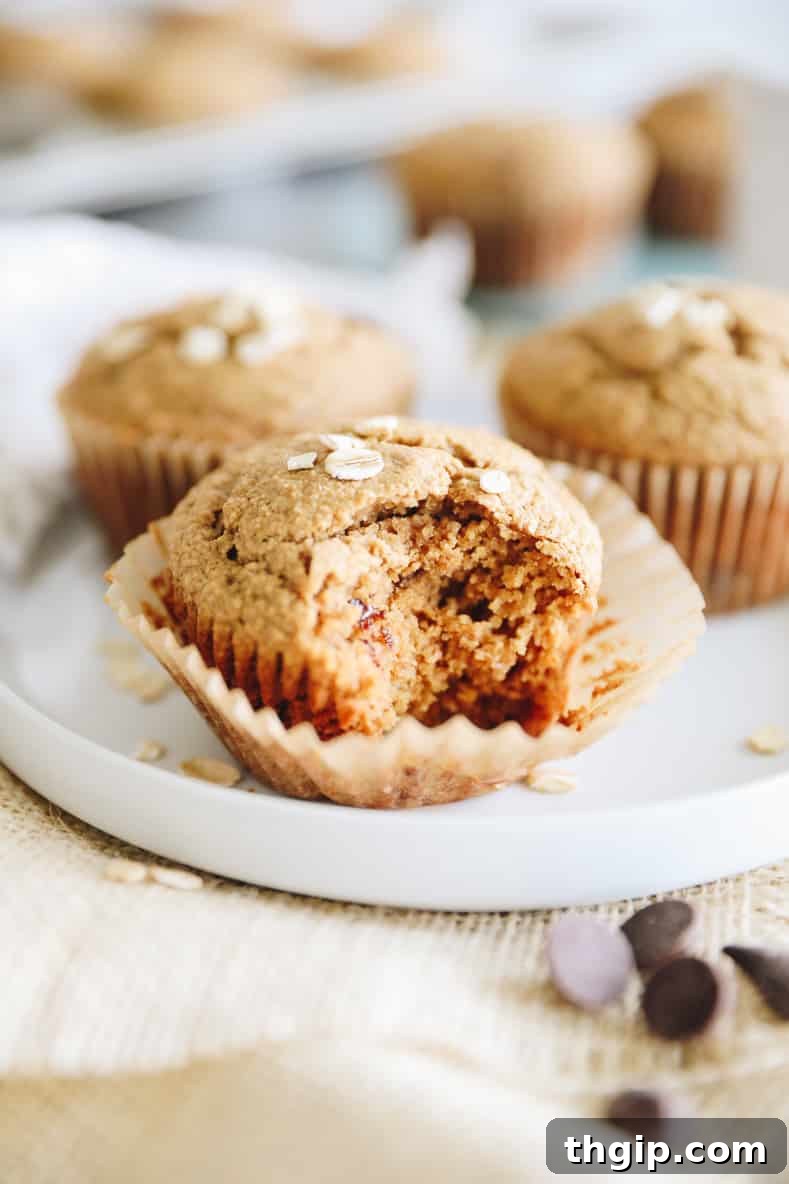
My journey with oat flour began years ago when I sought versatile, gluten-free alternatives for my baking. What I discovered was a revelation: oat flour isn’t just a substitute; it’s often an enhancement. Its fine texture, subtle sweetness, and incredible nutritional profile make it a standout choice for everything from delicate pastries to hearty baked goods. This particular muffin recipe has become a staple in my kitchen, providing a perfect base that welcomes endless creativity. Get ready to explore the magic of oat flour and create muffins that truly nourish and delight.
The Magic of Oat Flour: What It Is and Why It’s Perfect for Baking
Oat flour is simply rolled oats that have been finely ground into a flour-like consistency. It’s a fantastic whole-grain option that brings numerous benefits to your baking. Unlike heavily processed white flours, oat flour retains the bran and germ of the oat kernel, packing in more fiber, protein, and essential nutrients. It’s naturally gluten-free (though it’s always wise to choose certified gluten-free oats if you have a severe allergy, due to potential cross-contamination during processing).
Making Your Own Oat Flour at Home
One of the best things about oat flour is how incredibly easy it is to make yourself. All you need is a good quality blender or food processor and some rolled oats. Here’s how:
- Choose Your Oats: Opt for old-fashioned rolled oats or quick-cooking oats. These varieties have been steamed and flattened, making them easier to grind into a fine flour.
- Avoid Steel-Cut Oats: It’s crucial to steer clear of steel-cut oats for flour making. Their denser, chewier texture means they are extremely difficult to grind finely enough, often resulting in a gritty flour that won’t give your baked goods the desired light and fluffy texture.
- Blend Until Fine: Place your chosen rolled oats into your high-speed blender or food processor. Blend on high until the oats transform into a fine, powdery flour. This usually takes less than a minute. You want a consistency similar to all-purpose flour, without any large oat flakes remaining.
- Store Properly: Once made, transfer your oat flour to an airtight container. It can be stored at room temperature for several weeks or in the refrigerator/freezer for extended freshness.
Making your own oat flour is not only cost-effective but also ensures you have the freshest ingredients for your healthy baking endeavors. Plus, you control the quality of the oats used!
Why Choose Oat Flour for Your Muffins?
While many gluten-free flours exist, oat flour stands out as an exceptional choice for muffins due to several key advantages:
- Nutritional Powerhouse: As a whole grain, oat flour is rich in dietary fiber, which aids digestion and helps keep you feeling full longer. It also provides important vitamins and minerals like manganese, phosphorus, magnesium, and B vitamins.
- Naturally Sweet Flavor: Oat flour possesses a natural, subtle sweetness that enhances the overall taste of your muffins, often allowing you to reduce the amount of added sugar.
- Moist and Tender Texture: When ground finely, oat flour contributes to a wonderfully moist and tender crumb in baked goods. It absorbs liquid beautifully, preventing dryness often associated with other gluten-free flours.
- Affordable Gluten-Free Option: Compared to more specialized gluten-free flours like almond flour or coconut flour, oats are generally more accessible and budget-friendly, making healthy baking more sustainable.
- Excellent Binding Properties: Oat flour has a natural stickiness that helps bind ingredients together, crucial for creating muffins that hold their shape without crumbling.
These characteristics make oat flour an ideal foundation for a muffin recipe that is not only delicious but also genuinely good for you.
Essential Ingredients for Perfect Oat Flour Muffins:
Crafting these delectable muffins requires a careful selection of ingredients, each playing a vital role in achieving that perfect balance of flavor and texture. Here’s a breakdown of what you’ll need:
- Oat Flour: The star of our recipe! As mentioned, you can use store-bought certified gluten-free oat flour or easily grind your own from old-fashioned or quick-cooking rolled oats. Its fine texture is key for a tender muffin.
- Coconut Palm Sugar: This unrefined sugar provides a rich, caramel-like sweetness. It’s a healthier alternative to white sugar. You can substitute with brown sugar for a similar depth of flavor, or any other granulated sugar of your choice.
- Baking Soda + Baking Powder: This powerful leavening duo works together to give the muffins their beautiful rise and light, airy texture. Ensure both are fresh for optimal results.
- Cinnamon: A warm, aromatic spice that perfectly complements the subtle sweetness of oats. It adds a comforting depth of flavor to the muffins.
- Applesauce: Unsweetened applesauce acts as a natural sweetener and a fantastic moistening agent, reducing the need for excessive oil. For variations, feel free to replace it with an equal amount of canned pumpkin puree or mashed ripe banana.
- Almond Milk: Unsweetened almond milk keeps this recipe dairy-free. Feel free to substitute with any other plant-based milk (like soy, oat, or cashew milk) or even regular dairy milk if dietary restrictions aren’t a concern.
- Coconut Oil: Melted coconut oil contributes to the muffins’ moistness and tenderness, without imparting a strong coconut flavor. If you don’t prefer coconut oil, a neutral oil like canola or vegetable oil can be used.
- Large Egg: The egg is crucial for binding all the ingredients together, providing structure, and adding richness to the muffins. For a vegan option, you can try a “flax egg” (1 tbsp ground flaxseed mixed with 3 tbsp water, let sit for 5 minutes).
- Vanilla Extract: A splash of vanilla enhances all the other flavors, adding a subtle warmth and aroma that makes these muffins irresistible.
- Optional Add-ins: This is where the customization truly shines! Have fun with additions like chocolate chips, fresh or frozen blueberries, chopped nuts, raisins, or any other treats you desire.
Gathering these ingredients will set you on the path to baking truly exceptional oat flour muffins.
How to Make Oat Flour Muffins: A Step-by-Step Guide
Making these oat flour muffins is a straightforward process, perfect for bakers of all skill levels. Follow these simple steps for perfectly baked, wholesome muffins:
STEP 1: PREPARE DRY INGREDIENTS
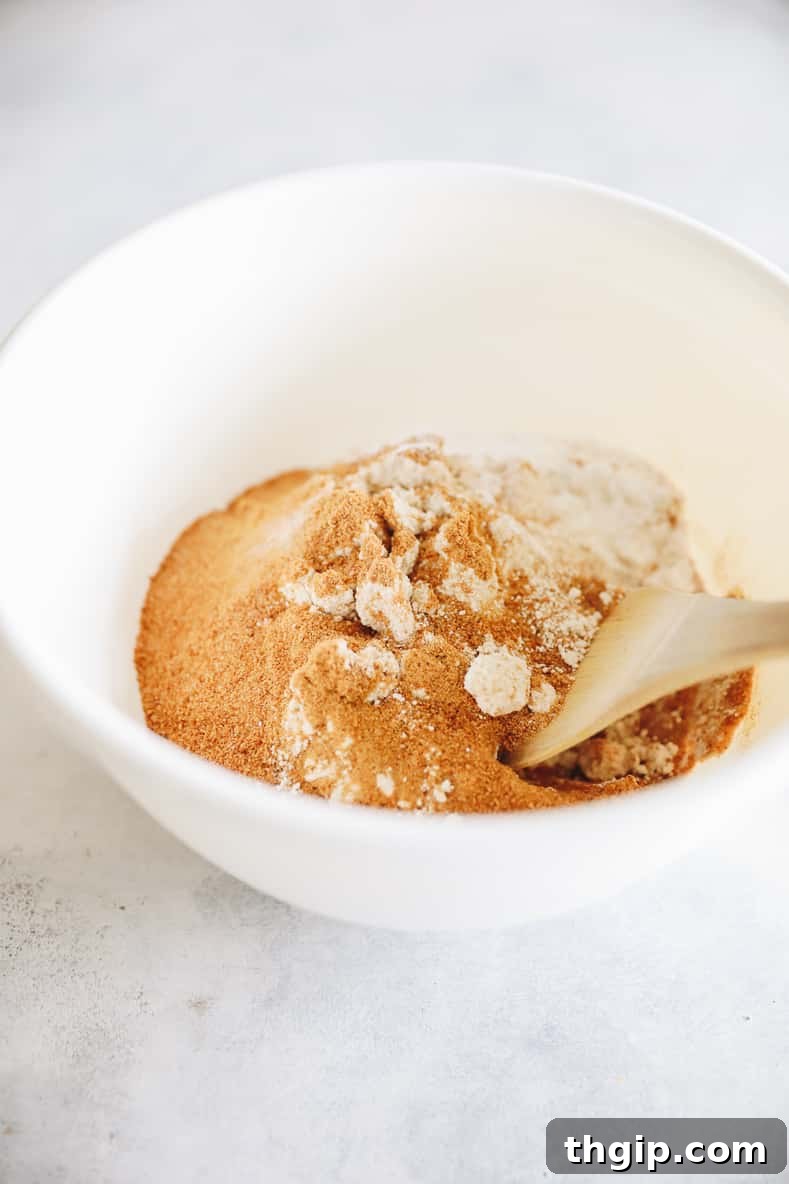
In a large mixing bowl, combine the oat flour, coconut palm sugar, baking powder, baking soda, cinnamon, and a pinch of salt. Whisk these dry ingredients together thoroughly. This ensures that the leavening agents and spices are evenly distributed, leading to a consistent rise and flavor in every muffin.
STEP 2: COMBINE WET INGREDIENTS
In a separate medium bowl, whisk together the mashed applesauce (or your chosen substitute), almond milk, melted coconut oil, large egg, and vanilla extract until well combined. Ensure the coconut oil isn’t too hot, as it could scramble the egg. The mixture should be smooth and homogenous.
STEP 3: GENTLY MIX AND ADD INCLUSIONS
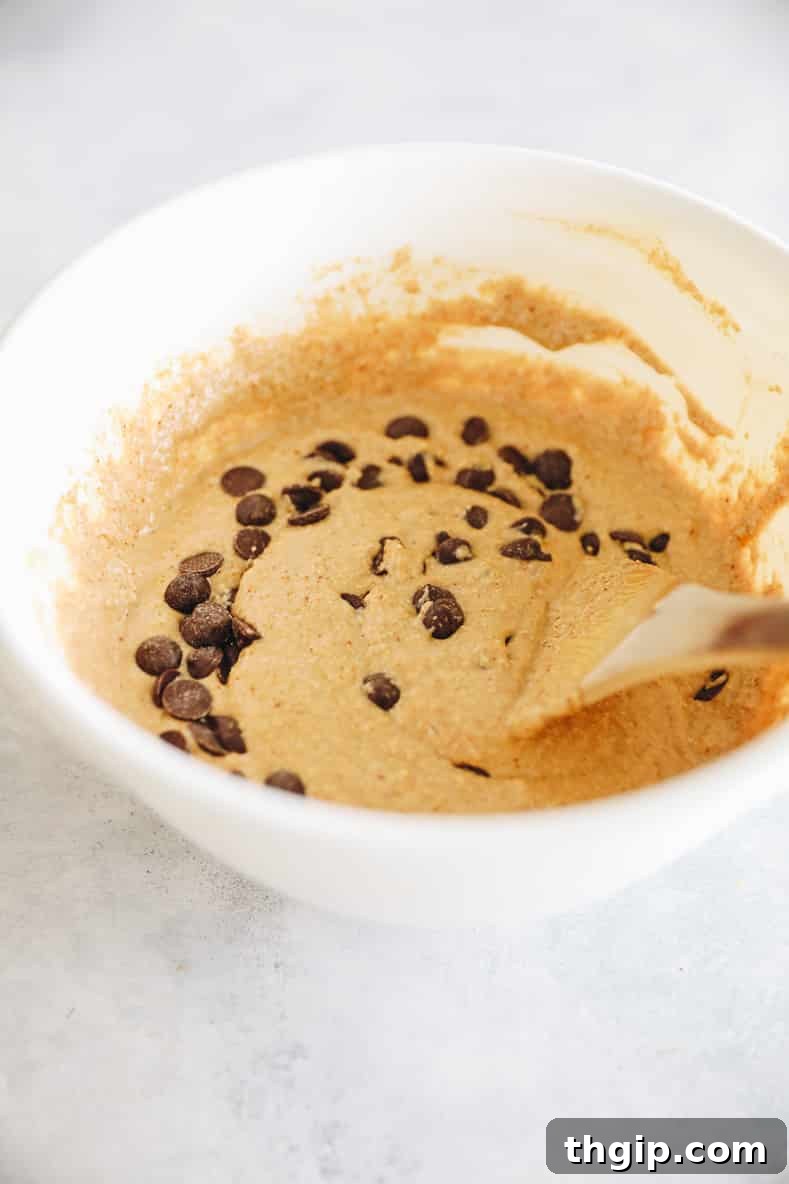
Pour the wet mixture into the bowl with the dry ingredients. Using a spatula, gently stir until just combined. Be careful not to overmix the batter; overmixing can lead to tough, dense muffins. A few streaks of flour are perfectly fine. Once mostly combined, gently fold in your chosen optional add-ins, such as chocolate chips, berries, or nuts.
STEP 4: BAKE THE MUFFINS
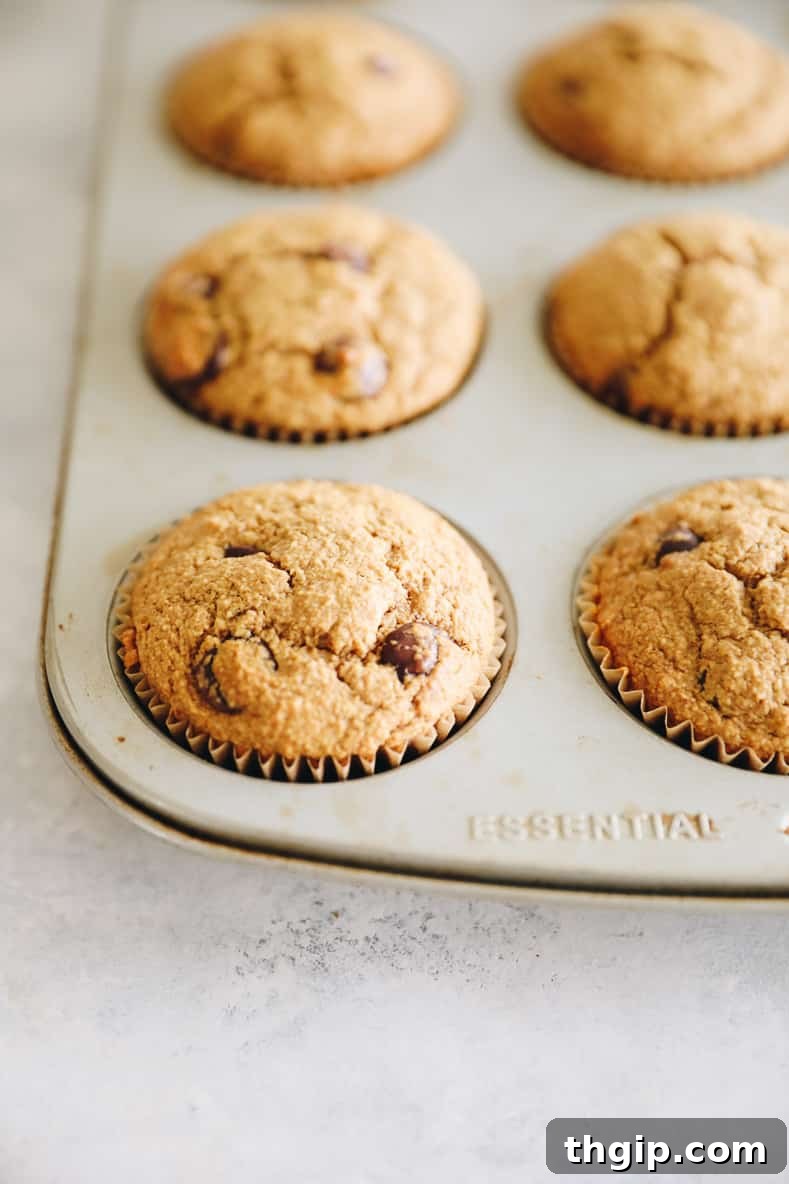
Preheat your oven to 350 degrees F (175 degrees C). Prepare a 12-cup muffin pan by greasing it or lining it with paper muffin liners. Evenly scoop the batter into 10 of the muffin cups, filling each about two-thirds full. Bake for 20-25 minutes, or until a toothpick inserted into the center of a muffin comes out clean. The tops should be golden brown and spring back when lightly touched.
STEP 5: COOL AND ENJOY
Once baked, remove the muffin pan from the oven and let the muffins cool in the pan for about 10 minutes. This allows them to set and makes them easier to remove. After 10 minutes, transfer the muffins to a wire rack to cool completely to room temperature. Enjoy them warm or cooled!
Tips for Muffin Perfection
- Don’t Overmix: As mentioned, overmixing develops gluten (even in oat flour, which has some protein), leading to dense muffins. Mix just until ingredients are combined.
- Fill Evenly: Use an ice cream scoop for consistent muffin sizes and even baking.
- Proper Oven Temperature: Ensure your oven is fully preheated before putting the muffins in. An accurate oven temperature is crucial for the muffins to rise properly.
- Cooling is Key: While tempting to eat immediately, letting muffins cool in the pan briefly and then on a wire rack prevents them from becoming soggy and allows their structure to set.
Storage Suggestions to Keep Your Muffins Fresh
Proper storage is essential to maintain the freshness and deliciousness of your homemade oat flour muffins. Here are the best ways to keep them:
- On the Counter: For short-term enjoyment, store your muffins in an airtight container at room temperature for up to 3 days. Placing a piece of paper towel at the bottom of the container can help absorb excess moisture and prevent sogginess.
- In the Fridge: If you want them to last a bit longer, transfer the airtight container to the refrigerator. They will stay fresh for up to 1 week. This is especially recommended in warmer climates or if your muffins contain fresh fruit.
- In the Freezer: For longer storage, oat flour muffins freeze beautifully! Once completely cooled, place them in a single layer in a freezer-safe ziplock bag or airtight container. They will keep well in the freezer for up to 3 months. When ready to enjoy, simply thaw them overnight in the refrigerator or for a few hours on the countertop. You can also warm them gently in the microwave or oven for a “freshly baked” experience.
Flavor Variations: Customizing Your Oat Flour Muffins
The beauty of this oat flour muffin base is its incredible versatility. It’s a blank canvas just waiting for your creative touch! You can easily incorporate 1/2 to 1 cup of your favorite mix-ins. Don’t be afraid to experiment, but here are some popular and delicious suggestions to get you started:
- Chocolate Chip: A timeless classic! Fold in 1/2 to 1 cup of your preferred chocolate chips – dark, semi-sweet, milk, or even white chocolate.
- Blueberry Burst: Add 1/2 to 1 cup of fresh or frozen blueberries. If using frozen, there’s no need to thaw; simply toss them with a little oat flour before adding to the batter to prevent them from sinking.
- Peanut Butter Swirl: For a nutty twist, swirl 1/4 cup of creamy peanut butter directly into the batter just before baking. Chocolate chips are an excellent addition here!
- Carrot Cake Muffins: Grate one large carrot and fold it into the batter for a naturally sweet and moist muffin reminiscent of carrot cake. A sprinkle of chopped walnuts or pecans would be delightful too.
- Zucchini Boost: Incorporate one large grated zucchini for an added vegetable boost. Remember to squeeze out as much moisture as possible from the grated zucchini to prevent a soggy muffin.
- Dried Fruit & Nut Medley: Use 1/2 cup of a combination of your favorite dried fruits (raisins, cranberries, chopped apricots) and nuts (almonds, pecans, walnuts) for a chewy, crunchy texture.
- Apple Cinnamon: Dice a small apple into fine pieces and add it along with an extra pinch of cinnamon for a comforting autumnal flavor.
- Lemon Poppy Seed: Add 1-2 tablespoons of lemon zest and 2 tablespoons of poppy seeds for a bright, refreshing muffin.
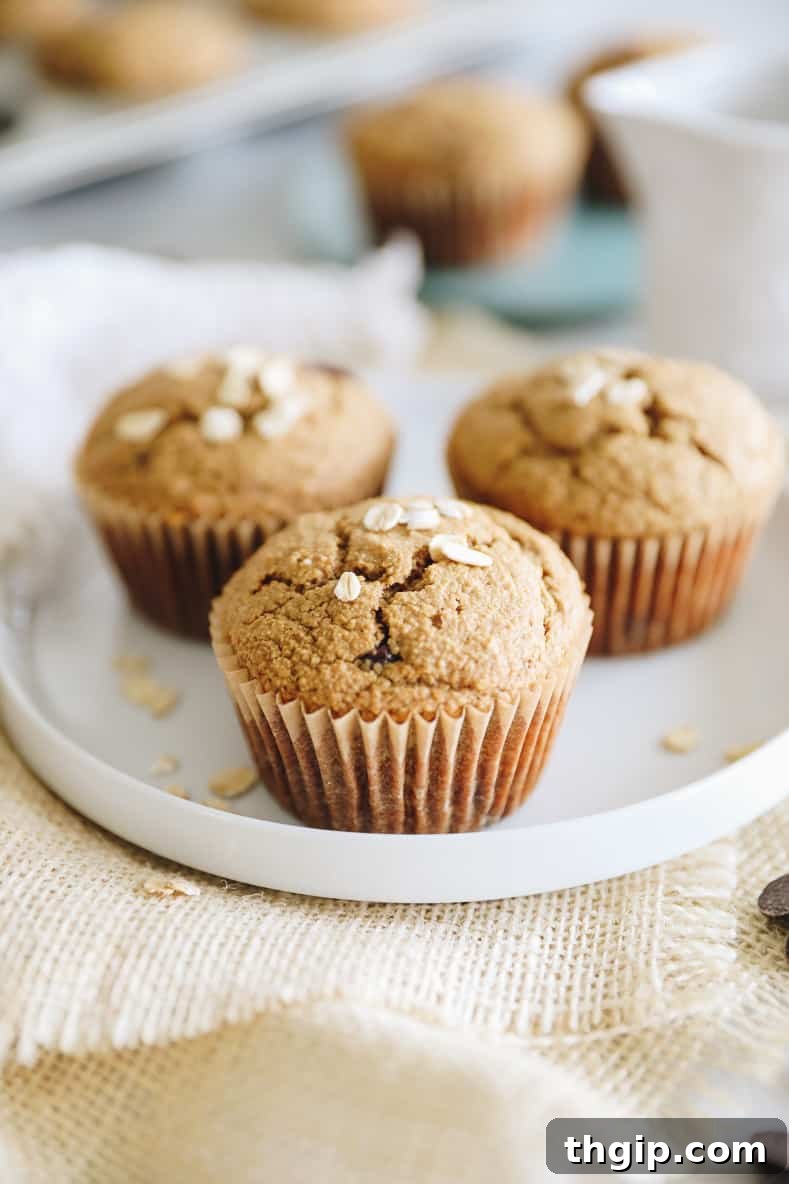
The possibilities are truly endless, so feel free to mix and match ingredients to create your signature oat flour muffins!
More Oat Flour Recipes You’ll Love:
If you’ve fallen in love with oat flour after trying these muffins, you’ll be thrilled to discover its versatility in other recipes. Here are some more delicious oat flour creations to inspire your next baking adventure:
- Healthy Banana Zucchini Bread
- Banana Bread Baked Oatmeal
- Carrot Cake Baked Oatmeal Bars
- Chocolate Chip Baked Oatmeal Cups
- Banana Oatmeal Pancakes
- Chocolate Chip Zucchini Bread Oatmeal Bars
Print Recipe
Oat Flour Muffins

4.9 from 7 reviews
Swap out regular flour in these healthy and customizable oat flour muffins. Made with whole-grain ground oats, unrefined sugar + dairy-free!
- Author: Davida Lederle
- Prep Time: 10 minutes
- Cook Time: 20 minutes
- Total Time: 30 minutes
- Yield: 10 muffins
- Category: Breakfast
- Method: Bake
- Diet: Gluten Free
Ingredients
- 2 cups oat flour (ground up rolled oats)
- 1/2 cup coconut palm sugar (or brown sugar)
- 1 tsp baking soda
- 1 tsp baking powder
- pinch of salt
- 1 tsp cinnamon
- 1/2 cup applesauce (or mashed pumpkin or 1 large banana, mashed)
- 1/2 cup unsweetened almond milk (or other non-dairy milk)
- 1/4 cup coconut oil, melted
- 1 large egg
- 1 tsp vanilla extract
- 1/2 cup add-ins: chocolate chips, blueberries, raisins etc…
Instructions
- Preheat oven to 350 degrees F (175 C).
- Line a muffin tray with liners or spray with non-stick spray. This recipe yields 10 muffins.
- In a large bowl, combine oat flour, coconut palm sugar, baking powder, baking soda, cinnamon and salt. Whisk until well combined.
- In a separate medium bowl, combine mashed applesauce, almond milk, melted coconut oil, egg and vanilla. Whisk until smooth.
- Add the wet mixture to the dry ingredients and stir gently with a spatula until just combined. Be careful not to overmix.
- Gently fold in your chosen add-ins.
- Scoop batter evenly into the 10 prepared muffin cups, filling each about two-thirds full.
- Bake for 20-25 minutes, or until a toothpick inserted into the center comes out clean and the tops are golden.
- Remove from oven and let cool in the muffin pan for 10 minutes.
- Carefully remove muffins from the tray and transfer them to a wire rack to cool completely to room temperature.
- Store in an airtight container for up to 5 days at room temperature or in the freezer for up to 3 months.
Frequently Asked Questions (FAQ) About Oat Flour Muffins
Q: Can I use instant oats to make oat flour?
A: Yes, you can use instant or quick-cooking oats to make oat flour, just like old-fashioned rolled oats. However, avoid steel-cut oats as they are too coarse and won’t yield a fine enough flour for baking muffins.
Q: Are these muffins truly gluten-free?
A: Yes, if you use certified gluten-free oats and oat flour, these muffins will be gluten-free. Regular oats are naturally gluten-free but can be cross-contaminated with wheat during processing, so look for a “certified gluten-free” label if you have celiac disease or a strong sensitivity.
Q: Can I make these muffins vegan?
A: Absolutely! To make these muffins vegan, simply replace the large egg with a “flax egg.” To prepare a flax egg, combine 1 tablespoon of ground flaxseed with 3 tablespoons of water and let it sit for about 5 minutes until it thickens into a gel-like consistency. The rest of the ingredients are already dairy-free.
Q: How do I know if my oat flour is fine enough?
A: Your homemade oat flour should resemble the texture of fine wheat flour, such as all-purpose flour. It should be powdery and uniform, without visible large oat flakes. If it’s too coarse, your muffins might be dense or gritty.
Q: My muffins turned out dry. What went wrong?
A: Dry muffins can be caused by several factors: over-baking (keep an eye on the cooking time and test with a toothpick), using too much flour (always measure flour by weight if possible, or spoon and level carefully), or not enough moisture. Ensure your applesauce, milk, and oil measurements are accurate.
Conclusion
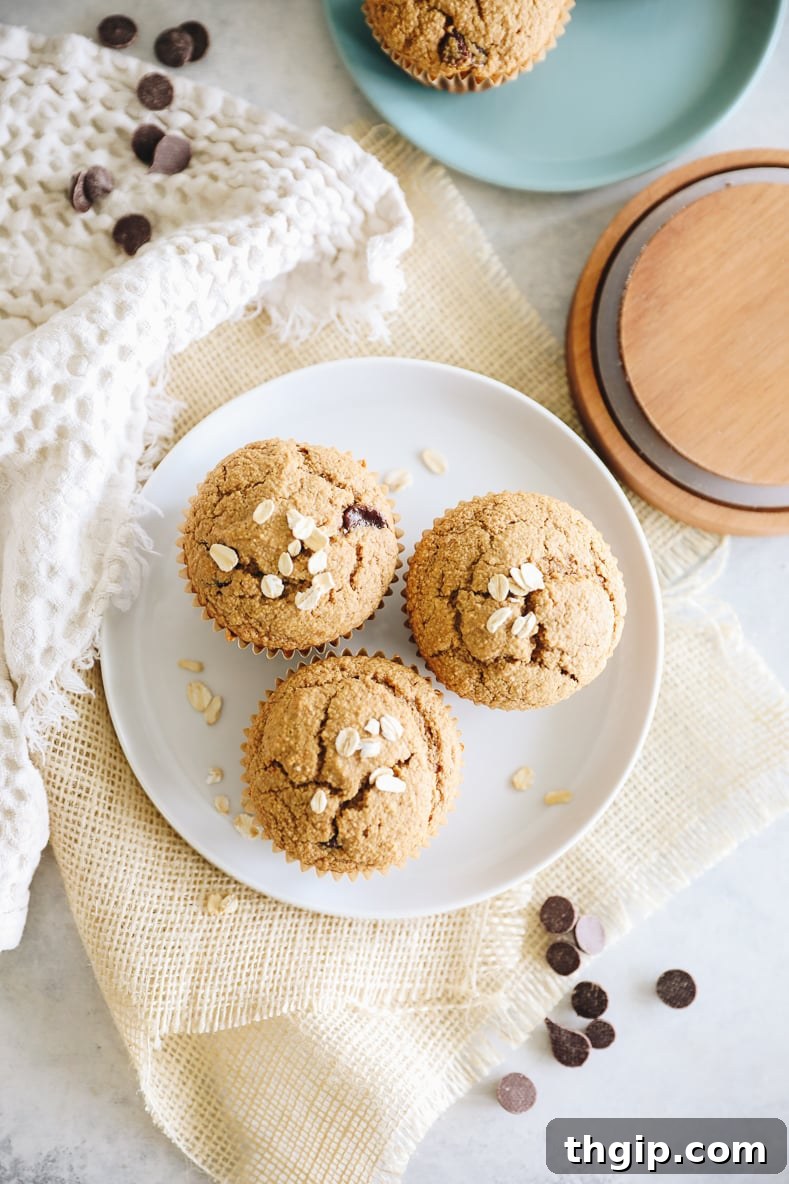
These healthy and customizable oat flour muffins are more than just a recipe; they’re an invitation to explore the delicious world of wholesome baking. With their tender crumb, delightful flavor, and impressive nutritional profile, they prove that healthy treats can be incredibly satisfying. Whether you’re making them for a quick breakfast, a nutritious snack, or a delightful dessert, these muffins are sure to become a beloved staple in your home. So go ahead, gather your ingredients, unleash your creativity with those add-ins, and bake a batch of pure, oat-filled joy!