
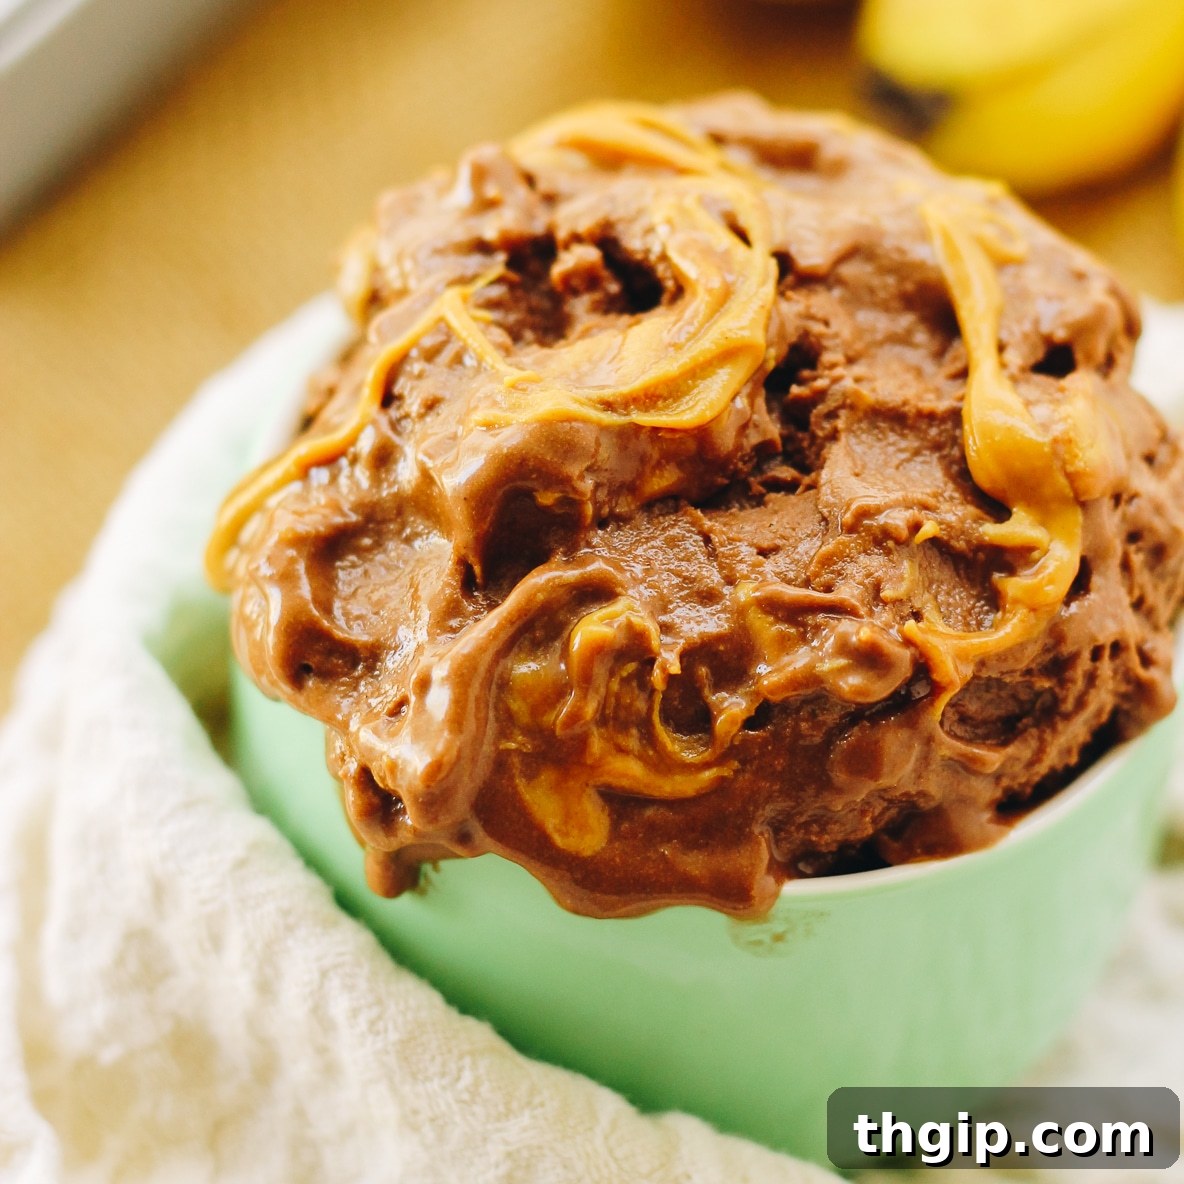
Indulge your cravings guilt-free with this incredibly healthy Chocolate Peanut Butter Banana Ice Cream! Crafted with just three simple ingredients and ready in mere minutes, this delightful frozen treat offers a wholesome alternative to traditional ice cream. It’s naturally gluten-free, vegan, and paleo-friendly, proving that decadent desserts can also be a beacon of health. Prepare to transform your dessert experience and discover a new favorite that’s as nourishing as it is delicious.
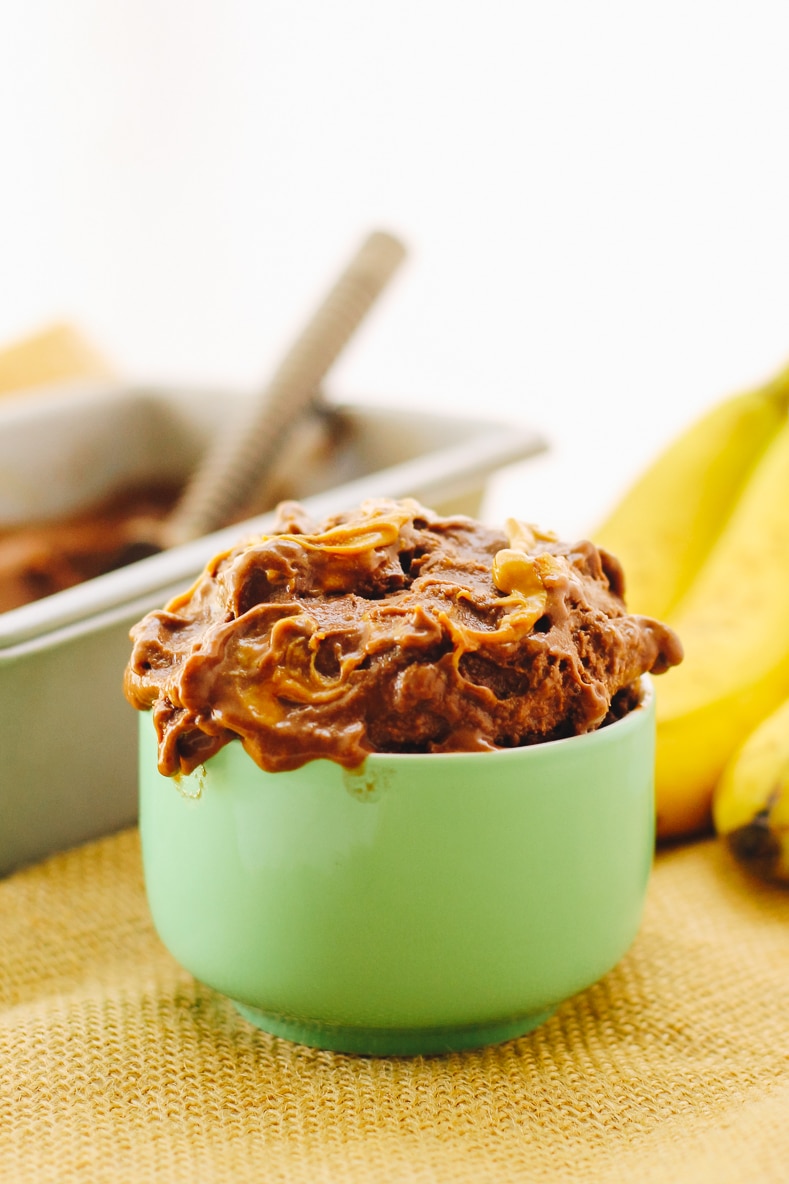
Do you recall the seismic shift in the food scene when banana “nice cream” first exploded onto the internet? It felt like every single food blogger, from seasoned veterans to enthusiastic newcomers, rushed to publish their own rendition of this revolutionary dessert. The obsession was palpable, and for good reason! Now, years later, while the initial fervor might have somewhat subsided, the magic of this sweet, satisfying, and undeniably healthy treat remains undiminished. The question isn’t why the craze has cooled, but why anyone would ever stop celebrating such a simple yet brilliant culinary innovation.
The beauty of banana ice cream lies in its incredible versatility. It serves as a perfect canvas for countless flavor combinations, allowing for endless customization to suit any palate. However, if years of analytics and countless conversations with you, my wonderful readers, have taught me anything, it’s that our shared adoration for the classic pairing of peanut butter and chocolate transcends all trends. It’s a truly timeless duo, a match made in culinary heaven that consistently captivates and satisfies.
My friend Lee and I often joke that if we ever wanted to launch a blog guaranteed to become an overnight sensation, it would feature exclusively peanut butter and chocolate recipes. Without fail, these recipes have a remarkable tendency to go viral. And honestly, who can blame anyone for falling head over heels for the epic combination that is creamy peanut butter and rich chocolate? It’s a flavor symphony that simply works, delivering comfort and joy in every single bite. Let’s dive into how you can bring this magical combination to life in your own kitchen with astonishing ease.
The Essential Trio: What You Need
The allure of this healthy ice cream begins with its shockingly short ingredient list. You don’t need exotic components or a trip to a specialty store; everything you require is likely already in your pantry or easily accessible at any local grocery store. This simplicity not only saves time but also ensures that the natural flavors truly shine through.
- Frozen ripe bananas
- Unsweetened cocoa powder
- Natural peanut butter (creamy or crunchy, your choice!)
Seriously, that’s genuinely all it takes! These three humble ingredients combine to create an unexpectedly rich, creamy, and utterly delightful dessert that rivals any store-bought alternative, without any of the added sugars or artificial ingredients.
Crafting Your Own Peanut Butter Chocolate Banana Ice Cream
The thought of making your own ice cream might seem daunting, conjuring images of specialized equipment and lengthy churning processes. However, banana ice cream, or “nice cream” as it’s affectionately known, completely rewrites that narrative. It is exceptionally simple to prepare, requiring minimal effort and delivering maximum flavor. Get ready to be amazed at how easily you can whip up this delightful dessert.
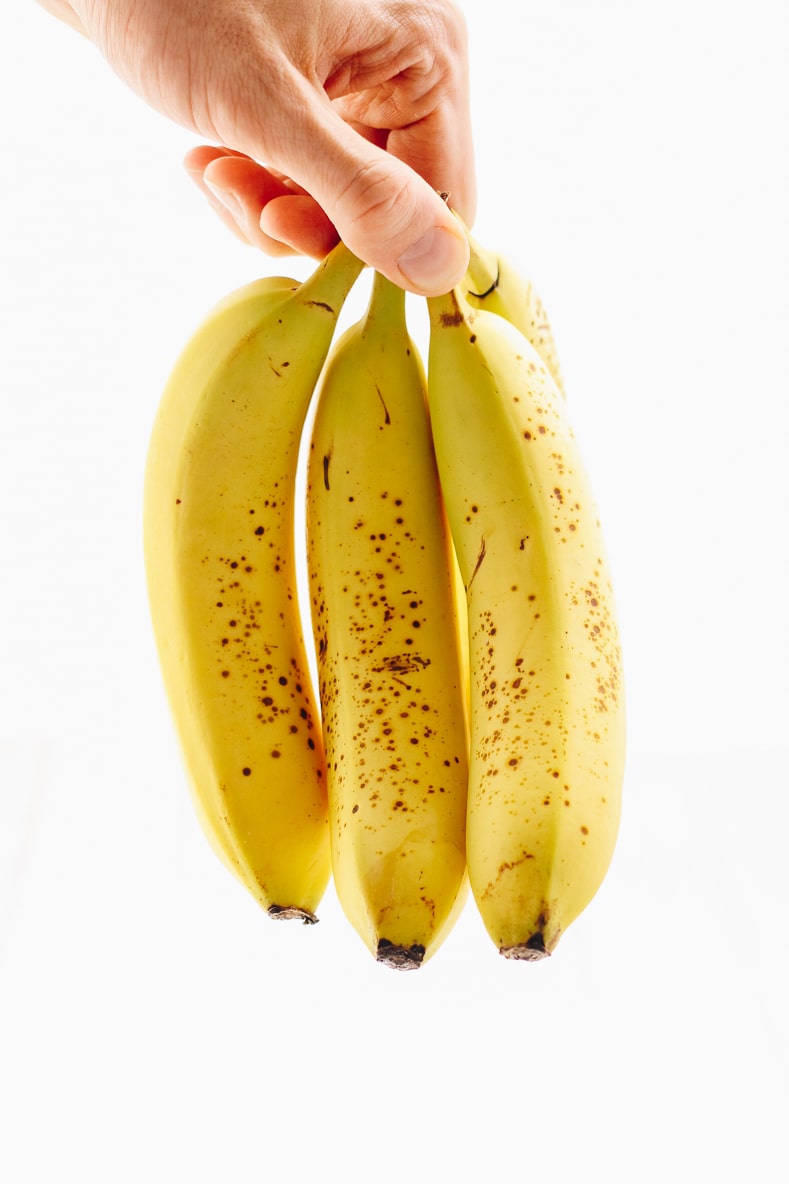
STEP 1: Prepare and Freeze Your Bananas
The foundation of any great banana ice cream lies in properly frozen bananas. Start by peeling your ripe bananas – the riper, the sweeter and creamier your ice cream will be! Once peeled, chop them into roughly 1-inch thick coins or chunks. This makes them easier for your food processor or blender to handle. Place these banana pieces in an airtight container or a freezer-safe bag, ensuring they are spread out in a single layer if possible to prevent them from freezing into one giant block. Freeze them overnight for the best results, ensuring they are rock-solid. If you find yourself in a pinch and forgot to prepare them the night before, aim for at least two to four hours in the freezer. The key is to have them completely frozen solid, as this is what gives the ice cream its signature creamy texture and prevents it from becoming a smoothie.
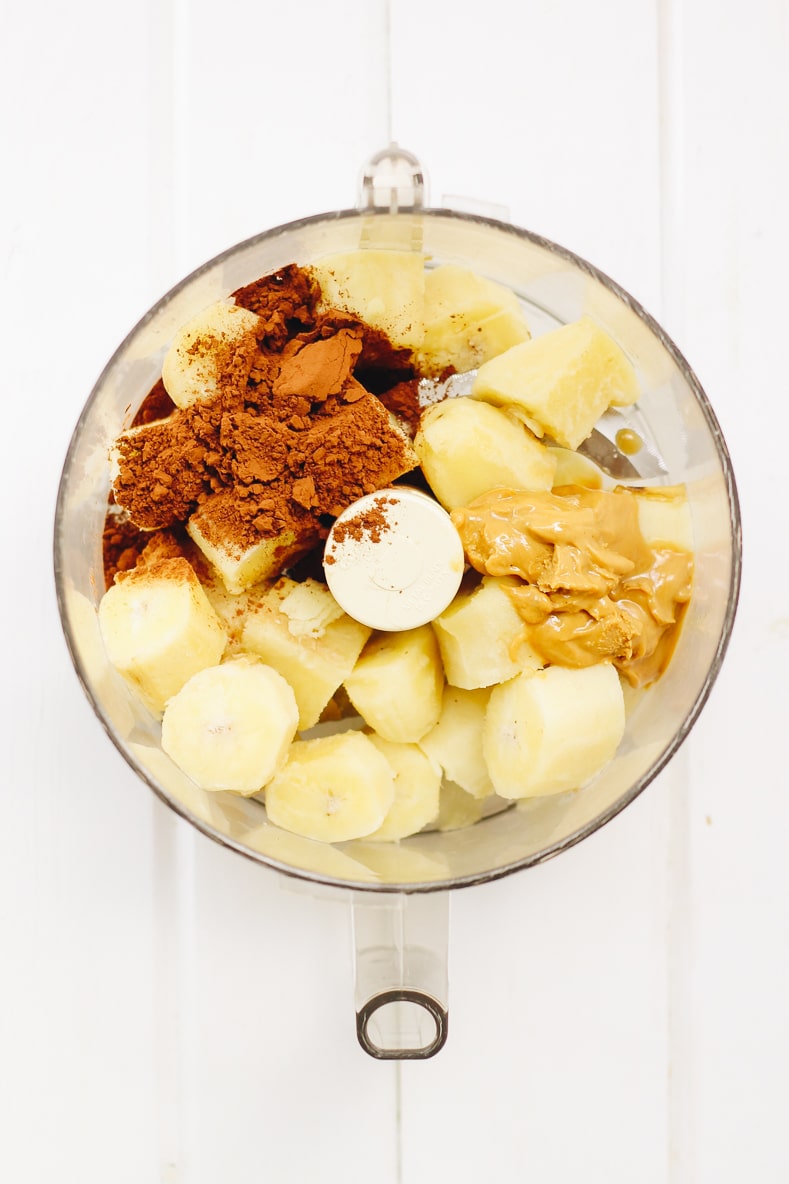
STEP 2: Combine Ingredients in a Food Processor
Once your bananas are thoroughly frozen, transfer them to a high-powered food processor. The food processor is crucial here as it provides the consistent power needed to break down the frozen fruit into a smooth, creamy consistency. Add the unsweetened cocoa powder and two tablespoons of your natural peanut butter directly into the food processor with the frozen bananas. Ensure your peanut butter is natural, meaning it contains only peanuts and perhaps a touch of salt, avoiding any added sugars or oils that can alter the flavor and health profile of your ice cream.
STEP 3: Process Until Creamy Perfection is Achieved
Now, it’s time for the magic to happen! Begin processing the mixture. Initially, it will look crumbly and chunky, almost like frozen granola. Don’t be alarmed; this is perfectly normal. Continue to process, and you’ll notice the mixture gradually transforming. You may need to pause occasionally and scrape down the sides of the food processor bowl with a spatula to ensure all ingredients are thoroughly incorporated and blending evenly. This process typically takes anywhere from 1 to 3 minutes, sometimes a little longer depending on the power of your food processor. Patience is key here! Keep blending until the mixture achieves a smooth, thick, and wonderfully creamy consistency that truly resembles soft-serve ice cream.
STEP 4: Add Peanut Butter Swirls and Serve
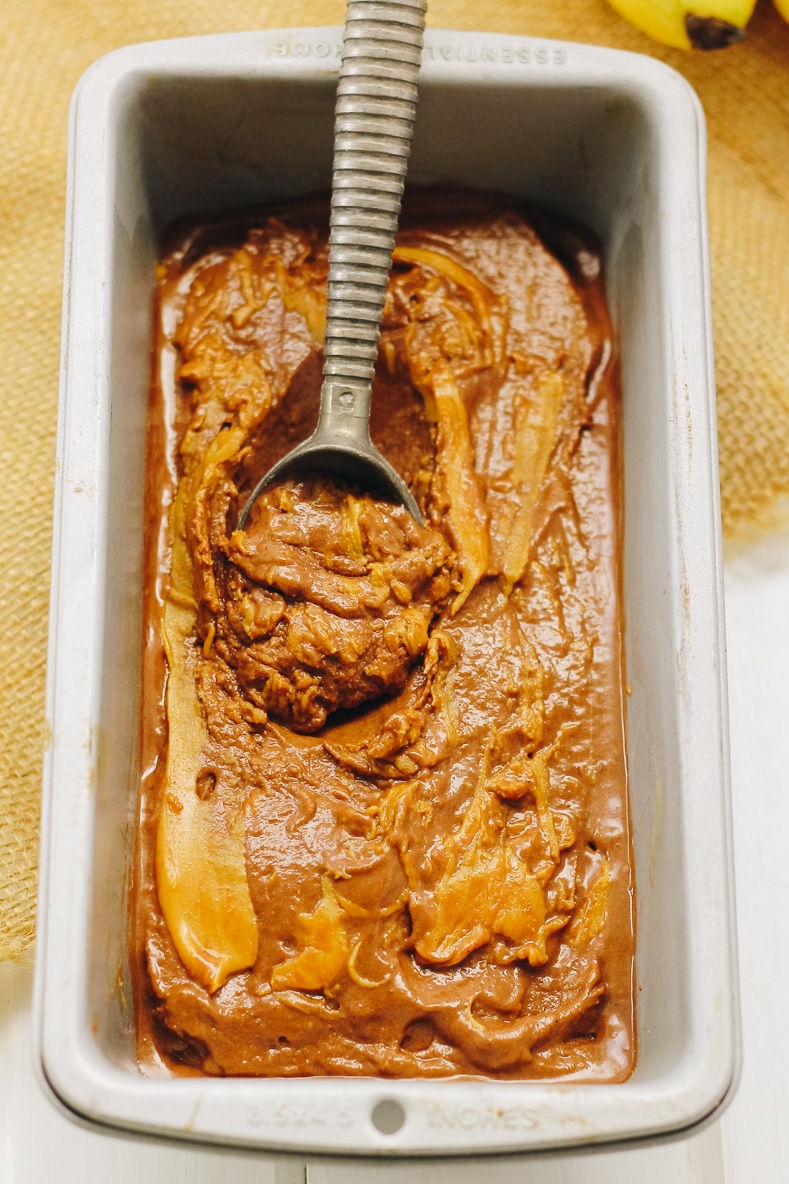
Once your “nice cream” has reached that perfect soft-serve consistency, it’s time to add the finishing touch: delightful peanut butter swirls! Spoon in the remaining tablespoon of natural peanut butter. Briefly pulse the food processor a few times, or gently fold it in by hand with a spoon, just enough to create beautiful, ribbon-like chunks and swirls of peanut butter throughout the chocolate base. This adds an extra layer of texture and intense peanut butter flavor. At this stage, your healthy ice cream is ready to be enjoyed as a luscious banana “soft serve.” If you prefer a firmer, more traditional ice cream texture, simply transfer the mixture to an airtight container and place it back in the freezer for an additional hour or two to harden up.
Maximizing Your Experience: Tips for Success
Achieving the perfect consistency and flavor for your chocolate peanut butter banana ice cream is straightforward, but a few expert tips can elevate your homemade treat from great to extraordinary.
- Banana Ripeness is Key: Always use very ripe bananas – those with plenty of brown spots on the peel are ideal. They contain more natural sugars, which contribute to a sweeter flavor, and their softer flesh results in a creamier, smoother ice cream texture. Underripe bananas will yield a less sweet and potentially icier result.
- Optimal Freezing: Ensure your banana chunks are fully frozen solid. If they are still slightly soft, the resulting ice cream will be more like a thick smoothie rather than a scoopable dessert. Freezing them in a single layer initially prevents clumping and allows for more even freezing.
- The Right Equipment Matters: A powerful food processor is highly recommended over a blender, especially for larger batches. Food processors are designed to handle thicker, denser mixtures and will yield a consistently smooth texture without adding extra liquid. If using a blender, you might need to add a splash of plant-based milk (like almond or soy milk) to help it blend, but add it very sparingly, just a tablespoon at a time, to avoid thinning out the consistency too much.
- Patience During Processing: Don’t give up if the mixture looks crumbly at first. Keep scraping down the sides and continue processing. The friction from the blades will eventually warm the bananas just enough to create that creamy, emulsified texture. This stage often feels like it’s taking too long, but persevere!
- Taste and Adjust: Once processed, taste your ice cream. If you prefer it sweeter, you can add a tiny drizzle of maple syrup or a date. For a more intense chocolate flavor, a little extra cocoa powder can be added. If it’s too thick, add half a tablespoon of unsweetened plant milk and re-blend.
- Serving Temperature: For the best soft-serve experience, enjoy it immediately after processing. If you freeze it to harden, let it sit out at room temperature for 5-10 minutes before scooping to allow it to soften slightly, making it easier to serve.
Storing Your Homemade Banana Ice Cream
It’s a rare feat to have leftover banana ice cream (who are you, and what is your secret to such incredible self-control?!), but should you find yourself with extra, proper storage is simple. To preserve its creamy texture and fresh flavor, transfer any remaining banana ice cream into an airtight container and store it in the freezer. When you’re ready to indulge again, simply take it out of the freezer about 10-15 minutes before serving. This allows it to soften slightly, making it perfectly scoopable, just like traditional ice cream. Enjoying it within a week ensures the best taste and texture.
Endless Possibilities: Banana Soft Serve Variations
One of the most exciting aspects of homemade banana soft serve is its incredible adaptability. It’s truly a blank canvas for your culinary creativity, allowing you to customize it with an array of flavors and mix-ins. Here are some inspiring ideas to make this dessert uniquely your own:
- Berry Blast: Blend in fresh or frozen mixed berries (strawberries, raspberries, blueberries) along with a handful of chocolate chips for a fruity, chocolatey delight.
- Tropical Twist: Add a splash of coconut milk, a few pieces of frozen mango or pineapple, and a sprinkle of shredded coconut for an exotic escape.
- Coffee Lover’s Dream: For a sophisticated twist, blend in a teaspoon of instant espresso powder or a shot of cold brew concentrate.
- Mint Chocolate Chip: Incorporate a few drops of natural peppermint extract and a generous handful of dark chocolate chips for a refreshing classic.
- Nutty Delights: Experiment with different nut or seed butters – almond butter, cashew butter, or sunflower seed butter – either alone or combined with cocoa powder or extra chocolate chips for varied flavor profiles.
- Classic Vanilla: Achieve a traditional vanilla flavor by adding the seeds from half a vanilla bean or a teaspoon of pure vanilla extract.
- “Cookies and Cream” Inspiration: Crumble in some healthy gluten-free cookies or crushed cacao nibs for a delightful textural contrast.
- Caramel Swirl: Create a healthy caramel swirl by blending in a few Medjool dates with a touch of plant milk and then swirling it into your finished ice cream.
- Edible Cookie Dough Chunks: Take it to the next level by folding in chunks of your favorite healthy edible cookie dough for an indulgent surprise.
- Spice It Up: A pinch of cinnamon, nutmeg, or even a tiny dash of cayenne pepper can add an unexpected depth and warmth to your chocolate ice cream.
Chocolate Peanut Butter Banana Ice Cream
5 Stars
4 Stars
3 Stars
2 Stars
1 Star
5 from 6 reviews
Healthy Chocolate Peanut Butter Banana Ice Cream. It’s made with just 3 simple ingredients and is ready in minutes! It’s also gluten-free, vegan and paleo. Ice cream just got a healthy makeover!
- Author: Davida Lederle
- Prep Time: 5 minutes
- Cook Time: 0 minutes
- Total Time: 5 minutes
- Yield: 3 servings
- Category: Dessert
- Method: Blend
- Cuisine: American
- Diet: Vegan
Ingredients
- 3 large ripe bananas, chopped and frozen (for at least 2 hours)
- 2 tbsp unsweetened cocoa powder
- 3 tbsp natural peanut butter
Instructions
- Add bananas, cocoa powder and 2 tablespoons of peanut butter to a food processor.
- Process until ice cream consistency is reached. You may need to scrape down the sides occasionally but this should only take 1-3 minutes.
- Stir in 1 other tablespoon of peanut butter to create “swirls”.
- Eat immediately or store in freezer until ready to eat and scoop out like ice cream.
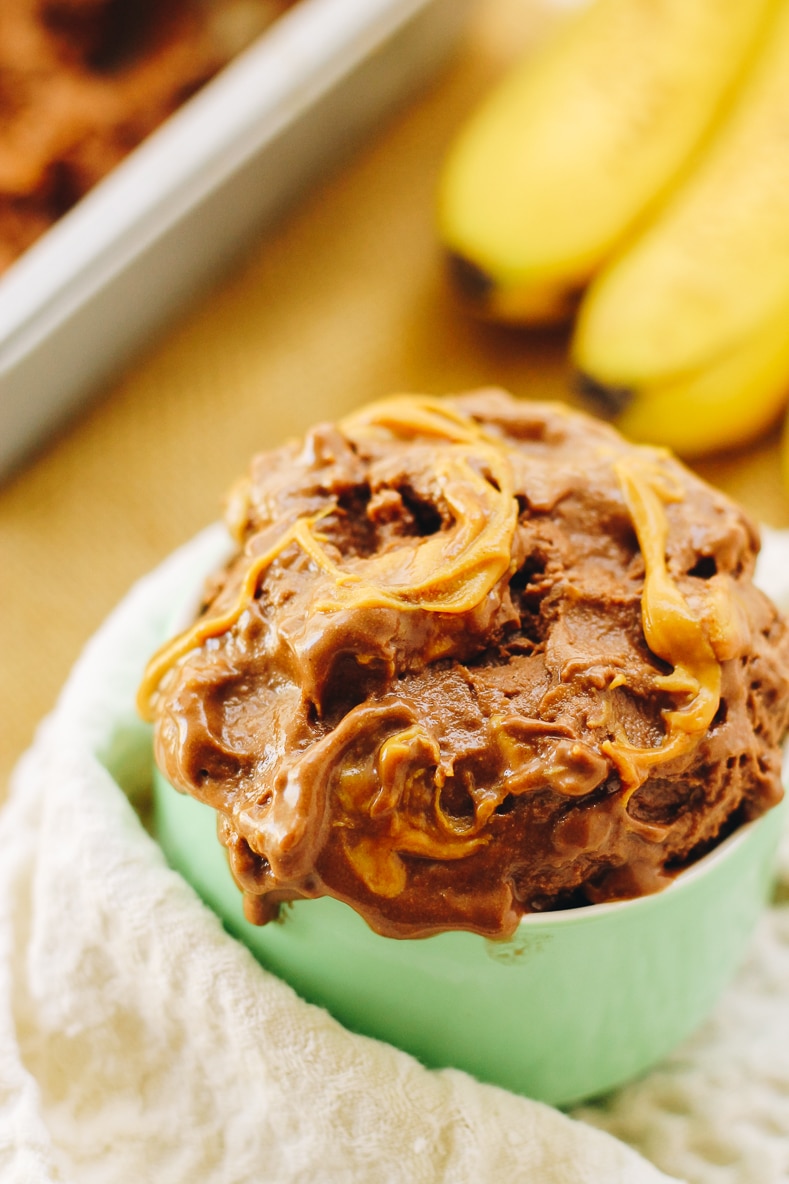
This healthy chocolate peanut butter banana ice cream is more than just a dessert; it’s a testament to how simple, wholesome ingredients can come together to create something truly extraordinary. With its creamy texture, rich flavor, and satisfying sweetness, it effortlessly proves that “healthy” doesn’t mean sacrificing indulgence. Whether you’re adhering to a gluten-free, vegan, or paleo lifestyle, or simply looking for a lighter treat, this recipe delivers on all fronts. So go ahead, whip up a batch, and let this delightful creation redefine your perception of healthy desserts. Your taste buds, and your body, will thank you!
Like this post? Here are others you might enjoy:
- Creamy Cold Brew Ice Pops
- Vegan Ice Cream Sandwiches
- 3-Ingredient Frozen Yogurt
- Chocolate Avocado Ice Cream