
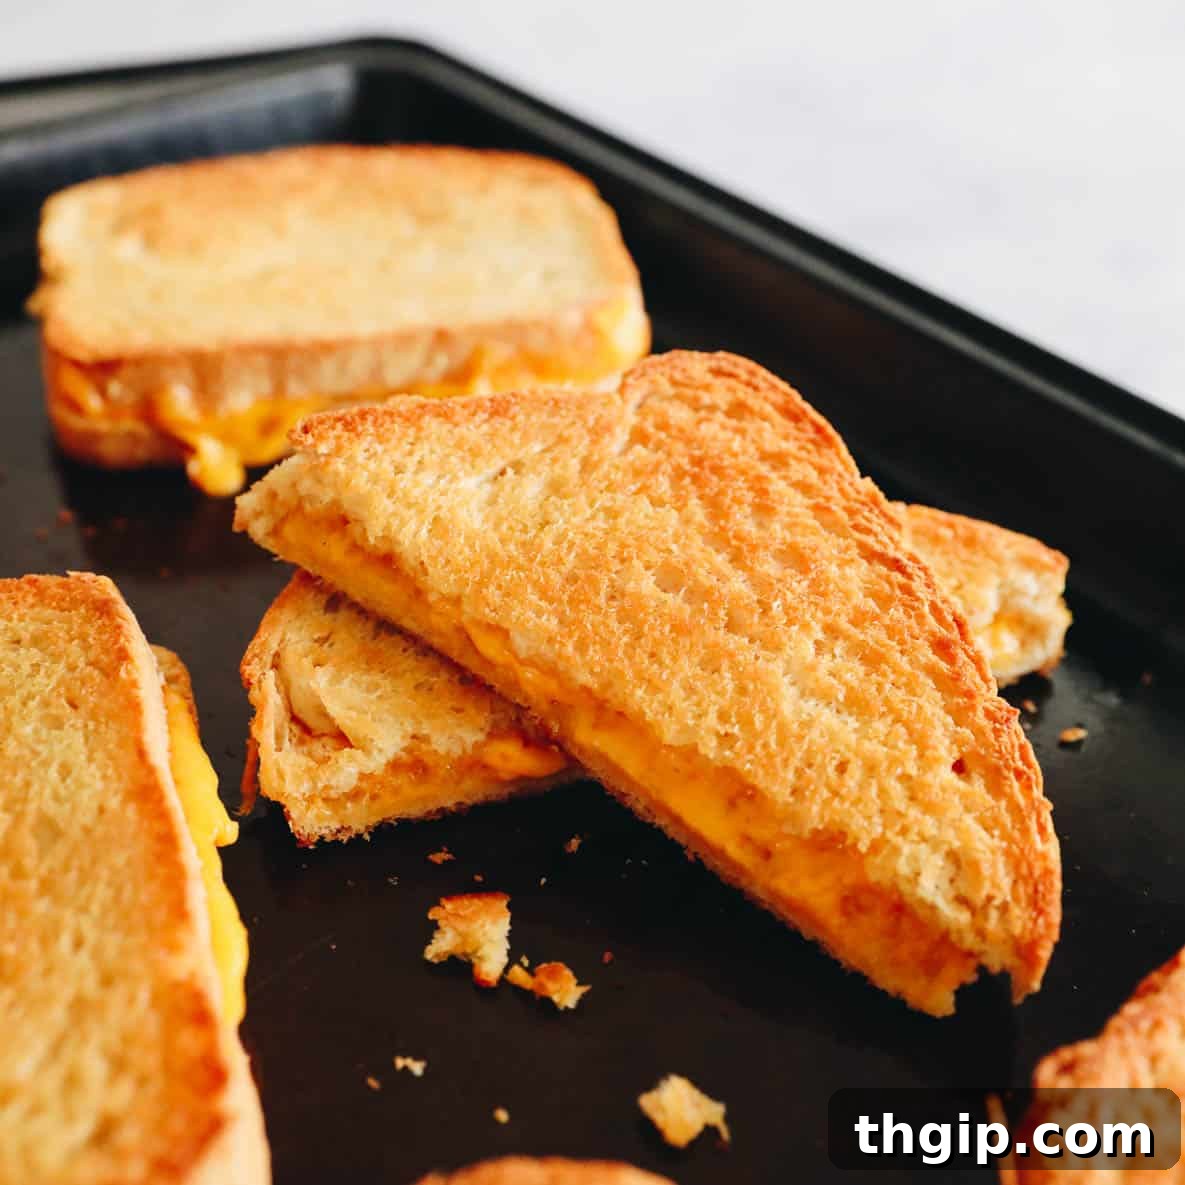
Imagine perfectly golden, crisp bread encasing warm, melted cheese, all without the constant flipping and potential burning of the stovetop. Yes, you can make delicious grilled cheese in the oven, and it’s a total game-changer! This super simple recipe requires just three basic ingredients and a single sheet pan to create the most incredible oven-baked grilled cheese sandwiches. Get ready to revolutionize your cheesy sandwich game!
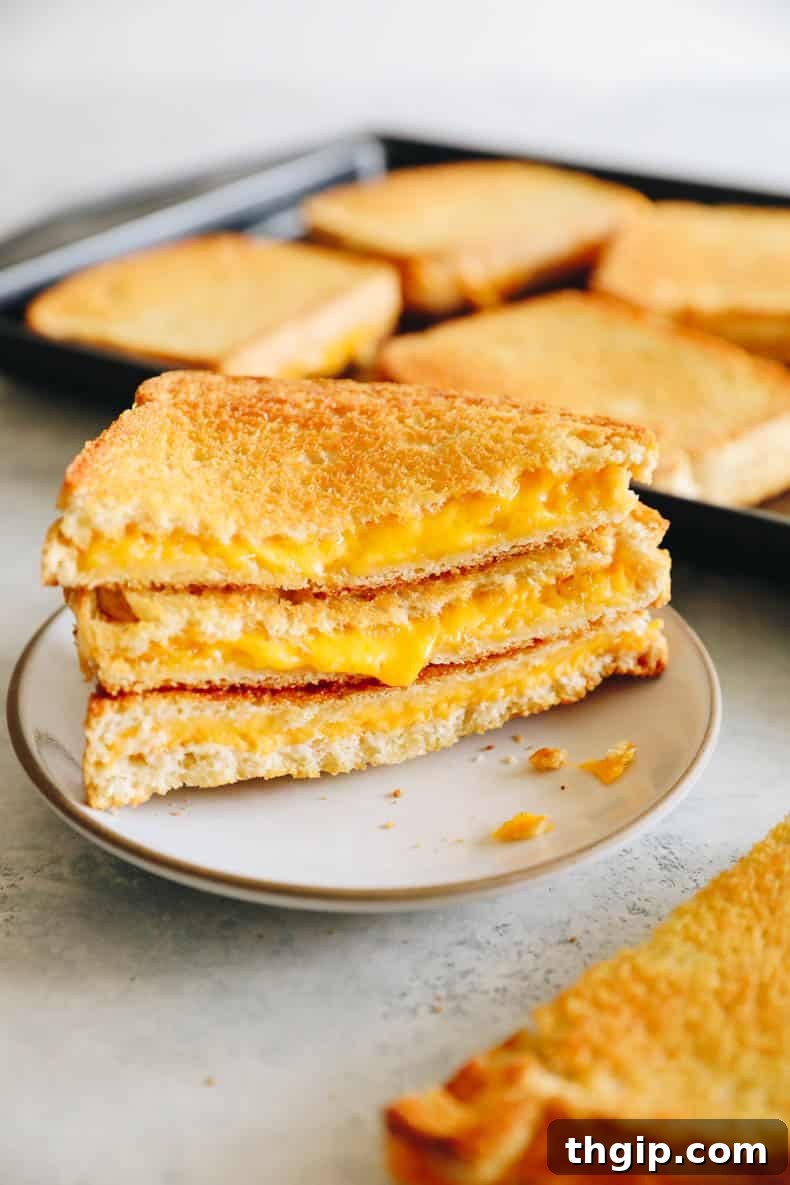
Table of Contents
- Why Make Oven Grilled Cheese?
- Essential Ingredients for Oven Grilled Cheese
- Equipment You’ll Need
- How to Make Grilled Cheese in the Oven: Step-by-Step
- Easy Swaps & Customization Ideas
- Frequently Asked Questions (FAQs)
- Storage & Freezing Instructions
- More Amazing Sheet Pan Recipes
- Full Sheet Pan Grilled Cheese Recipe Card
For decades, making grilled cheese on the stovetop has been a beloved culinary ritual, a classic comfort food that almost everyone masters early in life. The sizzle of butter, the aroma of toasting bread, and the gooey melting cheese are ingrained in our collective memory. However, what if there was a method that not only delivers the same delicious results but also saves you time, effort, and a pile of dishes? Enter the oven-baked grilled cheese sandwich – the ultimate recipe hack that promises to simplify your kitchen routine and elevate your comfort food game!
This ingenious technique allows you to prepare multiple sandwiches simultaneously, making it ideal for feeding hungry families, entertaining guests, or simply streamlining your meal prep. As a food blogger who’s constantly experimenting, I can confidently say this method is a revelation. I particularly love prepping a large batch of these sandwiches in advance and freezing them. They make for an incredibly quick and satisfying lunch for my daughter, who absolutely adores “mommy’s grilled cheese.” While she might still be in her picky toddler phase, I can’t wait for her to discover the full range of deliciousness I’m capable of cooking once she moves past her current culinary preferences!
Why Make Oven Grilled Cheese?
Ditching the traditional stovetop method for the oven brings a host of benefits that make this recipe a must-try. Here’s why baking your grilled cheese is a superior choice:
- Kid-Friendly Perfection: If you live with little ones, you know grilled cheese is a constant request. This oven method makes it even easier to whip up their favorite meal. The hands-off approach means you can supervise other activities while their lunch bakes, and kids can even help with the assembly, turning meal prep into a fun activity! Pair it with a classic tomato soup for a comforting and complete meal they’ll adore.
- Feeds a Crowd Effortlessly: Hosting a playdate, a family gathering, or just need to feed a hungry household? Making grilled cheese on a sheet pan is an absolute lifesaver. Instead of cooking one or two at a time on the stove, you can effortlessly bake 6-8 (or more, depending on your sheet pan size) sandwiches at once. This drastically cuts down on cooking time and ensures everyone gets their warm, cheesy sandwich simultaneously.
- Unbeatable Time Saver: The biggest advantage of this sheet pan method is the time it frees up. Once assembled, your grilled cheese sandwiches bake hands-free in the oven. No more standing over a hot stove, constantly monitoring and flipping. This allows you to multitask, tackle other kitchen tasks, or simply relax while your oven does all the work. It’s perfect for busy weeknights when every minute counts.
- Minimal Mess, Easy Cleanup: Say goodbye to greasy stovetop splatters and multiple pans. This recipe uses just one sheet pan, preferably lined with parchment paper, for incredibly easy cleanup. Less mess means less stress and more time enjoying your meal!
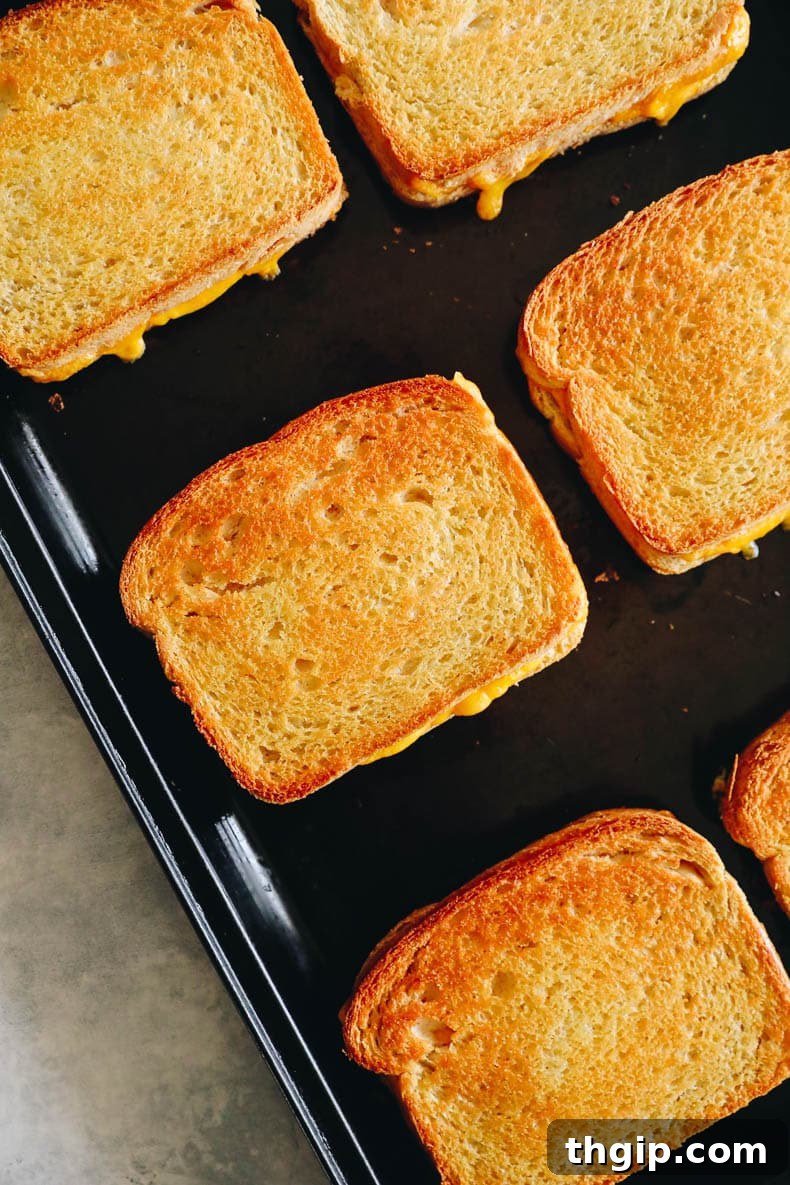
- Consistently Golden & Crispy: The even heat distribution in the oven ensures that every part of your sandwich toasts uniformly. You’ll achieve a beautiful golden-brown crust on both sides without the risk of burnt spots or uneven cooking that can happen on a skillet. The result is a consistently perfect, crispy exterior every single time.
- Endless Customization: While the classic butter and cheese combo is divine, the oven method makes it incredibly easy to experiment with different breads, cheeses, and delicious fillings. This versatility means you can cater to various tastes and dietary preferences with minimal extra effort.
Essential Ingredients for Oven Grilled Cheese
The beauty of oven grilled cheese lies in its simplicity and adaptability. You only need three core ingredients, but the possibilities for customization are endless. Here’s a closer look at what you’ll need and how to choose the best options:
- Bread: The Foundation
The right bread is crucial for a great grilled cheese. You want something sturdy enough to hold the melted cheese but soft enough to toast beautifully. My personal favorites include classic white or wheat bread, rich challah, slightly sweet brioche, or tangy sourdough. A dense, seeded bread like rye can also add fantastic flavor. For best results and even baking, ensure your bread is pre-sliced to a consistent thickness. Avoid very thin or overly delicate breads that might become soggy or fall apart. Look for a loaf that offers a good balance of texture and flavor.
- Butter: The Golden Hue & Flavor Booster
Butter is key to achieving that irresistible golden crust and rich flavor. For the oven method, using melted butter makes application incredibly easy and ensures an even coating. Simply melt a stick of unsalted butter in the microwave or a small saucepan, then brush it onto the bread slices. You can use salted butter if you prefer an extra savory kick, but unsalted allows you to control the seasoning. While butter is traditional, some people swear by mayonnaise for an even crispier, richer crust (see FAQs for more on this!).
- Cheese: The Melty Heart
The star of the show! You absolutely want to use sliced cheese for the most consistent and even melt. While a mild or sharp cheddar is a popular choice for its classic flavor and excellent melting properties, don’t limit yourself! Provolone, Swiss, American, Monterey Jack, or even Pepper Jack for a spicy kick are all fantastic options. Feel free to mix and match different cheeses to create your own signature blend. The goal is a cheese that melts smoothly and becomes wonderfully gooey. Avoid hard, crumbly cheeses that don’t melt well on their own.
Equipment You’ll Need
One of the perks of this recipe is the minimal equipment required:
- Baking Sheet (Sheet Pan): A standard half-sheet pan (13×18 inches) is perfect for making 4-6 sandwiches at a time. Using a heavy-duty pan will ensure even heat distribution.
- Parchment Paper (Optional, but Recommended): Lining your baking sheet with parchment paper makes cleanup a breeze and helps prevent sticking.
- Pastry Brush: Essential for evenly spreading the melted butter onto your bread slices.
- Small Microwave-Safe Bowl: For melting the butter.
- Spatula: For flipping the sandwiches.
How to Make Grilled Cheese in the Oven: Step-by-Step
Making grilled cheese in the oven is incredibly straightforward. Follow these simple steps for perfectly golden and gooey sandwiches every time:
STEP 1: PREHEAT OVEN AND SHEET PAN
Preheat your oven to a high temperature of 450°F (232°C). This high heat is crucial for achieving that desirable crispy, golden-brown crust. While the oven preheats, place your empty baking sheet (or sheet pan) directly into the oven. Pre-warming the pan helps to kickstart the toasting process immediately when the sandwiches are added, contributing to an extra-crispy result.
STEP 2: BUTTER THE BREAD SLICES
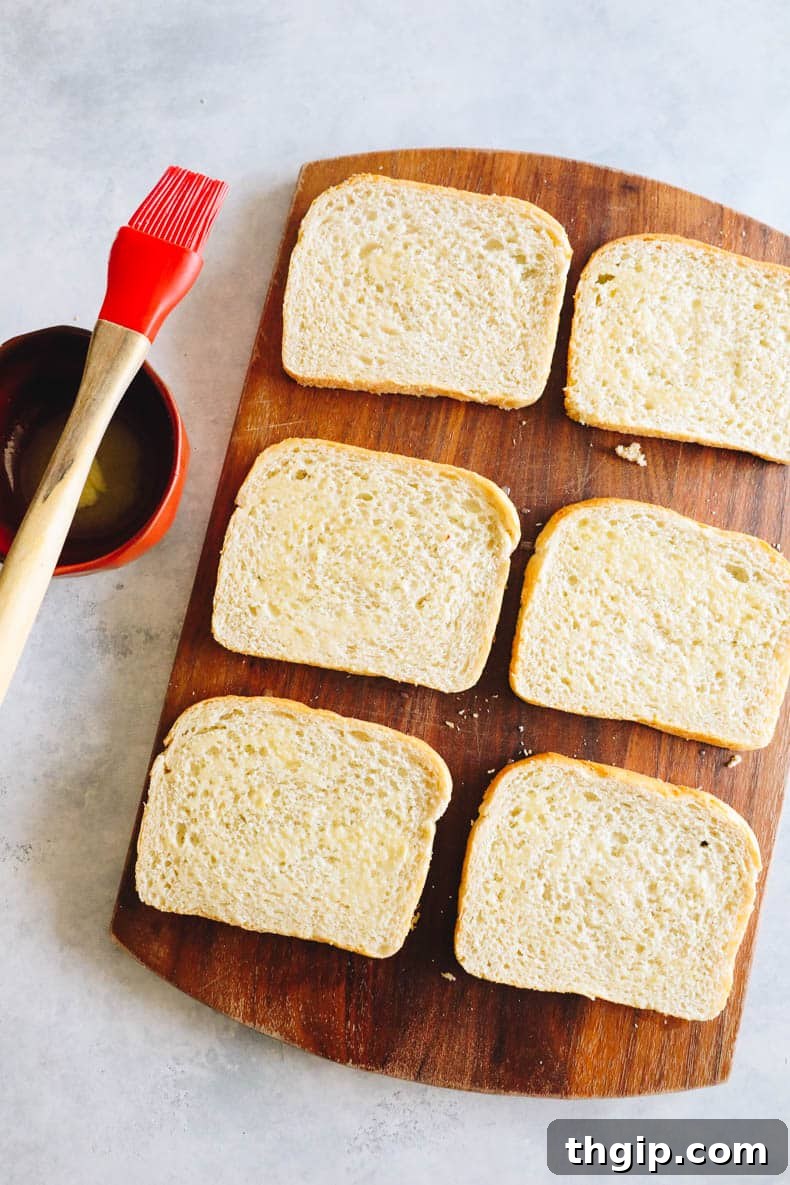
Take your bread slices and lay them out on a clean surface. Melt the butter in a small microwave-safe bowl (about 30-45 seconds in the microwave should do the trick). Using a pastry brush, generously butter one side of each bread slice. Ensure the butter is spread evenly to guarantee a uniform golden crust. This buttery side will be the exterior of your sandwich.
STEP 3: ASSEMBLE THE SANDWICHES & BAKE INITIAL SIDE
Carefully remove the preheated baking sheet from the oven (use oven mitts!). Working quickly but carefully, place one slice of buttered bread onto the hot sheet pan, with the buttered side facing down. Immediately top this bread slice with two slices of your chosen cheese, then place the remaining slice of bread on top, with its buttered side facing up. Repeat this process for all your sandwiches, arranging them in a single layer on the pan, leaving a little space between each. Return the baking sheet to the oven and bake for 5 minutes. During this initial bake, the bottom slice will toast, and the cheese will begin to melt.
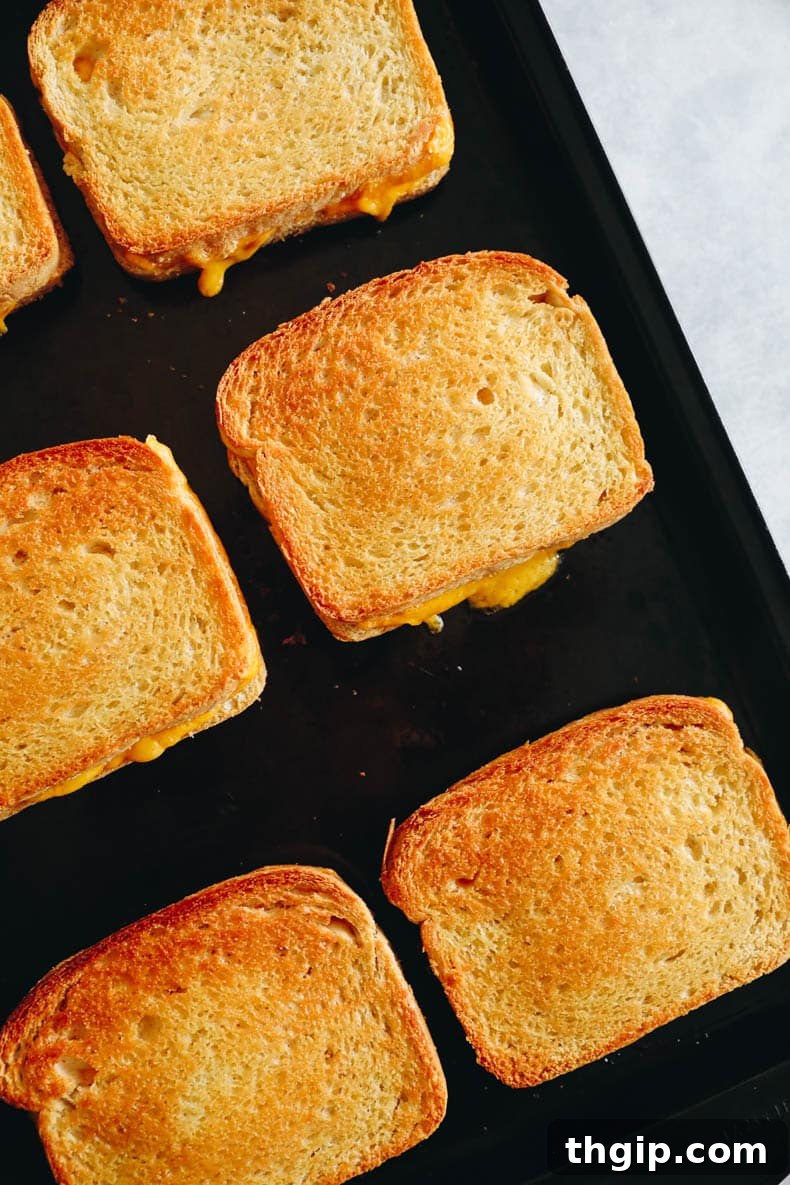
STEP 4: FLIP AND FINISH BAKING
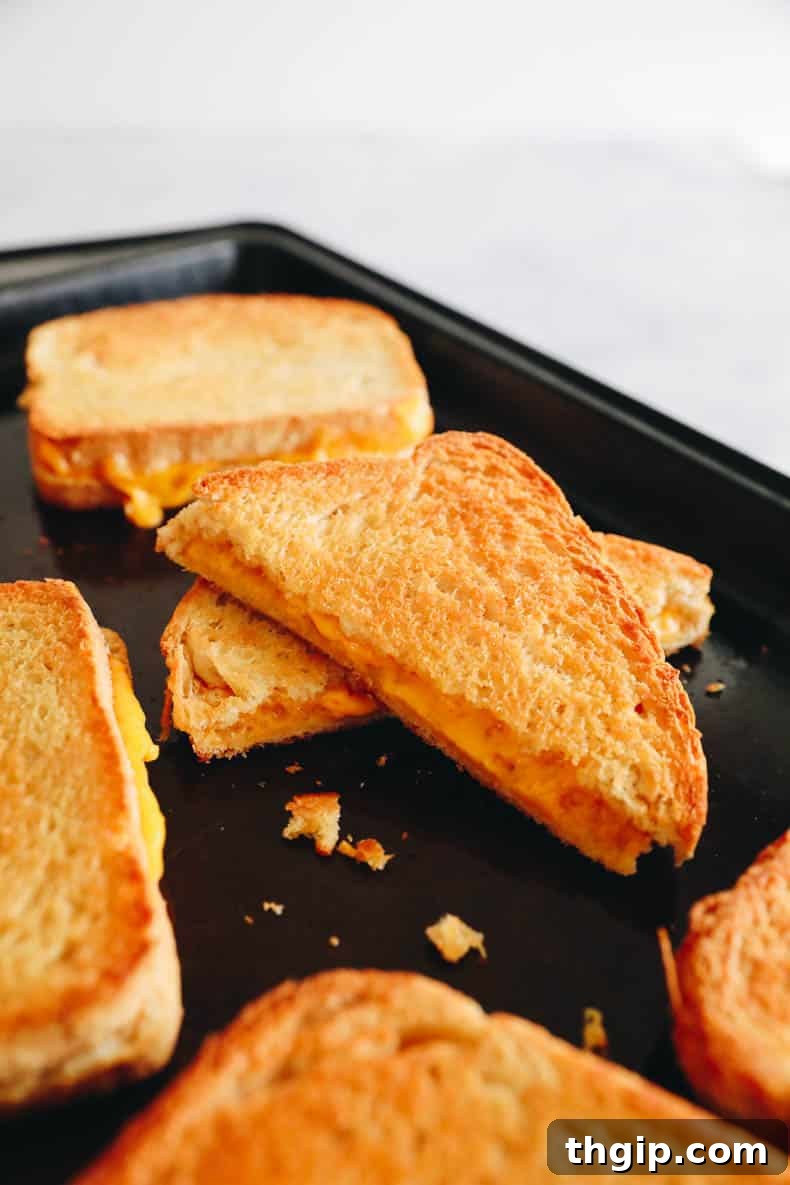
After 5 minutes, carefully remove the sheet pan from the oven. Using a spatula, gently flip each sandwich to toast the other side. Return the pan to the oven and continue baking for another 4-5 minutes, or until both sides are a beautiful golden brown and the cheese is thoroughly melted and gooey. Keep a close eye on the sandwiches during this final stage, as ovens can vary, and you want to prevent them from burning. Once they reach your desired level of crispness, remove them from the oven, allow them to cool slightly for a minute or two, then serve immediately!
Easy Swaps & Customization Ideas
While a classic grilled cheese is fantastic, this oven method makes it incredibly easy to get creative with your ingredients. Here are some ideas to customize your sandwiches:
- Swap the Cheese: Don’t limit yourself to just cheddar! Experiment with different cheeses or a blend of them. Try Monterey Jack for a milder melt, Provolone for a stretchier texture, Swiss for nutty notes, or Pepper Jack for a spicy kick. Smoked gouda, Gruyère, or even a dollop of cream cheese with chives can add unique flavors.
- Change the Bread: The type of bread significantly impacts the final taste and texture. Beyond the classics, consider artisan sourdough for its tang, rye bread for its distinct flavor, or a hearty multigrain bread for extra texture and nutrition. For dietary needs, gluten-free bread works wonderfully with this method – just ensure it’s sturdy enough.
- Make it Fancy with Add-ins: This is where the real fun begins!
- Savory Spreads: A thin layer of pesto, Dijon mustard, sun-dried tomato spread, or even a spicy sriracha mayo can elevate the flavor profile.
- Vegetables: Slices of ripe tomato, caramelized onions, sautéed mushrooms, roasted red peppers, or a handful of cooked and well-drained spinach can add freshness and depth. Just be sure not to overload to avoid sogginess.
- Proteins: Tuck in some cooked bacon, a slice of deli ham or turkey, or even leftover shredded chicken for a more substantial meal.
- Herbs & Spices: A sprinkle of garlic powder, onion powder, dried oregano, or a pinch of red pepper flakes can infuse extra flavor into the butter or directly onto the cheese.
- Sweet & Savory: A thin spread of fig jam or apple butter paired with a sharp cheese can create a surprisingly delicious combination.
Frequently Asked Questions (FAQs)
For the best melt and flavor, cheeses like mild or sharp cheddar, provolone, American, Swiss, and Monterey Jack are excellent choices. They melt evenly and become wonderfully gooey. For a little heat, pepper jack is fantastic. Feel free to combine different types for a more complex flavor.
Most sturdy sandwich breads work well. White, wheat, sourdough, challah, brioche, and rye are all great options. The key is to use evenly sliced bread that isn’t too thin or delicate. Avoid overly sweet breakfast breads like cinnamon-raisin or blueberry, as their flavors might clash with the savory cheese.
Absolutely! You can easily adapt this recipe to be vegan. Simply substitute regular butter with a good quality vegan butter spread, and use your favorite brand of vegan cheese slices. While vegan cheeses have improved significantly, they sometimes don’t melt quite as smoothly as dairy cheese, but they still make for a satisfying and delicious dairy-free alternative.
Yes, no problem at all! This oven method works perfectly with gluten-free bread. Just ensure your gluten-free bread slices are firm and hold up well to baking, and you’ll have a delicious, crispy grilled cheese.
Yes, this recipe is excellent for meal prepping and freezing! It’s one of my favorite make-ahead lunch options. I’ve included detailed storage and freezing instructions below to help you prepare these sandwiches for future meals.
Grilled cheese pairs wonderfully with classic comfort foods. A bowl of creamy tomato soup is a quintessential match. Other great accompaniments include a fresh green salad, crisp pickles, crunchy potato chips, or even a side of fruit for a balanced meal.
Yes, absolutely! Mayonnaise is a fantastic alternative to butter for the exterior of your grilled cheese. It contains oil, eggs, and acid, which helps create an incredibly golden-brown, extra-crispy crust with a subtle tangy flavor. Just spread a thin layer of mayo on the outside of your bread slices before assembling and baking.
Several factors help prevent sogginess:
- Preheat the pan: Starting with a hot sheet pan helps toast the bread quickly.
- Don’t overload: While tempting, too much cheese or wet fillings (like fresh tomatoes) can release moisture and make the bread soggy.
- Choose the right bread: Sturdier, slightly denser breads tend to hold up better than very soft, airy ones.
- Proper buttering: Ensure an even layer of butter or mayo for a good moisture barrier.
- Serve immediately: Grilled cheese is best enjoyed fresh from the oven!
On a standard half-sheet pan (13×18 inches), you can typically fit 4-6 sandwiches comfortably in a single layer, allowing for even toasting. If you have larger sheet pans or are using smaller bread, you might be able to fit more.
Storage & Freezing Instructions
One of the fantastic benefits of making grilled cheese in the oven is how well it lends itself to meal prep and future enjoyment. Here’s how to store your delicious creations:
- Refrigeration: If you have any leftovers, allow them to cool completely before storing them. Place the sandwiches in an airtight container in the fridge for up to 3 days. To reheat, the oven is best for restoring crispness. Simply warm them at 350°F (175°C) for about 5-10 minutes, or until heated through and crispy again. While you can reheat in the microwave, be aware that the bread may become a little soft and lose its crispy texture.
- Freezer: This oven grilled cheese is an excellent candidate for freezing for future meals! This is my go-to method for preparing quick lunches for my daughter.
- First, allow each cooked sandwich to cool completely.
- Once cool, wrap each individual sandwich tightly in aluminum foil. This helps protect it from freezer burn.
- Then, place the foil-wrapped sandwiches into a large freezer-safe ziplock bag or an airtight container. Label the bag or container with the date.
- They can be stored in the freezer for up to 1-2 months.
To Reheat from Frozen: Remove individual sandwiches from the freezer. You can either allow them to thaw overnight in the fridge or partially thaw them at room temperature for an hour or two. Once thawed (or partially thawed), reheat them in the oven at 350°F (175°C) until warm and crispy, about 10-15 minutes, flipping halfway. You can also reheat them directly from frozen in the oven, which will take longer (around 20-30 minutes), still wrapped in foil for the first half of the baking, then unwrapped to crisp. As with refrigerated leftovers, the microwave is an option, but the bread may become soft.
More Amazing Sheet Pan Recipes:
If you loved the ease and convenience of this sheet pan grilled cheese, you’ll be thrilled to discover how many other delicious meals you can whip up using this same simple method. Sheet pan cooking is a busy cook’s best friend!
- Sheet-Pan Chicken Fajitas
- Sheet-Pan Harissa Chicken
- Sheet-Pan Lemon Chicken with Chickpeas, Potatoes + Kale
- Sheet-Pan Za’atar Chicken w/ Veggies
Sheet Pan Oven Grilled Cheese

No reviews yet!
Experience the ultimate ease of making grilled cheese in the oven! This super simple recipe uses just 3 ingredients and a sheet pan to create the most delicious, perfectly golden, and gooey oven grilled cheese sandwiches – ideal for quick meals and feeding a crowd!
- Author: Davida Lederle
- Prep Time: 5 minutes
- Cook Time: 10 minutes
- Total Time: 15 minutes
- Yield: 6 servings
- Category: Lunch
- Method: Bake
- Cuisine: American
- Diet: Vegetarian
Ingredients
Scale
- 12 slices of sandwich bread (such as wheat, white, sourdough, brioche, or challah for best results)
- 1/4 cup unsalted butter, melted (or mayonnaise for an extra crispy crust)
- 12 slices of cheese (e.g., white cheddar, sharp cheddar, provolone, swiss, or your favorite blend)
Instructions
- Preheat your oven to 450°F (232°C). Place an empty baking sheet into the oven while it preheats to ensure it gets hot.
- Melt the butter in a small microwave-safe bowl. Using a pastry brush, generously butter one side of each bread slice, ensuring an even coat.
- Carefully remove the preheated baking sheet from the oven. Place one slice of buttered bread on the sheet pan, buttered side down. Immediately top with two slices of your chosen cheese.
- Place the remaining bread slice on top of the cheese, with its buttered side facing up. Repeat this for all sandwiches, arranging them in a single layer.
- Bake for 5 minutes. Carefully remove the pan, flip each sandwich, and return to the oven for another 4-5 minutes, or until both sides are golden brown and the cheese is perfectly melted. Watch closely to prevent burning.
- Remove from oven, let cool for a minute, then serve warm. See storage instructions above for making ahead or freezing.
Notes
For the ultimate comfort food experience, don’t forget to pair your golden grilled cheese with this delicious roasted tomato basil soup recipe!
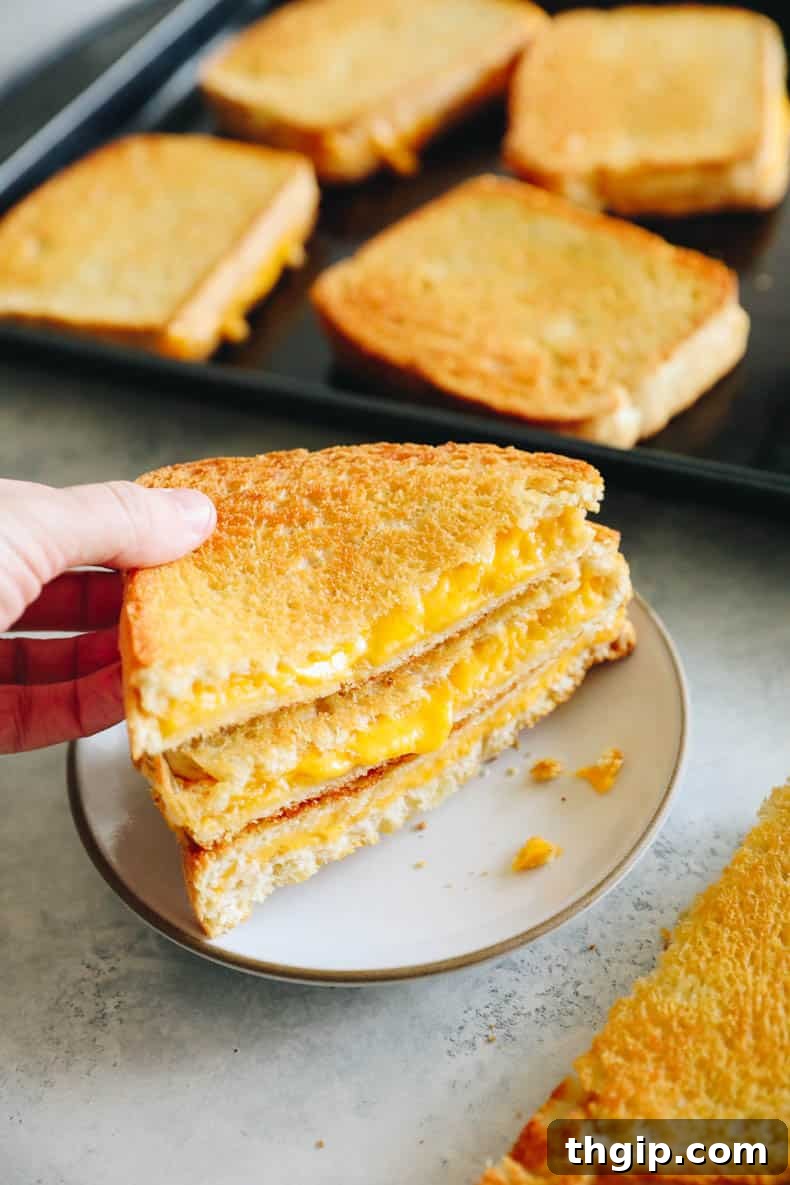
Making grilled cheese in the oven isn’t just a clever hack; it’s a superior method for achieving consistently perfect, crispy, and gooey sandwiches with minimal effort. Whether you’re a busy parent looking for quick meal solutions, a host needing to feed a crowd, or simply someone who appreciates hands-free cooking, this sheet pan technique is sure to become a staple in your kitchen. So, preheat your oven, gather your favorite bread and cheese, and get ready to enjoy the easiest, most delicious grilled cheese you’ve ever made!
Give this recipe a try and let us know what you think. Don’t forget to share your creative variations in the comments below!