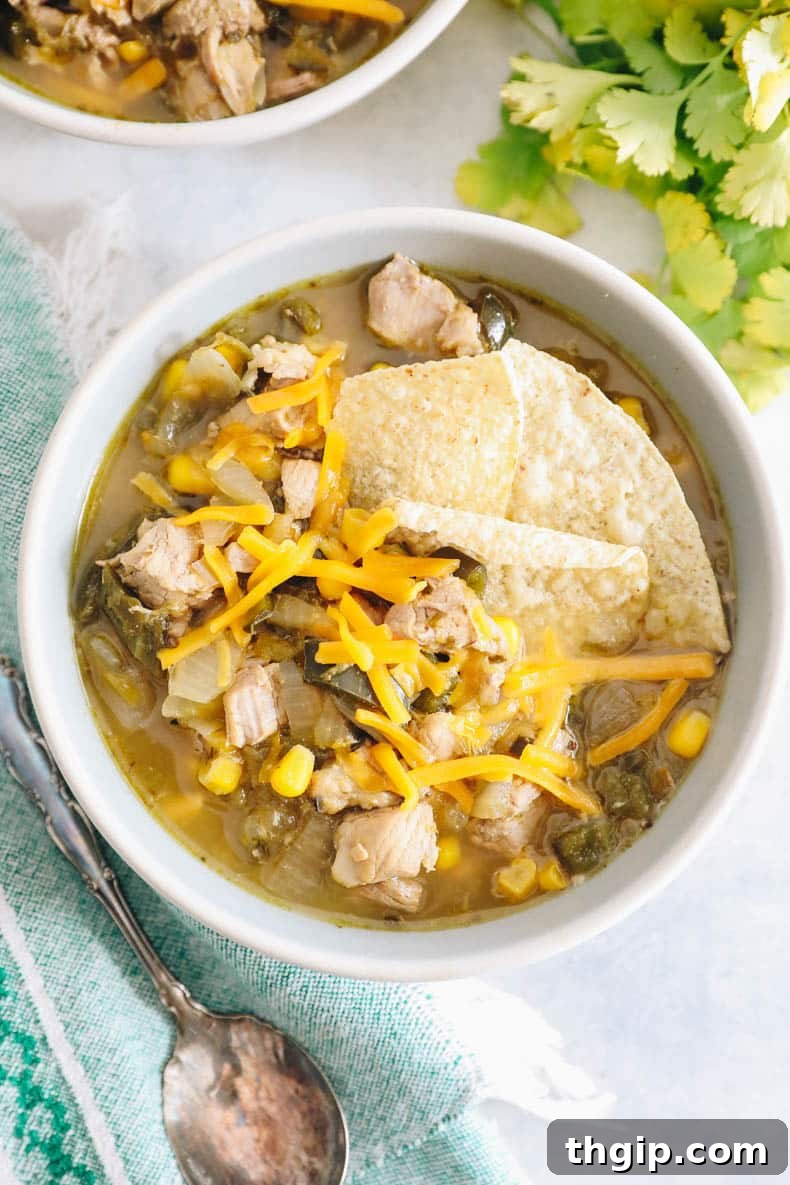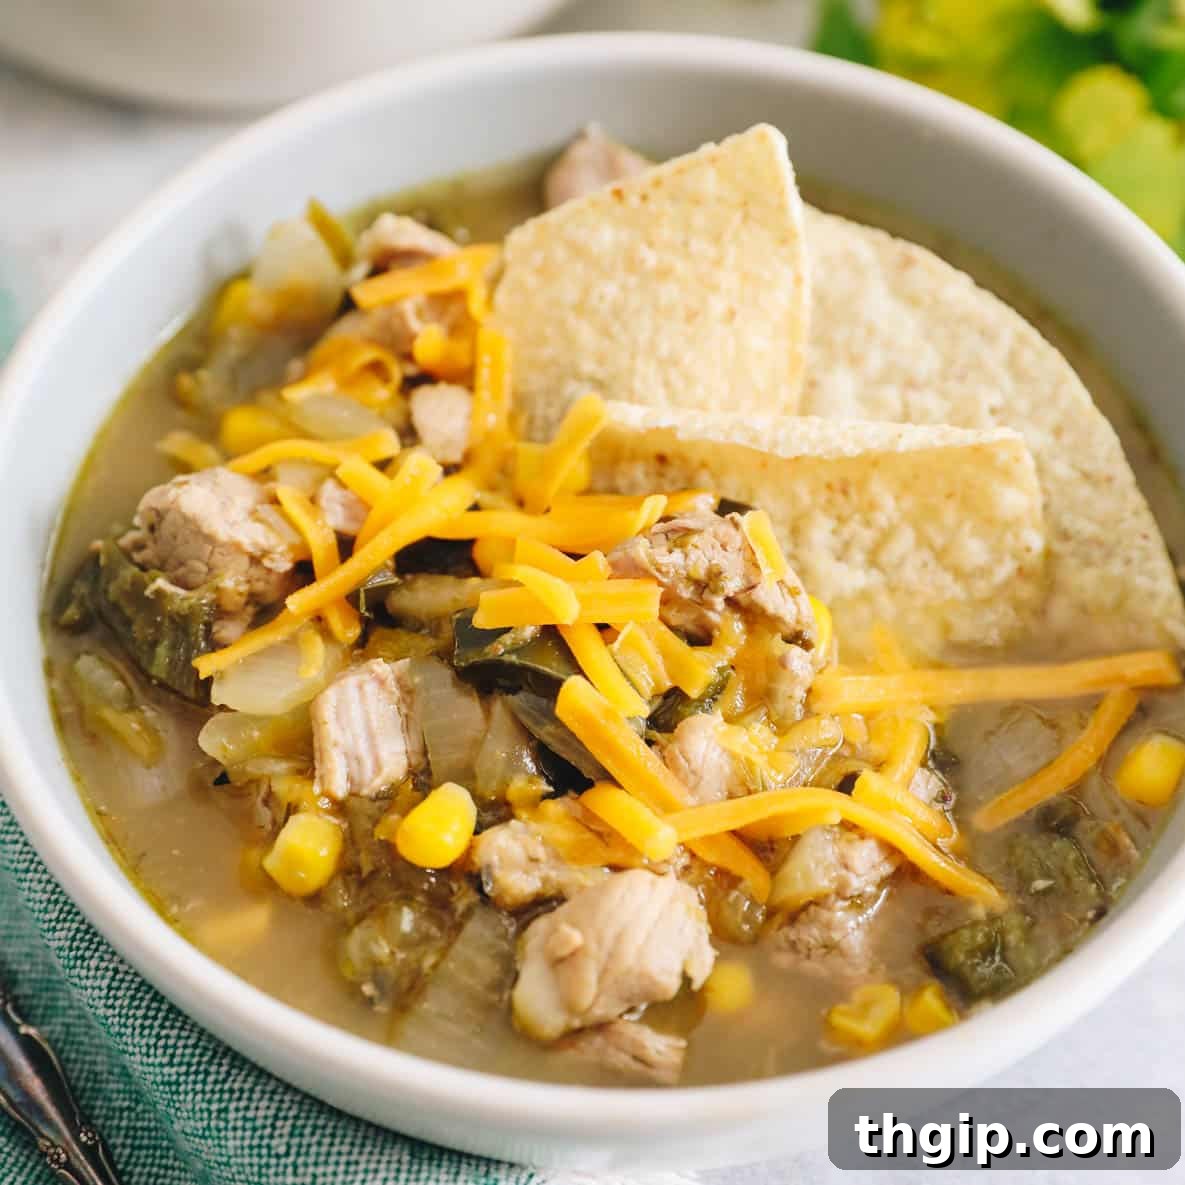
The Ultimate Pork Green Chili Recipe: A Hearty Southwestern Comfort Food
Seeking a dish that promises to warm you from the inside out, delivering a rich blend of savory flavors and a delightful kick? Look no further than this incredible green chili recipe! Made with tender, slow-simmered pork, vibrant green chiles, and a perfectly balanced array of aromatic spices, this meal is destined to become a cherished favorite in your culinary repertoire. Whether served as a robust stew, nestled in warm tortillas, or generously spooned over rice, this green chili offers a deeply satisfying experience that caters to both your appetite and your soul.
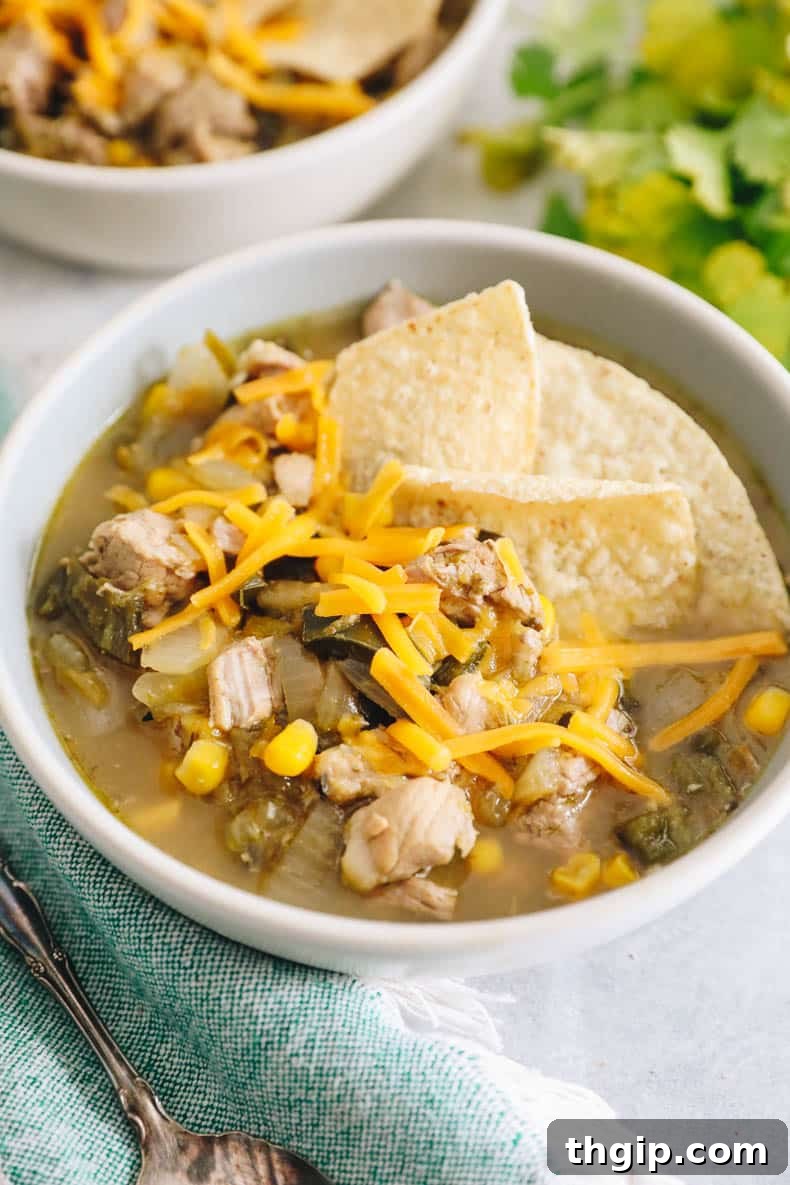
Prepare to embark on a culinary journey as you gather your ingredients and get ready to create a truly delicious and comforting meal that embodies the spirit of Southwestern cooking. This recipe is more than just food; it’s an experience, a tradition, and a guaranteed crowd-pleaser.
What Exactly is Green Chili (Chile Verde)?
Green chili, famously known as Chile Verde, is a cornerstone of Mexican cuisine that has found a fervent following and unique regional interpretations across the southwestern United States. This hearty and flavorful stew is particularly beloved in states like Colorado and New Mexico, where it often goes by specific names such as “Colorado Green Chili” or “New Mexico Green Chile Stew,” reflecting the local chile varieties and preparation styles.
At its core, Chile Verde typically features succulent pieces of pork, often diced or shredded, that are simmered to perfection in a vibrant, complex broth. This distinctive broth is the star of the show, crafted from a medley of roasted green chiles, pungent garlic, sweet onions, and a thoughtfully curated blend of spices. The choice of green chiles is crucial; they can be fresh, canned, or a combination of both, and their specific varietal will significantly influence the dish’s overall heat and flavor profile. From mild to fiery, green chili offers a spectrum of experiences. This versatile dish can be enjoyed in various ways: as a standalone stew, a rich topping for tacos, burritos, and enchiladas, or even as a flavorful sauce for other Mexican-inspired recipes. Its adaptability and depth of flavor make it a true comfort food.
The Heart of the Flavor: Understanding Green Chiles
The essence of an exceptional green chili lies in its namesake ingredient: the green chile itself. While many varieties can be used, understanding their distinct characteristics is key to tailoring your dish to perfection. The most common and beloved types include:
- Hatch Chiles: Hailing exclusively from the Hatch Valley in New Mexico, these chiles are legendary for their earthy, smoky flavor and varying heat levels, from mild to extra hot. They are often considered the gold standard for authentic green chili, offering a unique depth that is hard to replicate. When in season (late summer), fresh Hatch chiles are highly sought after and are typically roasted, peeled, and seeded before use. For year-round convenience, canned Hatch chiles are an excellent alternative, capturing much of their signature taste.
- Poblano Peppers: These large, dark green peppers offer a milder heat and a rich, earthy flavor with hints of fruitiness. Poblanos are widely available and make a fantastic base for green chili, especially if you prefer a less intense spice level. Roasting them enhances their sweetness and smoky notes, contributing significantly to the broth’s complexity.
- Jalapeño Peppers: Known for their bright, pungent flavor and moderate heat, jalapeños are often used to introduce a noticeable spicy kick. You can control the heat by deciding whether to remove all the seeds and membranes (where most of the capsaicin resides) or leave some in for extra fire.
- Anaheim Peppers: Longer and lighter green than poblanos, Anaheim peppers are quite mild, making them a good choice for those sensitive to spice or when you want to build a very subtle heat profile.
For this recipe, we embrace the convenience and distinct flavor of canned Hatch chiles combined with the fresh, roasted goodness of poblano and jalapeño peppers. Roasting the fresh chiles before incorporating them into the stew is a crucial step that intensifies their flavor, adds a desirable smoky nuance, and makes them easier to digest. This layering of fresh and canned chiles ensures a robust and authentic green chili experience.
Essential Ingredients for Your Green Chili
Crafting a memorable green chili begins with selecting quality ingredients. Here’s a closer look at what you’ll need and why each component is vital:
- Olive oil – Divided for a purpose! One portion is used to beautifully roast your vegetables, encouraging caramelization and depth of flavor. The second is reserved for browning the pork tenderloin, laying the foundation for its savory taste.
- Poblano peppers – While authentic Hatch chiles are often seasonally limited, poblanos are a fantastic and widely available substitute. Their mild heat and earthy flavor develop wonderfully when roasted, providing a robust base similar to their more famous cousins.
- Jalapeno pepper – This is where you can truly customize the heat! For a gentle warmth, remove all seeds and membranes. If you crave an extra fiery kick, feel free to leave some seeds in – but handle with care!
- White onion – Quartering the onion for roasting allows it to soften and sweeten, contributing a foundational layer of aromatic flavor to your chili.
- Garlic cloves – No need for fussy pre-mincing here! Roasting whole garlic cloves mellows their sharpness and brings out a delicious, sweet, nutty flavor that will infuse your stew. You’ll easily mince them after they’ve cooled.
- Pork tenderloin – Traditionally, pork shoulder is used for its rich fat and ability to become incredibly tender over long cooking times. However, for a significantly reduced cooking duration without sacrificing tenderness, pork tenderloin is an excellent choice. It cooks faster while still becoming melt-in-your-mouth soft during the simmer.
- Chicken broth/stock – This forms the rich liquid base of your chili, carrying all the beautiful flavors. Choose a high-quality broth for the best results. (Refer to the “Make it Vegan” section below for plant-based alternatives).
- Tomatillo salsa – Also known as salsa verde, this ingredient is a brilliant shortcut. Fresh tomatillos can be elusive in many grocery stores, but a good quality tomatillo salsa provides that essential tangy, bright, and slightly acidic counterpoint that balances the richness of the pork and chiles. You can even try a homemade salsa verde for an extra layer of freshness.
- Canned hatch chiles – A 4 oz can of diced Hatch chiles (found in most major grocery stores like Whole Foods and Trader Joe’s) is a convenient way to ensure that authentic Hatch chile flavor is present year-round. You can also find them online.
- Corn kernels – These add a wonderful sweetness and textural contrast to the savory, spicy stew. Use fresh corn when in season for peak flavor, or grab a bag of frozen kernels – no need to thaw them beforehand. If you can find it, hominy makes an equally delicious and traditional substitute, adding a unique chewy texture.
- Dried herbs + spices – A blend of fragrant oregano and earthy cumin are non-negotiable for that classic Southwestern taste. Salt and pepper are essential for seasoning; adjust salt to taste, especially if monitoring sodium intake.
- Fresh cilantro – A handful of freshly chopped cilantro brightens the entire dish with its herbaceous, citrusy notes. If you’re not a fan of cilantro, it can be easily omitted without compromising the core flavors.
- Lime – The juice from one lime, plus extra wedges for serving, provides a burst of acidity that awakens all the flavors, cutting through the richness and adding a fresh finish to each spoonful.
Step-by-Step Guide: Crafting Your Perfect Green Chili
STEP 1: ROAST VEGGIES FOR DEPTH
Preheat your oven to a robust 425 degrees F (220 degrees C). Arrange the poblano peppers, jalapeño pepper, quartered white onion, and peeled garlic cloves evenly on a sturdy baking sheet. Drizzle them generously with 1 tablespoon of olive oil and sprinkle with a pinch of salt. This pre-seasoning helps draw out moisture and enhances flavor. Roast them on the middle or top oven rack for approximately 15-20 minutes, or until the peppers and onion are beautifully golden brown and tender, with slightly charred edges indicating deep flavor development. The garlic should be soft and aromatic. Remove the baking sheet from the oven and allow the vegetables to cool slightly, making them easier to handle.
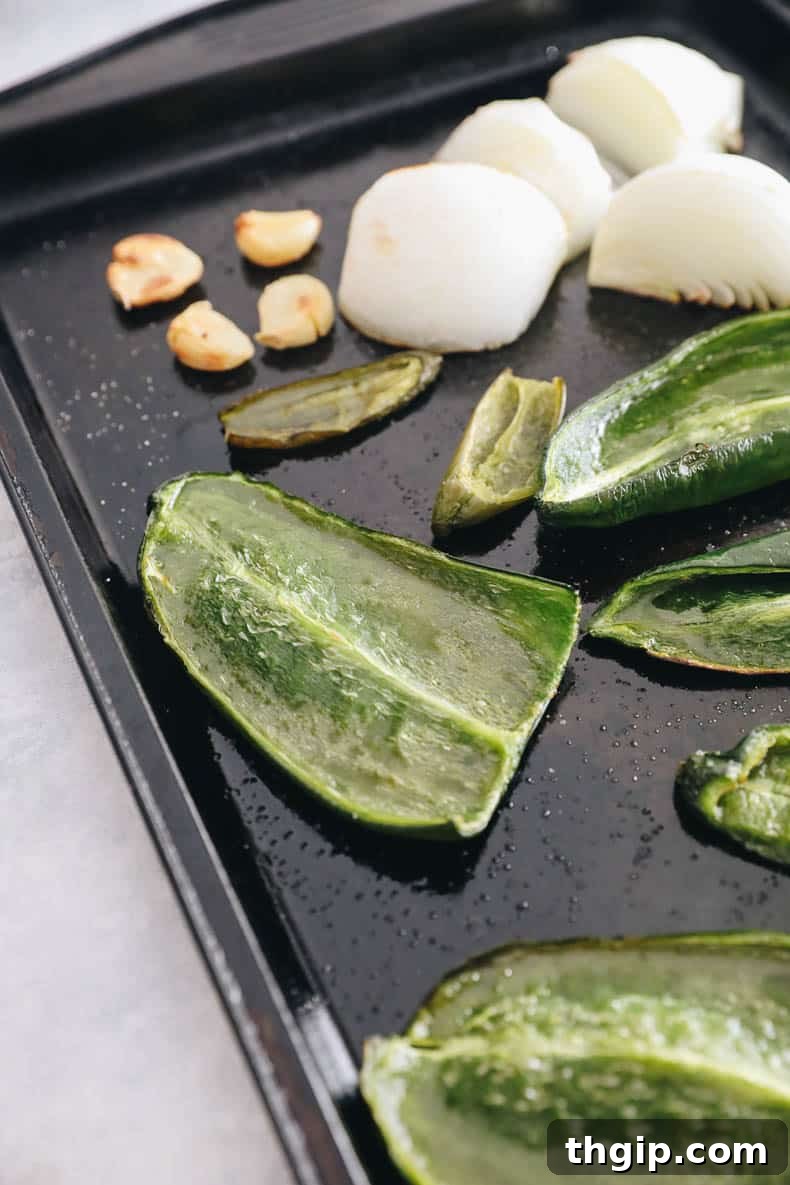
STEP 2: PREP THE ROASTED FLAVORS
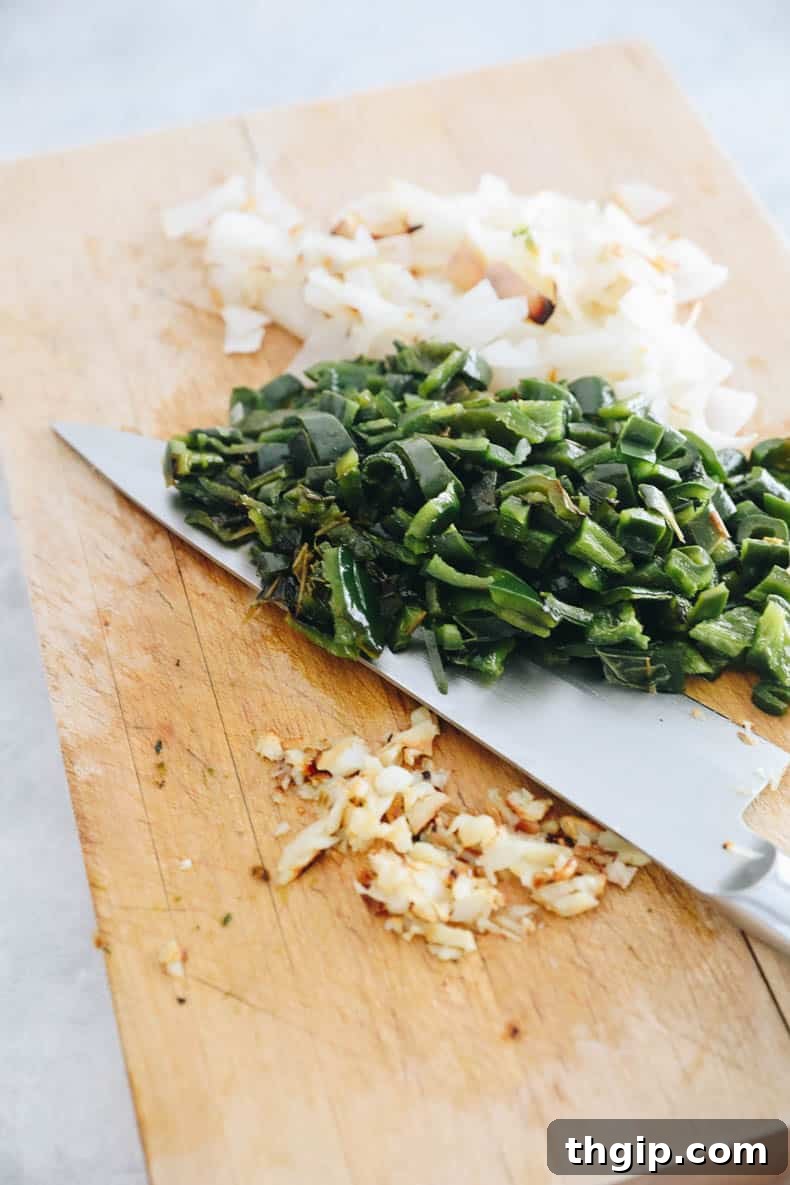
Once cooled enough to touch, carefully dice the roasted peppers and onion into bite-sized pieces. Mince the softened garlic cloves. Set these flavorful, prepped vegetables aside. This step concentrates their roasted essence, ready to be incorporated into the chili.
STEP 3: BROWN THE PORK FOR RICHNESS
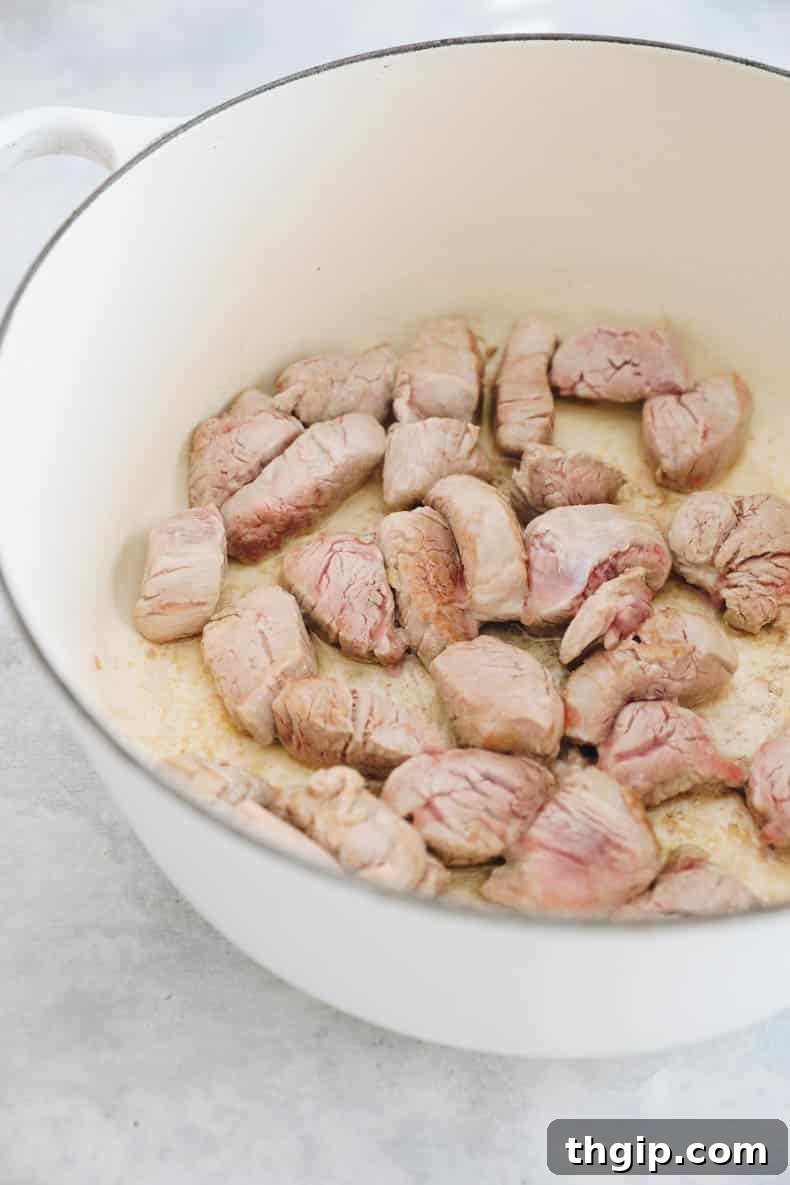
Place a large Dutch oven or heavy-bottomed pot on your stovetop over medium-high heat. Add the remaining tablespoon of olive oil. Once shimmering, add the chopped pork tenderloin pieces to the Dutch oven, ensuring not to overcrowd the pot; you may need to work in batches to achieve proper browning. Sear the pork on all sides for about 3-5 minutes, until a beautiful golden-brown crust forms. This browning step, known as the Maillard reaction, is crucial for developing deep, complex flavors in the meat. Note: The pork will not be cooked through at this stage; you are simply creating a flavorful exterior.
STEP 4: SIMMER TO PERFECTION
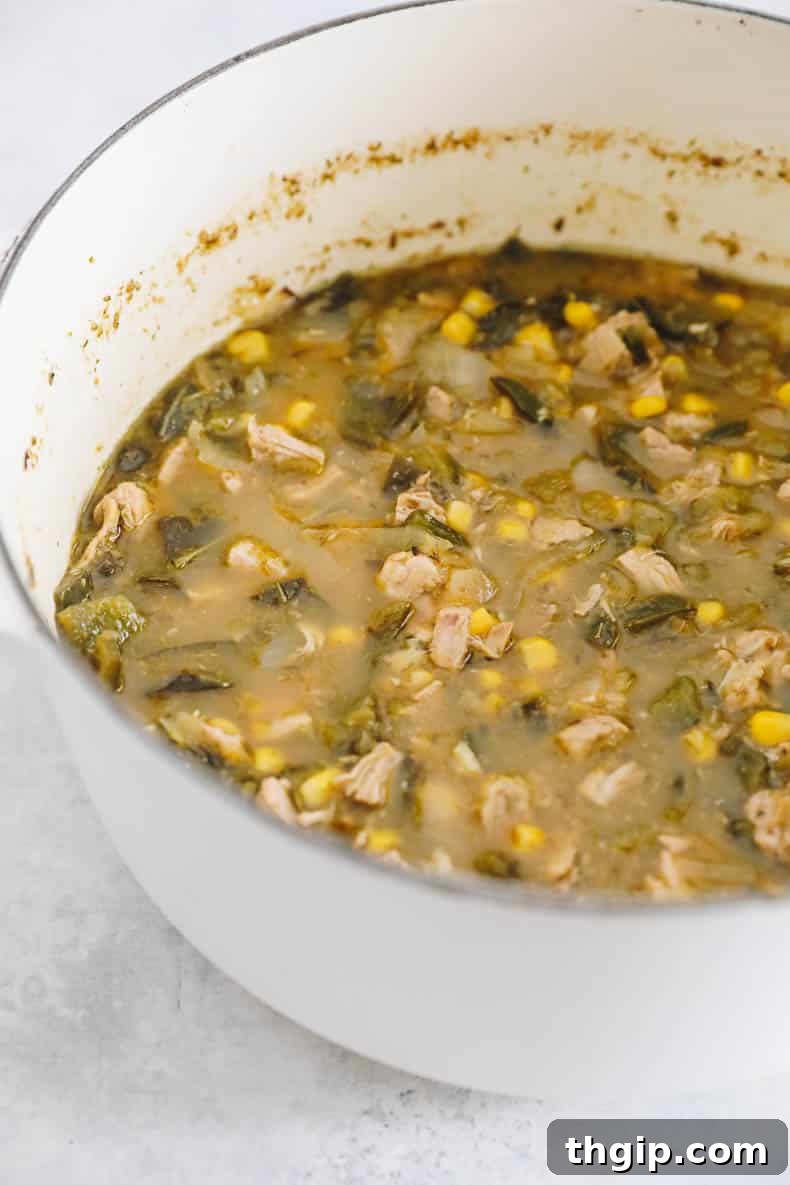
Once the pork is browned, return all the pork to the pot (if you worked in batches). Stir in the chopped roasted vegetables, chicken stock, tomatillo salsa, the entire can of Hatch chiles (undrained), corn kernels, oregano, cumin, salt, and black pepper. Give everything a good stir to combine. Bring the mixture to a boil over medium-high heat, then immediately reduce the heat to a gentle simmer. Cook, uncovered, for 40-50 minutes, stirring occasionally, or until the pork is incredibly tender and easily breaks apart with a fork, and the chili has thickened to your desired consistency. The longer it simmers, the more the flavors will meld and deepen. Using two forks, gently shred the pork tenderloin directly in the pot, along the sides, or remove the pork entirely to a cutting board, shred it, and then return it to the chili. Finally, stir in the fresh cilantro and the juice from one lime. The cilantro adds a burst of freshness, and the lime brightens all the rich flavors.
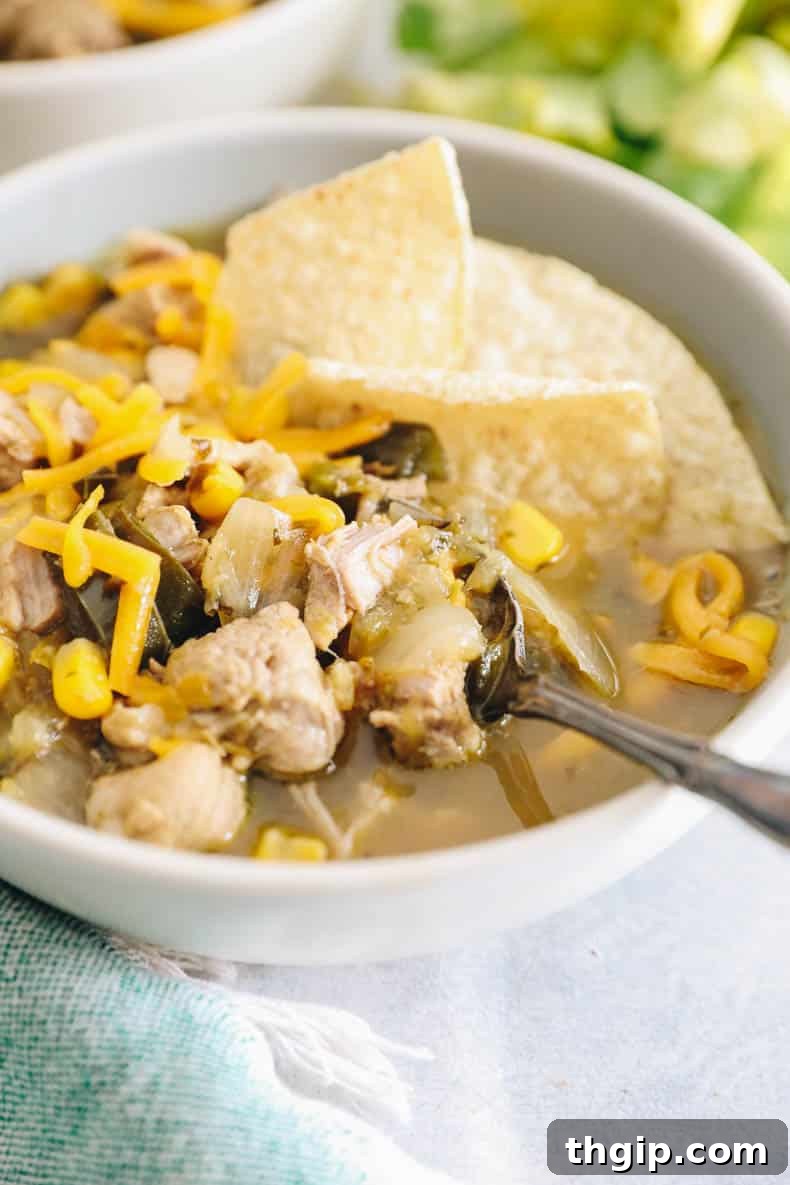
Serve your magnificent green chili immediately, adorned with any of your preferred optional toppings (see suggestions below) for an extra layer of flavor and texture.
Expert Tips for the Best Green Chili
To elevate your green chili from great to extraordinary, consider these expert tips:
- Taste and Adjust: Always taste your chili throughout the simmering process. Adjust salt, pepper, and spices as needed. A squeeze of extra lime juice at the end can brighten dull flavors.
- Spice Level Customization: If you desire more heat, add a pinch of cayenne pepper or a dash of your favorite hot sauce during simmering. For a milder chili, remove all seeds and membranes from the jalapeño, or use only poblanos for your fresh chiles.
- Thickening the Chili: If your chili is too thin, you can continue to simmer it uncovered to reduce the liquid. Alternatively, create a cornstarch slurry (1 tablespoon cornstarch mixed with 2 tablespoons cold water) and stir it into the simmering chili until thickened.
- Make Ahead Magic: Green chili, like many stews, often tastes even better the next day as the flavors have more time to meld and deepen. Make a large batch and enjoy the leftovers!
- Charred Chiles for Depth: For an even smokier flavor, you can blacken your fresh poblano and jalapeño peppers directly over a gas flame or under a broiler until the skin is blistered and charred, then peel and seed before dicing.
Creative Ways to Serve Your Green Chili
One of the beauties of green chili is its incredible versatility. While it’s delightful on its own, a medley of toppings and accompaniments can transform it into an even more satisfying meal. Here are some delectable serving suggestions:
- Cooling Dairy: A generous dollop of sour cream or plain Greek yogurt adds a creamy, cooling contrast to the chili’s warmth, balancing the spice beautifully.
- Zesty Limes: Always have extra lime wedges on hand! A fresh squeeze of lime juice just before eating brings an essential bright, acidic zing that cuts through the richness and enhances all the flavors.
- Shredded Cheese: Classic pairings include sharp cheddar cheese, Monterey Jack, or a Mexican blend. The melting cheese adds a comforting, savory layer.
- Crunchy Tortilla Chips: Store-bought tortilla chips are perfect for scooping up every last bit of chili. For an extra special touch, consider making homemade tortilla chips, crushed into bits or served as strips.
- Creamy Avocado: Sliced or diced avocado provides a rich, buttery texture and a healthy dose of good fats, making each bite even more satisfying.
- Fresh Cilantro: Garnish with extra chopped fresh cilantro for a burst of vibrant color and herbaceous freshness. If cilantro isn’t your preference, it’s perfectly fine to omit it entirely.
- Warm Tortillas: Serve alongside warm flour or corn tortillas for a traditional way to sop up the delicious chili.
- Over Rice: A bed of fluffy white or brown rice makes for a hearty and complete meal, soaking up all the flavorful broth.
- Beyond the Bowl: Get creative! Use your green chili as a topping for baked potatoes, a filling for burritos or enchiladas, or even over eggs for a Southwestern-inspired breakfast.
Make it Your Own: Vegan & Vegetarian Green Chili Options
This savory green chili recipe is wonderfully adaptable and can effortlessly be transformed into a delicious vegan or vegetarian dish. The primary adjustments involve replacing the animal-based ingredients with plant-based alternatives:
- Broth Substitution: Simply swap the chicken broth for an equal amount of rich vegetable broth. Look for a low-sodium option to better control the seasoning of your final dish.
- Pork Replacement: Instead of pork, incorporate a can of rinsed and drained black beans. Black beans offer a fantastic texture and absorb the chili’s flavors beautifully. Other excellent plant-based protein options include pinto beans, chickpeas, or even browned crumbled plant-based meat substitutes. For a more unique texture, consider shredded jackfruit or hearty sautéed mushrooms (such as cremini or oyster mushrooms), which can mimic the “meatiness” of pork.
By making these simple substitutions, you can enjoy all the robust flavors and comforting warmth of this green chili, tailored to a plant-based diet, without compromising on taste or satisfaction.
Storage, Reheating, and Freezing Best Practices
Green chili is an excellent meal prep candidate and freezes beautifully, ensuring you can enjoy its comforting flavors whenever a craving strikes.
- Storage: Allow your leftover green chili to cool completely to room temperature (within 2 hours of cooking) before transferring it to an airtight container. Properly stored, it will maintain its delicious flavor and quality in the refrigerator for up to 5 days. Ensure the container is sealed tightly to prevent any absorption of refrigerator odors and to keep the chili fresh.
- Reheating: For individual servings, reheat your leftovers in the microwave on medium power, stirring occasionally, until heated through. Alternatively, for larger batches or to prevent drying out, reheat on the stovetop over medium-low heat, stirring frequently, until gently simmering. If the chili appears too thick after refrigeration, you can add a splash of extra chicken or vegetable broth to reach your desired consistency.
- Freezing: Green chili is a freezer-friendly dish, making it ideal for future meals. Divide the cooled chili into individual portion-sized airtight containers or heavy-duty freezer bags (removing as much air as possible). Label each container with the date. Store in the freezer for up to 3 months for optimal quality. When ready to enjoy, let the frozen chili thaw overnight in the refrigerator, or for several hours on the counter if you’re short on time. Reheat using either the microwave or stovetop method described above, adding liquid if necessary.
More Delicious Chili Recipes to Explore
If you love the comforting warmth of chili, expand your repertoire with these other fantastic recipes:
- Instant Pot White Chicken Chili
- Buffalo Chicken Chili
- Turkey Sweet Potato Chili
- Vegetarian Quinoa Chili
- One Pot Beef Chili
Green Chili Recipe Card
Here’s a quick overview of the recipe details:
- Author: Davida Lederle
- Prep Time: 10 minutes
- Cook Time: 1 hour 10 minutes
- Total Time: 1 hour 20 minutes
- Yield: 6 servings
- Category: Dinner
- Method: Cook
- Cuisine: Mexican, Southwestern
- Diet: Gluten Free (easily adaptable to Vegan/Vegetarian)
Ingredients:
- 2 tbsp olive oil, divided
- 3 poblano peppers, seeded + halved lengthwise
- 1 jalapeno pepper, seeded + halved lengthwise
- 1 large white onion, quartered
- 4 garlic cloves, peeled
- 1 ¼ lbs pork tenderloin, chopped into 1 inch pieces
- 4 cups chicken stock
- 1 cup tomatillo salsa (salsa verde)
- 1 x 4 oz can hatch green chiles
- 1 cup corn kernels (or hominy), fresh or frozen (no need to thaw)
- 1 tbsp oregano
- 1 ½ tsp cumin
- 1 tsp salt
- ¼ tsp black pepper
- 1 cup fresh cilantro leaves, chopped
- Juice from 1 lime
- Optional toppings: sour cream or Greek yogurt, shredded cheese, crushed tortilla chips, avocado, extra lime wedges, extra cilantro
Instructions:
- Preheat oven to 425 degrees F (220 degrees C).
- Place poblano peppers, jalapeno pepper, white onion, and garlic cloves on a baking sheet. Drizzle with 1 tbsp of olive oil and sprinkle with salt.
- Roast for 15-20 minutes or until peppers and onion are golden brown and soft.
- Remove from oven and allow to cool slightly.
- Dice the roasted peppers and onion, and mince the garlic into bite-sized pieces. Set aside.
- Heat a large Dutch oven or pot over medium-high heat and add the remaining tablespoon of olive oil.
- Add pork pieces to the Dutch oven and brown on all sides (about 3-5 minutes). Note: pork will not be cooked through, you are simply browning for flavor.
- Stir in the chopped roasted veggies, chicken stock, tomatillo salsa, canned hatch chiles, corn, oregano, cumin, salt, and pepper to the Dutch oven. Bring to a boil, then lower to a simmer and cook, uncovered, for 40-50 minutes or until pork is breaking apart and chili has thickened.
- Using two forks, shred the pork tenderloin into smaller pieces along the side of the pot (or remove completely and shred on a cutting board before adding back in).
- Stir in the fresh cilantro and lime juice.
- Serve immediately with any optional toppings.
- Store leftover chili in the fridge for up to 5 days. Refer to the “Storage, Reheating, and Freezing Best Practices” section above for detailed freezing instructions.