
As the fresh start of a new year unfolds, many of us find ourselves still cherishing the comfort of our homes more than ever. If you’ve exhausted your list of binge-worthy TV shows and conquered a few DIY projects, it might be time for a fresh challenge. How about a truly satisfying deep clean of the heart of your home – the kitchen?
While the prospect of a deep clean might initially sound less than thrilling, the sense of accomplishment and the joy of a pristine, organized space are incredibly rewarding. Imagine putting on your favorite playlist and systematically tackling one of the most used rooms in your house. Our kitchens bear the brunt of daily life, especially over the past year, and often receive far less deep attention than they deserve. This comprehensive guide is designed to break down the daunting task into manageable sections, allowing you to approach it all at once or spread it out as a series of small “projects” over the week. By the end, you’ll boast a kitchen that gleams from top to bottom, filling you with pride.
Need that extra nudge? Envision a super-clean maven casting a discerning eye over your space, silently urging you to banish that grime from your oven and restore your sink’s sparkle. It’s often all the motivation needed to dive into an immediate cleaning spree!
The Power of Natural Cleaning: Our Top Product Picks
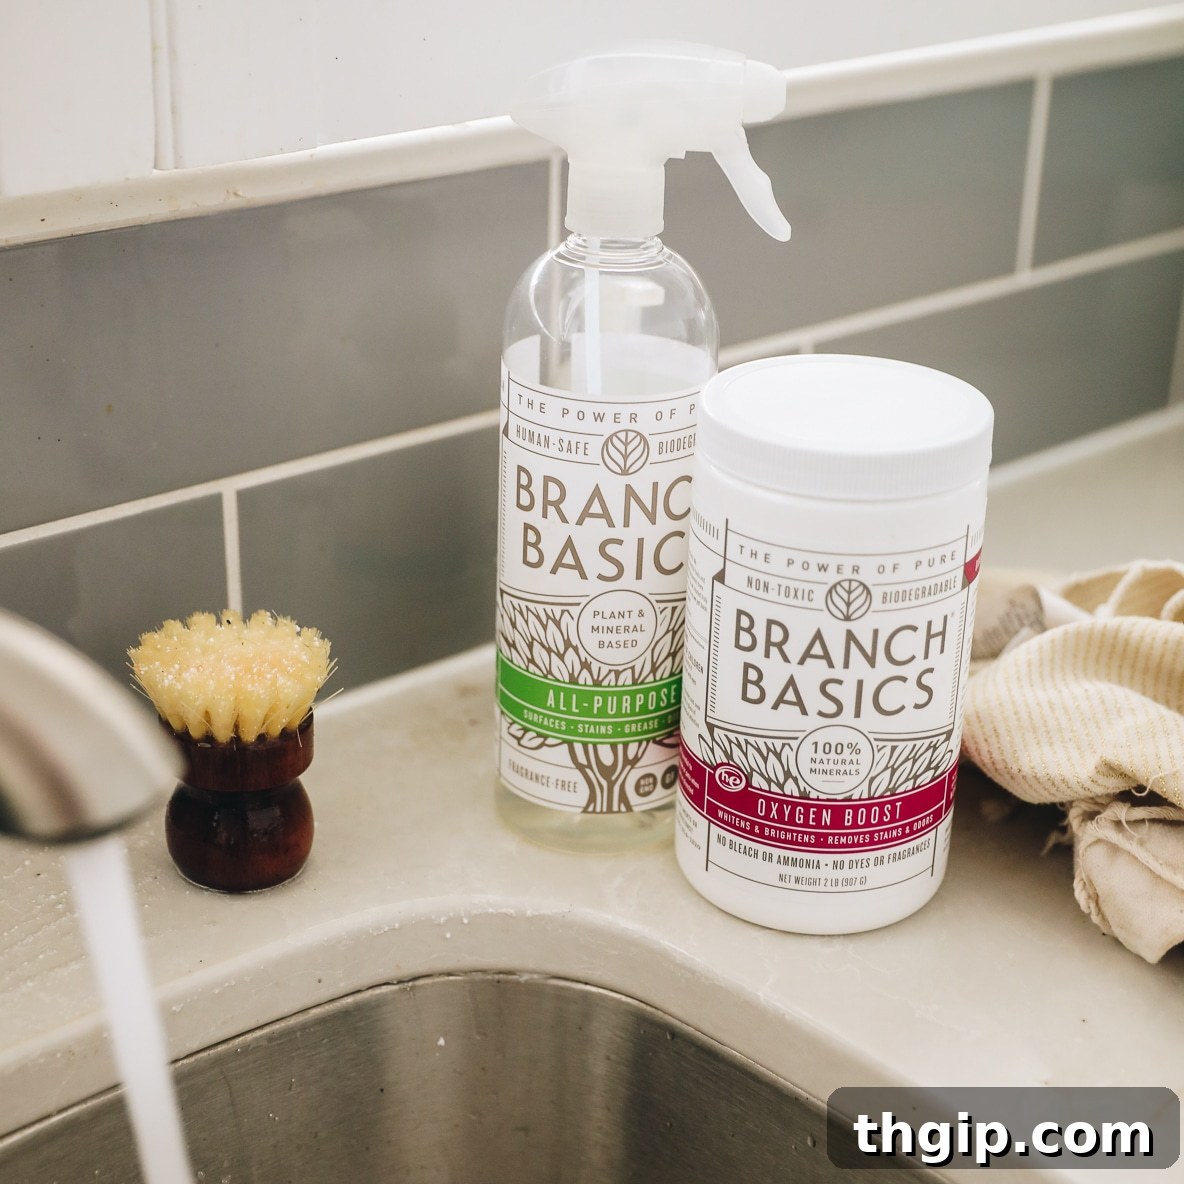
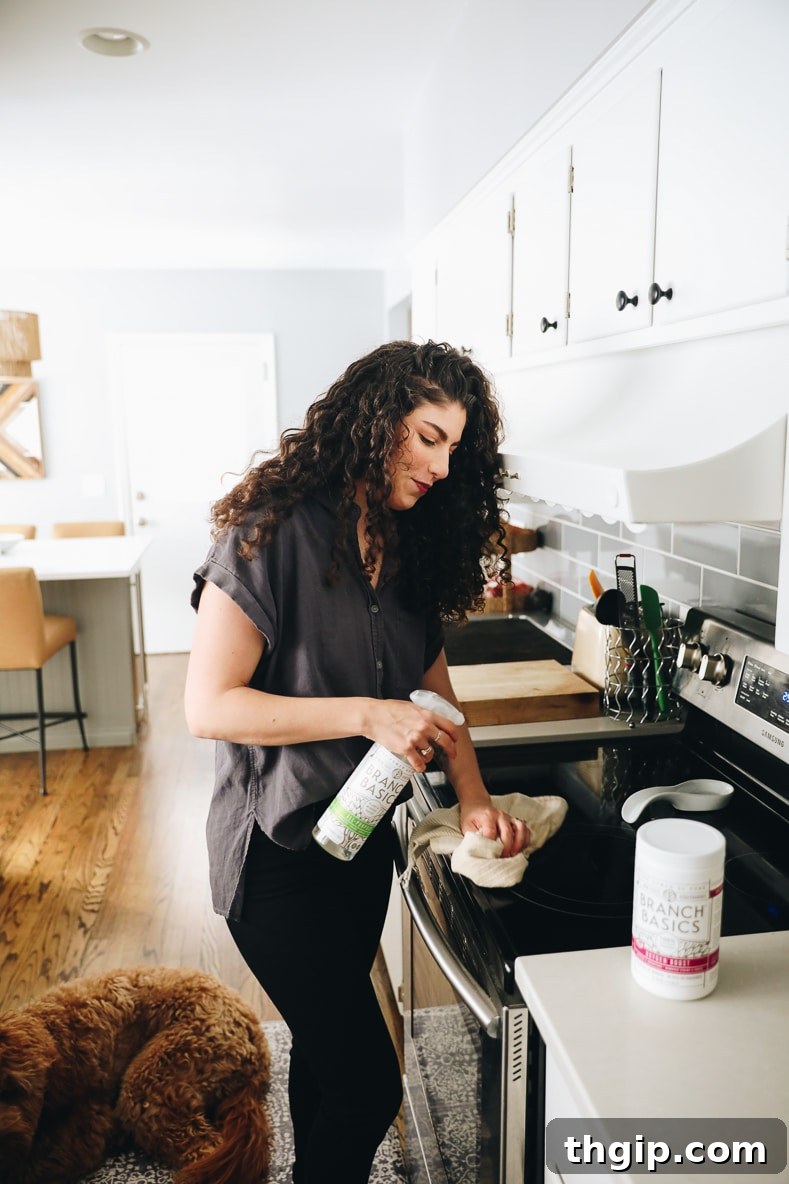
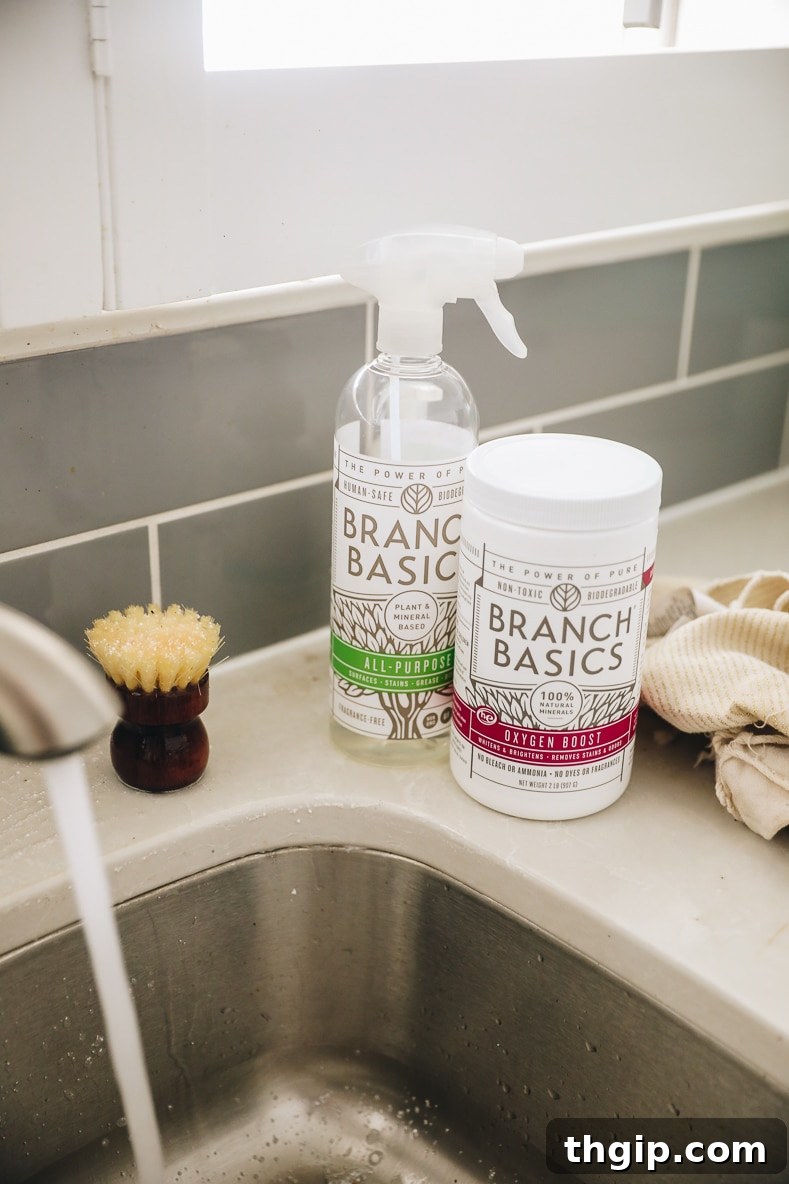
In the realm of non-toxic and effective cleaning solutions, I’ve developed a profound obsession with Branch Basics. Now, before you think, “Oh, not another Branch Basics endorsement,” let me assure you, the widespread acclaim is genuinely deserved! I’m still mystified by the ingenious formula they’ve perfected, but one bottle of their non-toxic cleaning concentrate truly does wonders across every corner of my home – from laundry to bathrooms, the kitchen, floors, and even stubborn carpet stains. It covers virtually EVERYTHING, simplifying my cleaning routine and reducing my chemical exposure.
Why Choose Natural Cleaning?
Opting for natural cleaning products goes beyond just effectiveness; it’s a commitment to a healthier lifestyle and a more sustainable planet. Traditional cleaning agents often contain harsh chemicals that can irritate skin, eyes, and respiratory systems, and their residues can linger on surfaces. By choosing non-toxic alternatives like Branch Basics, you’re investing in:
- Improved Indoor Air Quality: Fewer volatile organic compounds (VOCs) mean cleaner air for you and your family.
- Reduced Chemical Exposure: Minimize contact with irritants and potential allergens.
- Environmental Responsibility: Biodegradable formulas and reusable packaging contribute to less waste and pollution.
- Child and Pet Safety: Peace of mind knowing your cleaning products are safe around your loved ones.
Getting Started with Branch Basics
To embark on your natural cleaning journey, simply order a starter kit from Branch Basics. This comprehensive kit includes their miraculous concentrate, durable reusable bottles, and often a cleaning booster (optional, but highly recommended for tougher tasks!). Once you have your kit, you’re equipped to tackle every inch of your house. The system is brilliantly simple: fill each reusable bottle to the designated line with water, then top it off with the cleaning concentrate. This allows you to customize the strength for different purposes – All-Purpose, Bathroom, Streak-Free, and Foaming Wash – all from one versatile concentrate.
The beauty of this system extends beyond its efficacy. When a bottle runs out, you simply refill it with water and concentrate. This not only significantly reduces plastic waste but also saves you money in the long run, as you only need to repurchase the concentrate. It’s a win-win for your wallet and the environment. For an even deeper dive into my experience and a full breakdown of their products, you can explore my complete review of these exceptional non-toxic cleaning products.
Ready to revolutionize your cleaning routine? GET THE STARTER KIT HERE

Deep Cleaning Your Oven: Banishing Baked-On Grime
Let’s kick things off with one of the most intimidating kitchen tasks: the oven. Many find this chore daunting (I certainly did, and yes, my mom once playfully shamed me on Instagram for it!), but with Branch Basics, it becomes remarkably straightforward. Forget harsh chemical fumes; this method is powerful yet gentle.
Step-by-Step Oven Transformation:
- Pre-warm the Oven: Begin by slightly warming your oven, ensuring it doesn’t exceed 100ºF. This slight warmth helps to loosen grime.
- Light Water Mist: Carefully spray a light, even coat of water throughout the interior of the oven.
- Apply Cleaner: Following the water, liberally spray the Branch Basics All-Purpose or Bathroom cleaner. For ovens requiring extra attention due to heavy grease and baked-on spills, the Bathroom cleaner’s stronger concentration is ideal.
- Let it Dwell: Allow the mixture to sit for at least 15 minutes. For heavily soiled ovens, extending this dwell time significantly, even overnight, will yield better results. The longer it sits, the more the solution penetrates and breaks down the grime.
- Scrub and Wipe: Once the solution has had ample time to work, if the oven surface appears dry, re-spray with All-Purpose or Bathroom cleaner. Then, grab a stiff brush or a durable microfiber cloth and begin scrubbing. You’ll be amazed at how easily the softened grime lifts away.
- Final Rinse: Finish by wiping the entire interior clean with a damp cloth, rinsing the cloth frequently until all residue is gone and your oven sparkles.
Tackling Oven Racks:
For the oven racks, you have a couple of efficient options. You can either soak them in your sink filled with warm, soapy water for an hour or two, or simply spray them thoroughly with the All-Purpose cleaner, let it sit for a few minutes, and then scrub vigorously with a stiff brush. Rinse thoroughly and dry.
Cleaning Your Stovetop:
The stovetop often accumulates spills and splatters daily. To clean it effectively, spray generously with the All-Purpose spray and let it sit for a few minutes. If you encounter stubborn, burned-on food or sauces, a stiff brush can help to agitate and break up the residue. Wipe everything clean with a damp cloth. For truly challenging stains, sprinkle a bit of Branch Basics Oxygen Boost onto the area, let it sit for a few minutes, then use a stiff brush to scrub and wipe away the grime. This oxygen booster is a game-changer for tough spots!
Deep Cleaning Your Sink and Disposal: Gleaming and Odor-Free
I’ve been diligently working on the habit of scrubbing my sink down nightly after dishes, but even with regular maintenance, it occasionally demands a thorough deep clean. This ensures it’s not only visually clean but also hygienically pristine. The sink, being a hub of activity, can harbor unseen grime and bacteria.
For a Fairly Clean Sink:
If your sink is in relatively good condition and just needs a quick refresh, simply spray it down with the Branch Basics All-Purpose spray. Wait just 30 seconds for the solution to work its magic, then scrub the surface thoroughly and rinse clean. This simple routine helps maintain its luster.
For Sinks Needing Extra Brightening and Tough Stain Removal:
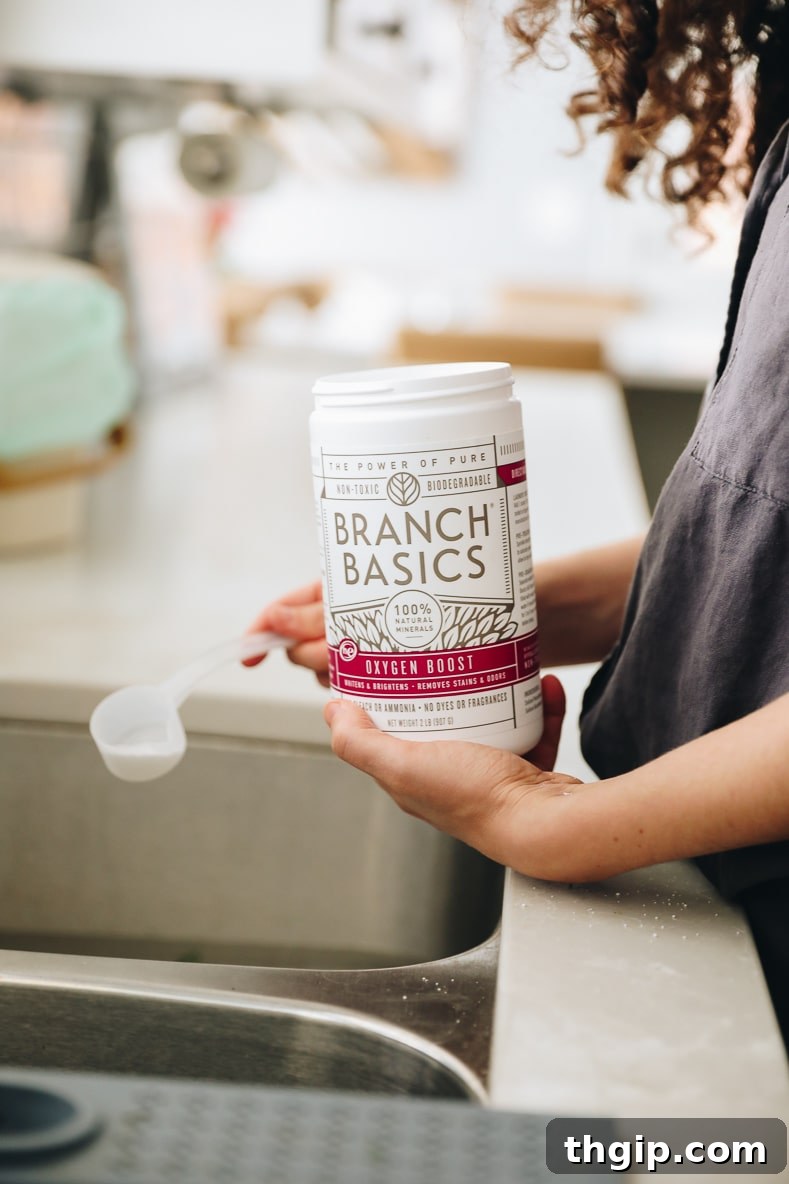
If your sink could use a significant boost in brightness or has accumulated stubborn stains, here’s how to bring it back to life: Start by spraying the entire sink surface with the All-Purpose cleaner. Next, sprinkle approximately half a scoop of Branch Basics Oxygen Boost evenly over the sink, ensuring a light but thorough coverage. Allow this powerful mixture to sit and penetrate for about 15 minutes. The Oxygen Boost is phenomenal for amplifying the cleaning power of the concentrate, particularly excelling in whitening and brightening. After the dwell time, scrub the sink meticulously with a brush or sponge, paying extra attention to any stained areas. Finally, rinse thoroughly with water until all residue is gone, revealing a dazzlingly clean and bright sink.
Don’t Forget the Disposal!
The garbage disposal is often overlooked in cleaning routines, yet it can be a source of unpleasant odors and trapped food particles. Many people don’t realize how easy it is to clean until they try! Here’s a simple, effective method:
- Spray the Disposal: Spray the All-Purpose cleaner directly into the disposal opening, ensuring good coverage of the interior blades and surrounding areas.
- Allow to Sit: Let the cleaner sit for about five minutes. This gives the solution time to break down any grease and food particles.
- Flush and Run: To complete the cleaning, turn on the disposal and run cold water through it for approximately one minute. For an added fresh scent and gentle scrubbing, you can also drop in a few ice cubes and some lemon or orange peels while the water is running. This helps to sharpen the blades and remove any remaining debris.
Deep Cleaning Your Fridge: A Fresh Start for Your Food Storage
The refrigerator: another daunting task that promises immense satisfaction upon completion! A clean fridge not only looks better but also helps preserve your food longer and makes meal prep more enjoyable. I find the most effective approach is to tackle this shelf by shelf, minimizing overwhelm and ensuring thoroughness.
Step-by-Step Fridge Refresh:
- Empty One Shelf: Start by completely emptying the contents of a single shelf onto your kitchen counter. This allows you unrestricted access to the shelf and its surrounding areas.
- Sort and Declutter: As you remove items, sort through them diligently. Check expiration dates, identify forgotten ingredients, and plan a recipe or two to utilize items that have been lingering for a while. Discard anything expired or questionable.
- Clean the Shelf/Drawer: Once the shelf is empty, spray the Branch Basics All-Purpose cleaner liberally across the surface of the shelf or drawer. Use a clean microfiber cloth to wipe it clean, removing any spills, crumbs, or sticky residues. For removable shelves and drawers, consider taking them out and washing them in the sink with warm, soapy water for a deeper clean, then drying completely before returning.
- Wipe Down Interior Walls & Door Gaskets: Don’t forget to wipe the interior walls and especially the rubber door gaskets. These often accumulate crumbs and mold.
- Restock and Organize: Before moving to the next shelf, meticulously put back the items you’re keeping, organizing them logically. Consider using clear containers, bins, or lazy Susans to maximize space and visibility.
- Repeat: Continue this process for all remaining shelves, drawers, and door compartments until your entire refrigerator is sparkling clean and beautifully organized.
Combatting Fridge Odors:
If your fridge occasionally develops an unpleasant smell, even after a thorough cleaning, here’s a simple, natural remedy: Fill a small mason jar or an open container with baking soda and place it discreetly at the back of your fridge. Baking soda is an excellent natural odor absorber. Remember to replace it every 6 months to maintain its effectiveness. This trick should keep any funky smells at bay, ensuring your fridge always smells fresh and clean.
Deep Cleaning Your Cabinets and Drawers: The Art of Kitchen Organization
Much like the fridge, deep cleaning cabinets and drawers can feel like a laborious task, yet it’s undeniably important for both hygiene and efficiency. A well-organized cabinet system reduces stress, saves time, and enhances the overall functionality of your kitchen. To prevent feeling overwhelmed, I recommend breaking your kitchen into smaller, manageable sections and tackling one area at a time.
A Systematic Approach to Cabinets & Drawers:
- Empty a Section: Choose one cabinet or a couple of drawers to focus on. Remove all their contents and place them on a clean counter or table.
- Declutter Ruthlessly: This is a crucial step for long-term organization. Sort through every single item. Ask yourself: Do I use this regularly? Is it broken? Do I have duplicates? Can someone else benefit from this? Create three piles: Keep, Donate/Sell, and Discard. Be honest with yourself about what truly serves a purpose in your kitchen.
- Clean the Interior: With the cabinet or drawer empty, spray the interior surfaces with Branch Basics All-Purpose cleaner. Wipe thoroughly with a microfiber cloth, paying attention to corners and any sticky spots or accumulated dust. For wooden cabinets, a damp cloth followed by a dry one is usually sufficient to prevent water damage. For laminate or painted cabinets, Branch Basics is perfect.
- Wipe Exterior Surfaces: Don’t forget the exterior of your cabinet doors and drawer fronts. Grease and grime can build up, especially around handles. Spray lightly and wipe clean.
- Organize as You Return Items: This is where the magic happens! As you place the “Keep” items back, organize them logically. Use drawer dividers for utensils, risers for spices, and stackable shelves for dishes. Group similar items together (e.g., baking supplies, food storage containers, small appliances). This strategic organization will make your kitchen a joy to use.
- Repeat: Move systematically through all your kitchen cabinets and drawers until every corner is clean and optimized.
Pro Tip for Lasting Organization: Once everything is back in its place, take a moment to admire your work. Make it a habit to do a quick tidy-up after each use, ensuring things are returned to their designated spots. This simple practice will help maintain your newly organized kitchen with minimal effort.
Deep Cleaning Your Microwave: Effortless Splatter Removal
Does your microwave bear the unfortunate marks of forgotten food explosions and hardened splatters that seem impossible to remove? You’re certainly not alone! Those crusted-on messes are a common kitchen woe, but thankfully, there’s an incredibly simple and effective method to conquer them using items you likely already have.
The Steam Power Method:
- Prepare the Solution: In a microwave-safe bowl or mug, combine 1/2 cup of white vinegar with 1/2 cup of water. You can add a few slices of lemon or a few drops of essential oil (like orange or tea tree) for an extra fresh scent.
- Microwave to Steam: Place the bowl in the microwave and heat on high for 5 minutes, or until the mixture is vigorously boiling and the inside of the microwave window is completely fogged up with steam. This steam is what works to loosen all the dried-on food particles.
- Let it Dwell: Once the timer goes off, turn off the microwave but crucially, leave the door closed for an additional two minutes. This allows the steam to continue working its magic, deeply penetrating and softening the hardened grime.
- Wipe Clean: After the two minutes are up, carefully open the door (the bowl will be hot!). Remove the bowl and use a sponge or a microfiber cloth to wipe down the entire interior of the microwave. You’ll be astonished at how easily the splatters and food debris now wipe away, leaving a pristine surface. Don’t forget the turntable – remove it and wash it in the sink.
It really is that simple! This method harnesses the power of steam to effortlessly dissolve even the most stubborn microwave messes, making it a quick and satisfying task.
Deep Cleaning Pots and Pans: Restoring Their Former Glory
Full disclosure: I recently spent a weekend engrossed in cleaning videos – yes, I lead a thrilling life! One particular segment that etched itself into my memory was watching Alex from The Defined Dish use Branch Basics to rejuvenate her Dutch oven after a hearty roast. The transformation was so impressive, I absolutely had to include it in this deep cleaning guide. This method is incredibly effective for restoring the shine and cleanliness of various pots and pans, especially those with stubborn baked-on residues.
Bringing Your Cookware Back to Life:
- Spray with All-Purpose: Begin by spraying the interior of your soiled pan generously with Branch Basics All-Purpose spray. Ensure good coverage over any stained or grimy areas.
- Add Oxygen Boost and Water: Next, add about half a scoop of the Branch Basics Oxygen Boost into the pan, followed by a small splash of water. The Oxygen Boost is a powerful whitener and brightener that supercharges the cleaning process.
- Form a Paste and Spread: Use a stiff brush to thoroughly combine the powder and water, creating a paste. Once formed, spread this paste all over the interior of the pan, lightly scrubbing as you go but without needing to exert much effort or muscle. The chemicals in the paste do the heavy lifting.
- Allow to Sit: Let the paste sit on the pan for at least 15 minutes. For particularly stubborn stains or heavy carbonization, you can extend this dwell time significantly, even for a few hours.
- Scrub and Rinse: After the waiting period, give the pan another gentle scrub with your stiff brush if needed, then rinse thoroughly with water. You’ll be genuinely amazed at how effortlessly burnt-on food and grease lift away, leaving your pan looking brand new, or as we like to say, “brand spankin’ new!”
*Let’s Talk Cast Iron Care & Seasoning*
Cast iron cookware requires a unique approach to cleaning and maintenance to ensure its longevity and non-stick properties. Seasoning is key!
Deep Cleaning and Re-Seasoning Cast Iron:
- Prepare for Seasoning: If your cast iron skillet is losing its seasoning, or you’re preparing a new pan, you can scrub it with a stiff brush or sponge and soapy water. Note: While soap is generally avoided on already seasoned cast iron (as it can strip the seasoning), it’s perfectly fine when you intend to re-season the pan immediately.
- Rinse and Dry Thoroughly: Rinse the skillet exceptionally well to remove all soap residue. Then, dry it completely with a towel. Any moisture left behind can lead to rust.
- Oil Application: Pour 1-2 tablespoons of a high smoke point oil (I prefer avocado oil, but grapeseed, flaxseed, or vegetable oil also work well) into the skillet. Using a clean cloth or paper towel, rub the oil over the entire skillet – including the handle, the bottom of the pan, and any exterior surfaces. Ensure a thin, even layer; too much oil will lead to a sticky finish.
- Bake to Season: Preheat your oven to 350ºF (175ºC). Place the oiled pan upside down in the oven. To catch any drips, position a baking sheet or a piece of aluminum foil on the rack below. Bake for one hour. This high heat polymerizes the oil, creating a durable, non-stick layer.
- Cool Down: After an hour, turn off the oven but leave the skillet inside to cool down completely. This slow cooling process helps to set the seasoning.
- Ready for Use: Once your cast iron skillet is completely cool, you can remove it and use it as usual. With proper care and regular re-seasoning, your cast iron will become an heirloom piece in your kitchen!
Embarking on a full kitchen deep clean might seem like a marathon, but by breaking it down into these manageable, targeted tasks, you’ll find it incredibly rewarding. Not only will your kitchen sparkle from every angle, but you’ll also foster a healthier environment for your family by choosing natural, effective cleaning solutions. A clean kitchen isn’t just about aesthetics; it’s about creating a functional, peaceful, and inspiring space for cooking, gathering, and living.
Inspired to clean more? Here are other posts you might enjoy:
- The Best Natural Cleaning Products for a Spotless Home
- DIY Yoga Mat Spray: A Simple, Natural Cleaning Solution
- 9 Essential Things You’re Forgetting to Spring Clean (Beyond the Basics)