
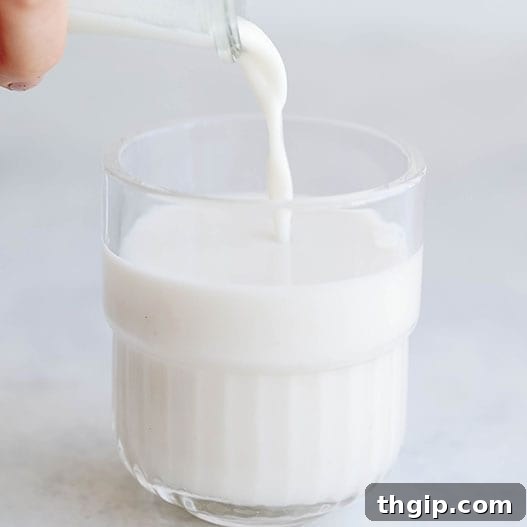
Have you ever dreamed of making your own oat milk that’s not only incredibly easy but also perfectly creamy, never slimy, and bursting with fresh flavor? Look no further! This comprehensive guide provides simple, step-by-step instructions to create delicious homemade oat milk right in your kitchen. Embrace a nutritious, sustainable, and cost-effective plant-based alternative that’s good for you and the planet. Milking oats has truly never been this simple or rewarding!
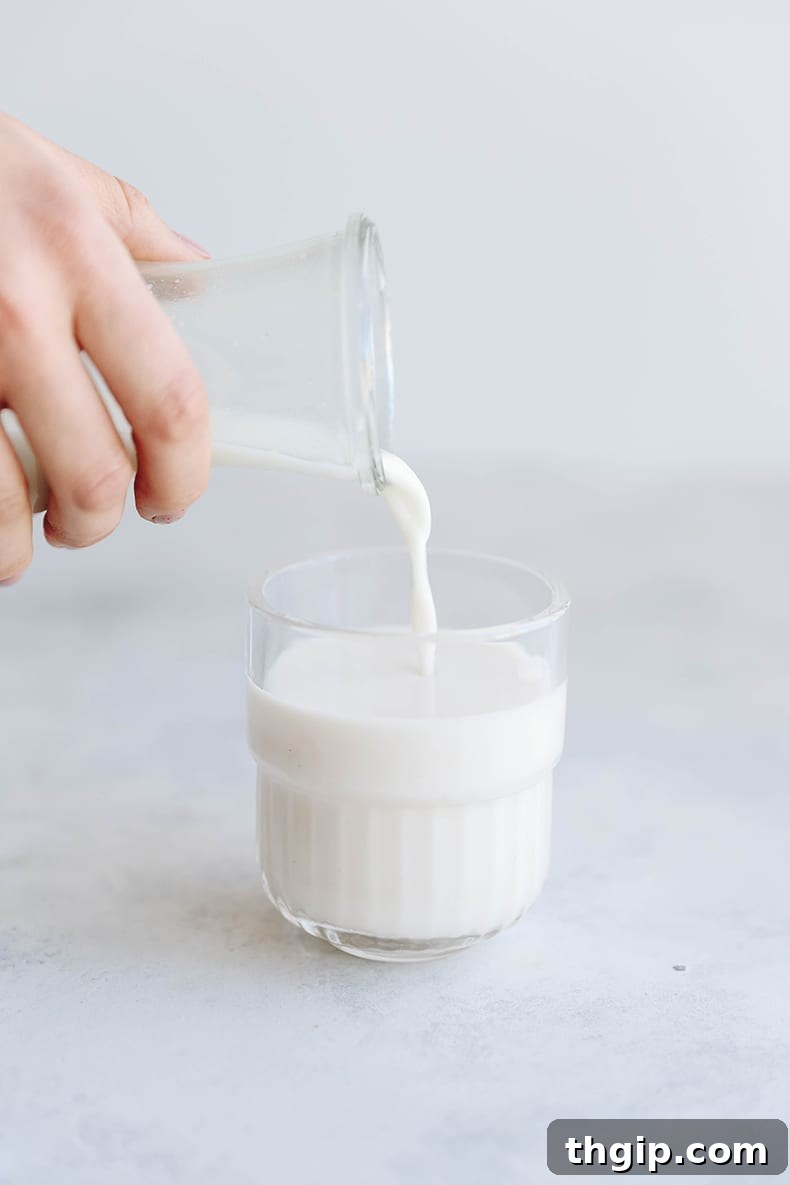
Table of Contents
- Why Make Your Own Oat Milk?
- What Exactly Is Oat Milk?
- Nutritional Benefits of Oat Milk
- Essential Ingredients for Homemade Oat Milk
- Equipment You’ll Need
- Step-by-Step Guide to Making Homemade Oat Milk
- Troubleshooting: Avoiding Slimy Oat Milk & Other Tips
- Creative Ways to Enjoy Your Homemade Oat Milk
- Storage Tips & Using Leftover Oat Pulp
- Frequently Asked Questions
- Homemade Oat Milk Recipe
- Explore More Dairy-Free Drink Recipes
- Delicious Oat Milk Latte Recipes to Try!
Why Make Your Own Oat Milk?
Oat milk has rapidly become a superstar in the world of plant-based dairy alternatives, and for excellent reasons! Its creamy texture and naturally sweet flavor make it a beloved choice for lattes, smoothies, and cereals. While store-bought versions are readily available, making your own at home offers significant advantages that resonate with health-conscious and environmentally-minded individuals alike.
One primary motivation for choosing homemade oat milk is its environmental footprint. Unlike almond milk, which requires substantial water resources for cultivation, oats are a far more sustainable crop, demanding less water and having a lower impact on the environment. This makes oat milk an incredibly planet-friendly choice, especially for those concerned about water scarcity and sustainable living.
Furthermore, commercial oat milk often contains added oils, like canola oil, to achieve a smooth consistency and emulsify ingredients, along with various sugars, gums, and preservatives. When you make oat milk at home, you have complete control over the ingredients. You can avoid unnecessary additives, regulate the sweetness, and ensure your milk is free from any unwanted chemicals or allergens. It’s a pure, clean, and incredibly cost-effective option, transforming humble oats and water into a delicious beverage. After extensive testing, we’ve perfected a recipe that delivers a consistently non-slimy, wonderfully creamy oat milk every time.
What Exactly Is Oat Milk?
Simply put, oat milk is a plant-based beverage made from oats and water. The process involves soaking whole oats, blending them with water, and then straining the mixture to separate the liquid from the pulp. The result is a smooth, milky liquid that boasts a naturally sweet and subtly nutty flavor. It serves as an excellent vegan and dairy-free substitute for traditional cow’s milk in a wide array of recipes and beverages. Its versatility and straightforward preparation make it an ideal choice for those looking to reduce dairy consumption or explore new plant-based options.
Nutritional Benefits of Oat Milk
Beyond its delicious taste and creamy texture, oat milk offers a range of impressive nutritional benefits, making it a healthy addition to almost any diet. Oats themselves are renowned for their high fiber content, and much of this goodness carries over into the milk. This dietary fiber, particularly beta-glucan, is known for its ability to help lower cholesterol levels and support a healthy digestive system, contributing to a feeling of fullness and satiety.
Homemade oat milk is also a source of plant-based protein, providing essential amino acids crucial for muscle repair and overall bodily function. It naturally contains B vitamins, such as riboflavin and vitamin B12 (if fortified, but even unfortified oats have some B vitamins), which are vital for energy metabolism and nervous system health. Furthermore, oats are rich in minerals including iron, magnesium, and phosphorus, all of which play key roles in bone health, energy production, and various metabolic processes.
While homemade oat milk may not naturally contain as much calcium as fortified cow’s milk or store-bought fortified oat milk, it’s easy to ensure adequate calcium intake through other dietary sources. Leafy greens, fortified plant-based yogurts, sesame seeds, and certain nuts are excellent alternatives. Embracing oat milk is a fantastic step towards a more diverse and nutrient-rich diet, offering a healthy, dairy-free alternative without compromising on flavor or nutritional value.
Essential Ingredients for Homemade Oat Milk
Creating your own oat milk requires just a few basic ingredients, most of which you probably already have in your pantry. The simplicity of this recipe is part of its charm!
- Quick Cook Oats: We highly recommend using quick cook oats for the best results. Their finer texture helps to reduce the “sliminess” that can sometimes occur with homemade oat milk, and they absorb water faster, speeding up the process. While regular rolled oats can be used in a pinch, they might yield a slightly slimier consistency and require a bit longer to soak. Absolutely avoid steel-cut oats, as their tough texture will not break down properly and will create a very coarse, undesirable milk. For those who are gluten-intolerant, be sure to use certified gluten-free oats.
- Water: High-quality filtered water is key for both soaking the oats and blending, ensuring a clean and crisp taste for your finished milk.
- Natural Sweetener (Optional): To add a touch of sweetness, natural options like maple syrup, date syrup, or even a hint of honey (if not strictly vegan) work beautifully. Adjust the amount to your personal preference.
- Spices (Optional): A pinch of cinnamon can elevate the flavor profile, adding a warm and comforting note. Don’t forget a tiny pinch of salt; it remarkably enhances all the other flavors without making the milk taste salty.
- Vanilla Extract (Optional): For a classic vanilla oat milk, a splash of pure vanilla extract adds wonderful aroma and taste.
Equipment You’ll Need
Making homemade oat milk is incredibly straightforward and doesn’t require any fancy gadgets. Here’s a quick list of the essential tools:
- High-Speed Blender: A powerful blender is crucial for breaking down the oats into a fine mixture, ensuring a smooth and creamy milk.
- Nut Milk Bag, Cheesecloth, or Fine Mesh Sieve: You’ll need one of these tools for straining the oat pulp from the liquid. A nut milk bag offers the most efficient and cleanest strain, but a double layer of cheesecloth or even a very fine mesh strainer can work in a pinch.
- Large Bowl: To collect your freshly strained oat milk.
- Airtight Container or Glass Jar: For storing your finished oat milk in the refrigerator.
Step-by-Step Guide to Making Homemade Oat Milk
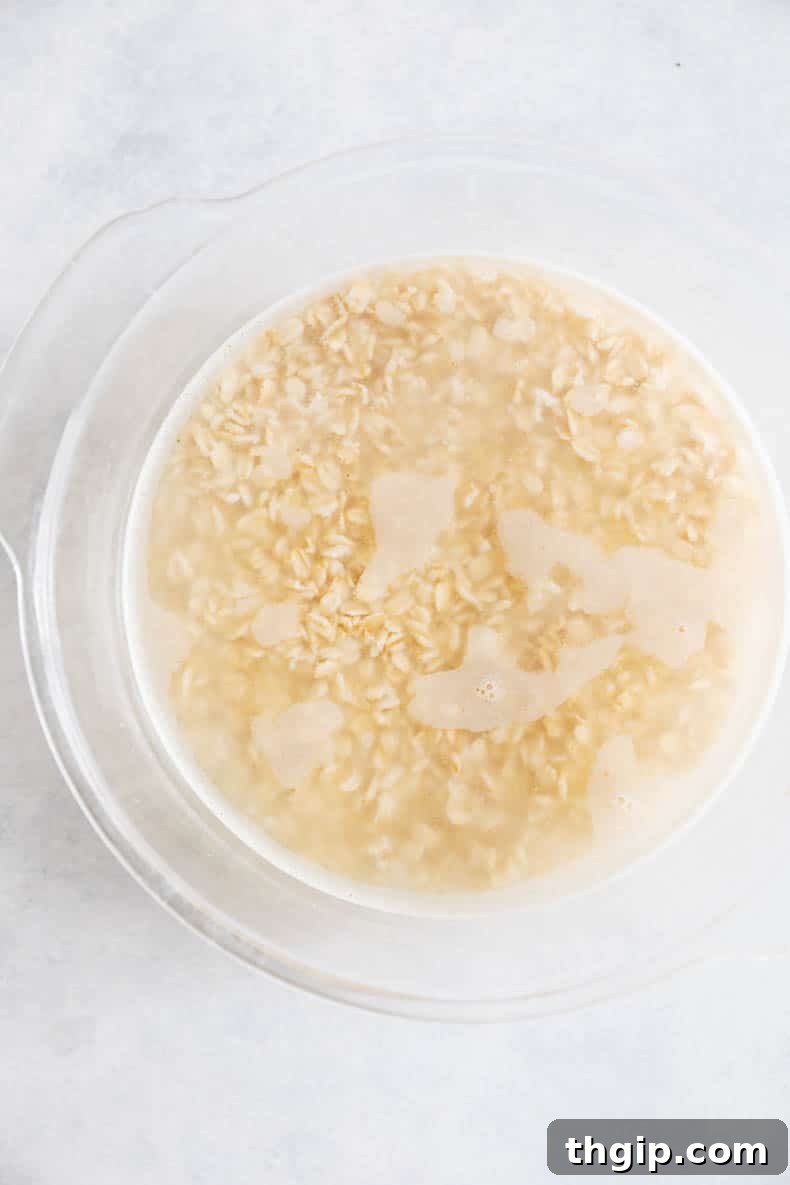
STEP 1: SOAK YOUR OATS
Begin by placing your quick cook oats in a bowl and covering them with water. Allow them to soak for a minimum of 30 minutes. Soaking helps to soften the oats, making them easier to blend and reducing the likelihood of a slimy texture in your final product. You’ll notice the oats will plump up considerably as they absorb the water.
STEP 2: DRAIN & BLEND
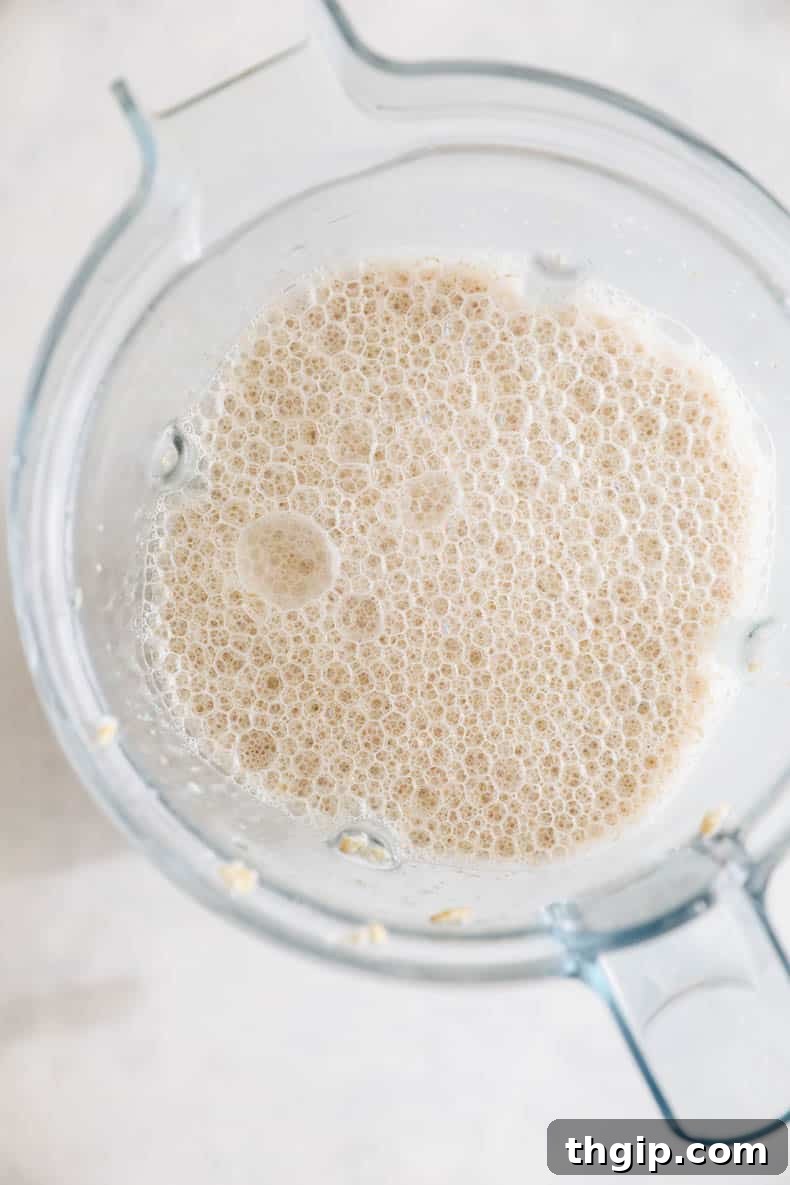
Once soaked, thoroughly drain the oats and rinse them under cold water. This step is vital for removing excess starch, which is a primary culprit for slimy oat milk. Transfer the rinsed oats to your high-speed blender. Add 3 cups of fresh, cold water. Blend the mixture by pulsing roughly 20 times or blending continuously for about 30 seconds. The goal is to break down the oats without over-processing them. The mixture should appear milky with some small oat particles, not perfectly smooth or gelatinous.
STEP 3: STRAIN THE MILK
Place your nut milk bag, cheesecloth (doubled), or fine mesh strainer over a large bowl. Carefully pour the blended oat mixture into the bag or strainer. Gently squeeze the bag to extract all the liquid, or press the mixture with a spoon if using a strainer. Be patient and ensure you extract as much liquid as possible. Avoid excessively squeezing or pressing the pulp, as this can force finer particles through and contribute to a slimier texture.
STEP 4: SWEETEN, FLAVOR & STORE
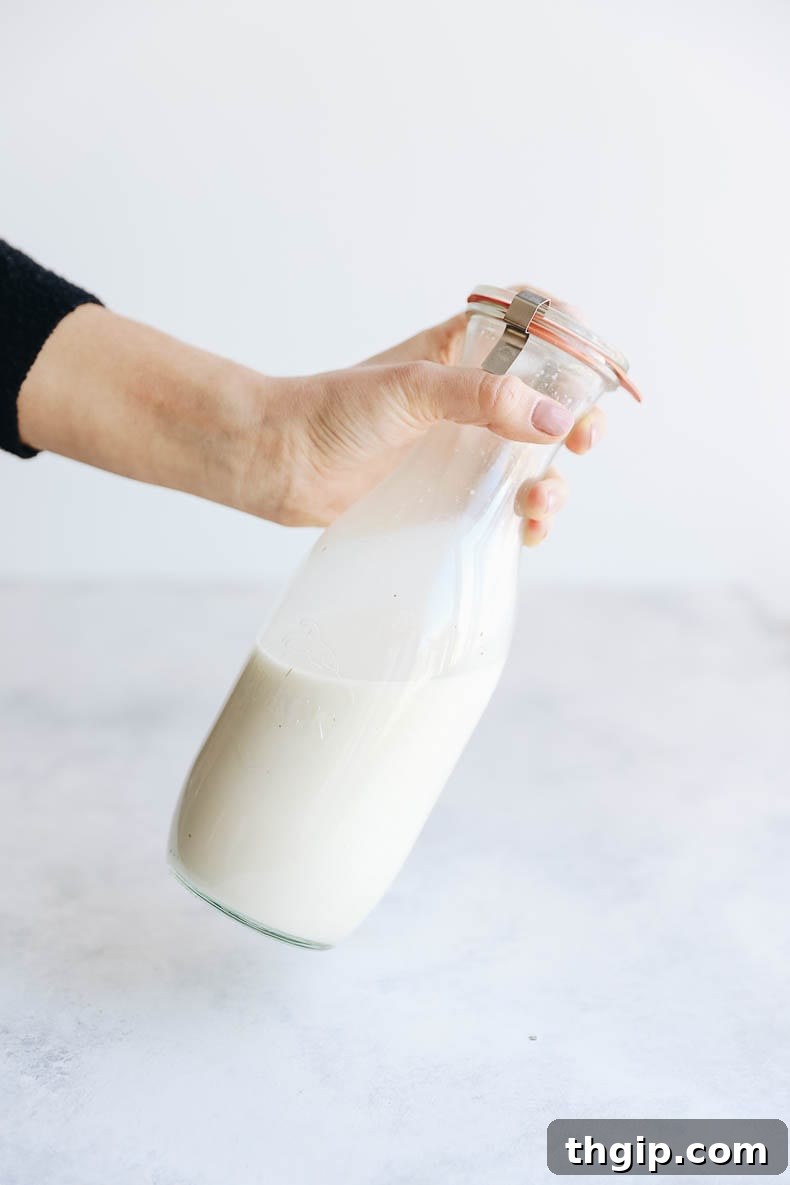
Now it’s time to customize your oat milk! Stir in your chosen sweetener (maple syrup, date syrup, or honey), cinnamon, a pinch of salt, or a splash of vanilla extract, adjusting to your taste preferences. Once flavored, pour your fresh homemade oat milk into an airtight glass bottle or mason jar for storage. Give it a good shake before its first use!
Troubleshooting: Avoiding Slimy Oat Milk & Other Tips
One of the most common complaints about homemade oat milk is its tendency to become slimy or goopy. Fear not! With these expert tips, you can achieve a perfectly smooth and creamy texture every time:
- Choose the Right Oats: As mentioned, quick cook oats are your best friend. They contain less of the starch that can lead to sliminess when processed. While regular rolled oats can work, they might require a bit more attention to avoid over-blending. Never use steel-cut oats for oat milk; they are too tough and will not yield a palatable result.
- Don’t Overblend! This is perhaps the most crucial rule. Over-blending releases too much starch from the oats, resulting in that undesirable slimy texture. Blend just enough to break down the oats – usually 20-30 seconds on a medium setting is sufficient. You want a milky liquid, not a frothy, thick paste.
- Rinse Your Oats Thoroughly: After soaking (if using regular rolled oats, you might even soak for 10-15 minutes and then rinse), draining and rinsing your oats with cold water before blending helps wash away excess starch, significantly reducing the sliminess.
- Use Cold Water: Always use cold water for blending. Warm water can accelerate the release of starches, contributing to a goopy consistency.
- Gentle Straining: When straining, be gentle. Avoid aggressively squeezing the nut milk bag or pressing the pulp. A gentle squeeze is enough to extract the liquid without pushing fine starch particles through.
- Gluten-Free Option: If you’re following a gluten-free diet, ensure you use certified gluten-free oats. Oats are naturally gluten-free, but they are often cross-contaminated during processing.
- Flavor Variations:
- Vanilla Oat Milk: Add 1 teaspoon of pure vanilla extract to the blender for a classic, aromatic flavor.
- Chocolate Oat Milk: Incorporate 1-2 tablespoons of unsweetened cocoa powder along with your sweetener for a rich, indulgent chocolate version.
- Spiced Oat Milk: A pinch of nutmeg, cardamom, or even a dash of ginger can add a festive touch.
- Heating Homemade Oat Milk: If you plan to heat your oat milk (e.g., for lattes or hot chocolate), do so gently. Use medium-low heat and warm it only for 3-4 minutes, stirring constantly. High heat or prolonged cooking will cause the starches to thicken and make the milk gelatinous.
- Separation is Normal: It’s completely normal for homemade oat milk to separate in the refrigerator. The solids will settle at the bottom. Simply give your jar a good shake before each use to reincorporate everything.
Creative Ways to Enjoy Your Homemade Oat Milk
Homemade oat milk is incredibly versatile and can be used in place of any dairy or non-dairy milk in countless applications. Here are some of our favorite ideas to inspire you:
- Lattes & Coffee: Its natural creaminess and subtle sweetness make it an ideal choice for lattes, cappuccinos, and even just a splash in your morning cold brew. Check out this post with 3 oat milk latte recipes, including a delicious chocolate oat milk mocha latte!
- Smoothies: Elevate your smoothies by using oat milk as the liquid base. It adds a wonderful creamy texture and nutritional boost. It pairs perfectly with these green smoothie recipes or a classic banana peanut butter smoothie.
- Cereal & Granola: Pour it over your favorite store-bought cereal or a bowl of homemade granola for a satisfying breakfast. Try it with this almond cranberry granola for an extra flavor kick!
- Oatmeal: Enhance your morning oatmeal with the creamy goodness of oat milk. Whether you’re making overnight oats (we have 5 ways to make them!) or your favorite steel-cut oats, oat milk adds richness.
- Baking: Substitute oat milk for dairy milk in virtually any baking recipe, from muffins and pancakes to cakes and cookies. It lends a moist texture and subtle sweetness.
- Soups & Sauces: Use it to create creamy, dairy-free soups (like tomato soup or bisque) or to thicken savory sauces.
- Hot Beverages: Beyond lattes, it’s fantastic in hot chocolate (like this Superfood Hot Chocolate) or a comforting turmeric latte.
Storage Tips & Using Leftover Oat Pulp
Once made, your fresh homemade oat milk should be stored in the refrigerator in a tightly sealed glass jar or bottle. It will stay fresh for up to 1 week. Remember that separation is completely natural, so always give it a good shake before each use to ensure a consistent texture.
Now, what about the leftover oat pulp? Many people wonder if it can be repurposed. While some find the texture a bit too slimy for baking, others successfully incorporate it into various recipes to boost fiber. Here are a few ideas:
- Compost: This is the simplest and most common method. Return the nutrient-rich pulp to the earth by adding it to your compost bin.
- Smoothie Booster: For an extra dose of fiber, add a tablespoon or two of the oat pulp to your morning smoothie.
- Baked Goods: Experiment by adding a small amount (start with 1/4 cup) to muffins, quick breads, or even cookies. It can add moisture and fiber, but be mindful of the texture.
- Patties or Burgers: Mix oat pulp into veggie burger patties or meatballs as a binder and to add nutrients.
- Face Mask (External Use): For a natural skincare hack, some people mix oat pulp with a little honey or yogurt for a soothing and exfoliating face mask. (Ensure you have no skin sensitivities first!)
Feel free to get creative and experiment! The best approach is often to try a small amount in your favorite recipes and see how it works for you.
Frequently Asked Questions
- Can I use steel-cut oats for homemade oat milk? No, it’s highly recommended to avoid steel-cut oats. Their tough texture will not break down properly, resulting in a gritty and unpalatable milk. Stick to quick cook or regular rolled oats.
- Why is my homemade oat milk slimy? Sliminess is usually caused by over-blending, which releases too much starch, or by not rinsing the oats adequately. Use quick cook oats, blend for no more than 30 seconds, and ensure you rinse the soaked oats.
- How long does homemade oat milk last? Stored in an airtight container in the refrigerator, homemade oat milk typically lasts for up to 5-7 days. Always give it a sniff test if you’re unsure.
- Is homemade oat milk cheaper than store-bought? Absolutely! Oats are a very inexpensive pantry staple, and water is free (or very low cost). Making your own oat milk is significantly more cost-effective than buying commercial brands, especially organic or specialty versions.
- Can I heat homemade oat milk? Yes, but do so gently. Heat it over medium-low heat for only 3-4 minutes, stirring frequently, to prevent it from becoming gelatinous. Avoid boiling it.
Homemade Oat Milk Recipe
Homemade Oat Milk
No reviews
Learn how to make effortlessly creamy and delicious homemade oat milk with this easy step-by-step recipe. Perfect for coffee, smoothies, and cereal, it’s a healthy, plant-based, and cost-effective alternative to store-bought varieties.
- Author: Davida Lederle
- Prep Time: 35 minutes
- Cook Time: 0 minutes
- Total Time: 35 minutes
- Yield: 4 servings (approx. 3-4 cups)
- Category: Drinks, Dairy-Free
- Method: Blend, Strain
- Diet: Vegan, Plant-Based
Ingredients
- 1 cup quick cook oats (certified gluten-free if needed)
- 3 cups cold water (for blending)
- 1 tbsp natural sweetener (maple syrup, date syrup, or honey), optional
- 1/2 tsp cinnamon, optional
- Pinch salt, optional
- 1 tsp vanilla extract, optional
Instructions
- Soak the quick cook oats in water for 30 minutes. This helps soften them and reduces sliminess.
- Drain the soaked oats thoroughly and rinse them under cold water. Transfer the rinsed oats and 3 cups of fresh, cold water to your blender.
- Pulse on medium for about 20 pulses or blend continuously for approximately 30 seconds. Do not overblend, as this can lead to a slimy texture.
- Strain the mixture through a nut milk bag or a double layer of cheesecloth into a large bowl. Gently squeeze to extract all the liquid, avoiding aggressive pressing.
- Stir in or lightly blend with your desired liquid sweetener, cinnamon, salt, and/or vanilla extract to taste.
- Pour your homemade oat milk into an airtight glass jar or bottle. Store in the refrigerator for up to 1 week. Separation is normal; shake well before each use.
*Note: To avoid gelatinous texture, do not overblend the oats, and when heating, warm over medium-low heat for only 3-4 minutes.
Explore More Dairy-Free Drink Recipes
If you’ve enjoyed making your own oat milk and are looking for more delicious beverage ideas, explore some of these other fantastic recipes:
- Homemade Almond Milk (3 Ways)
- How to Make a London Fog
- Immunity-Boosting Turmeric Latte Recipe
- Effortless Homemade Cold Brew
- Cozy Pumpkin Cream Cold Brew Recipe
- Nutrient-Rich Superfood Hot Chocolate
- Simple How to Make Green Juice in Your Blender
- Refreshing Cucumber Spa Water
Delicious Oat Milk Latte Recipes to Try!
Now that you have your creamy homemade oat milk, it’s the perfect time to experiment with some incredible latte creations. From comforting classics to adventurous new flavors, oat milk truly shines in these recipes.